


In the custom keyboard community, thocky is one of the most desired sound. It describes a deep, solid, and satisfying keystroke sound that feels more than just audible; it feels controlled and intentional. But what actually creates this sound? In this article, we'll break down what creates a thocky switch sound and how materials and switch design shape the final acoustic profile.
How Do Keyboard Switches Produce Sound?
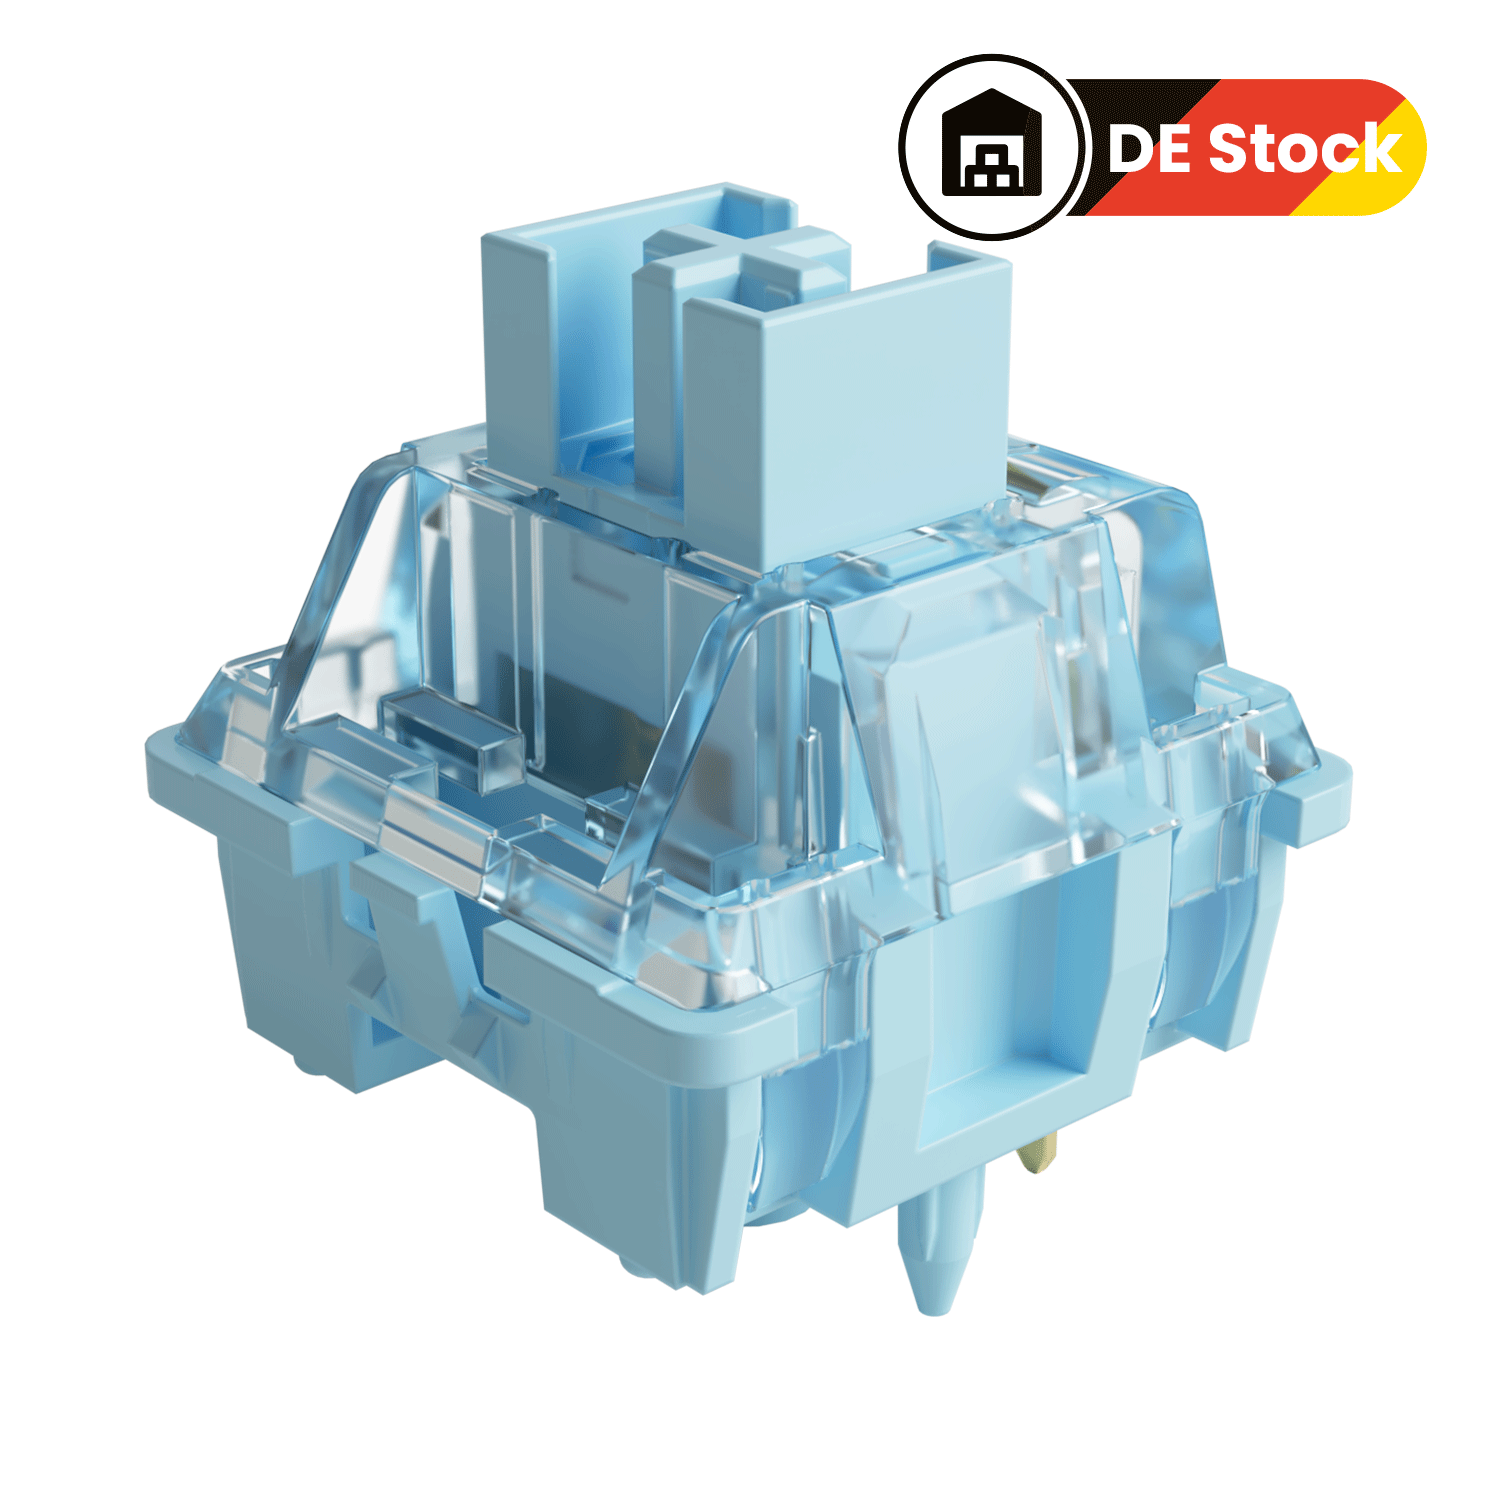
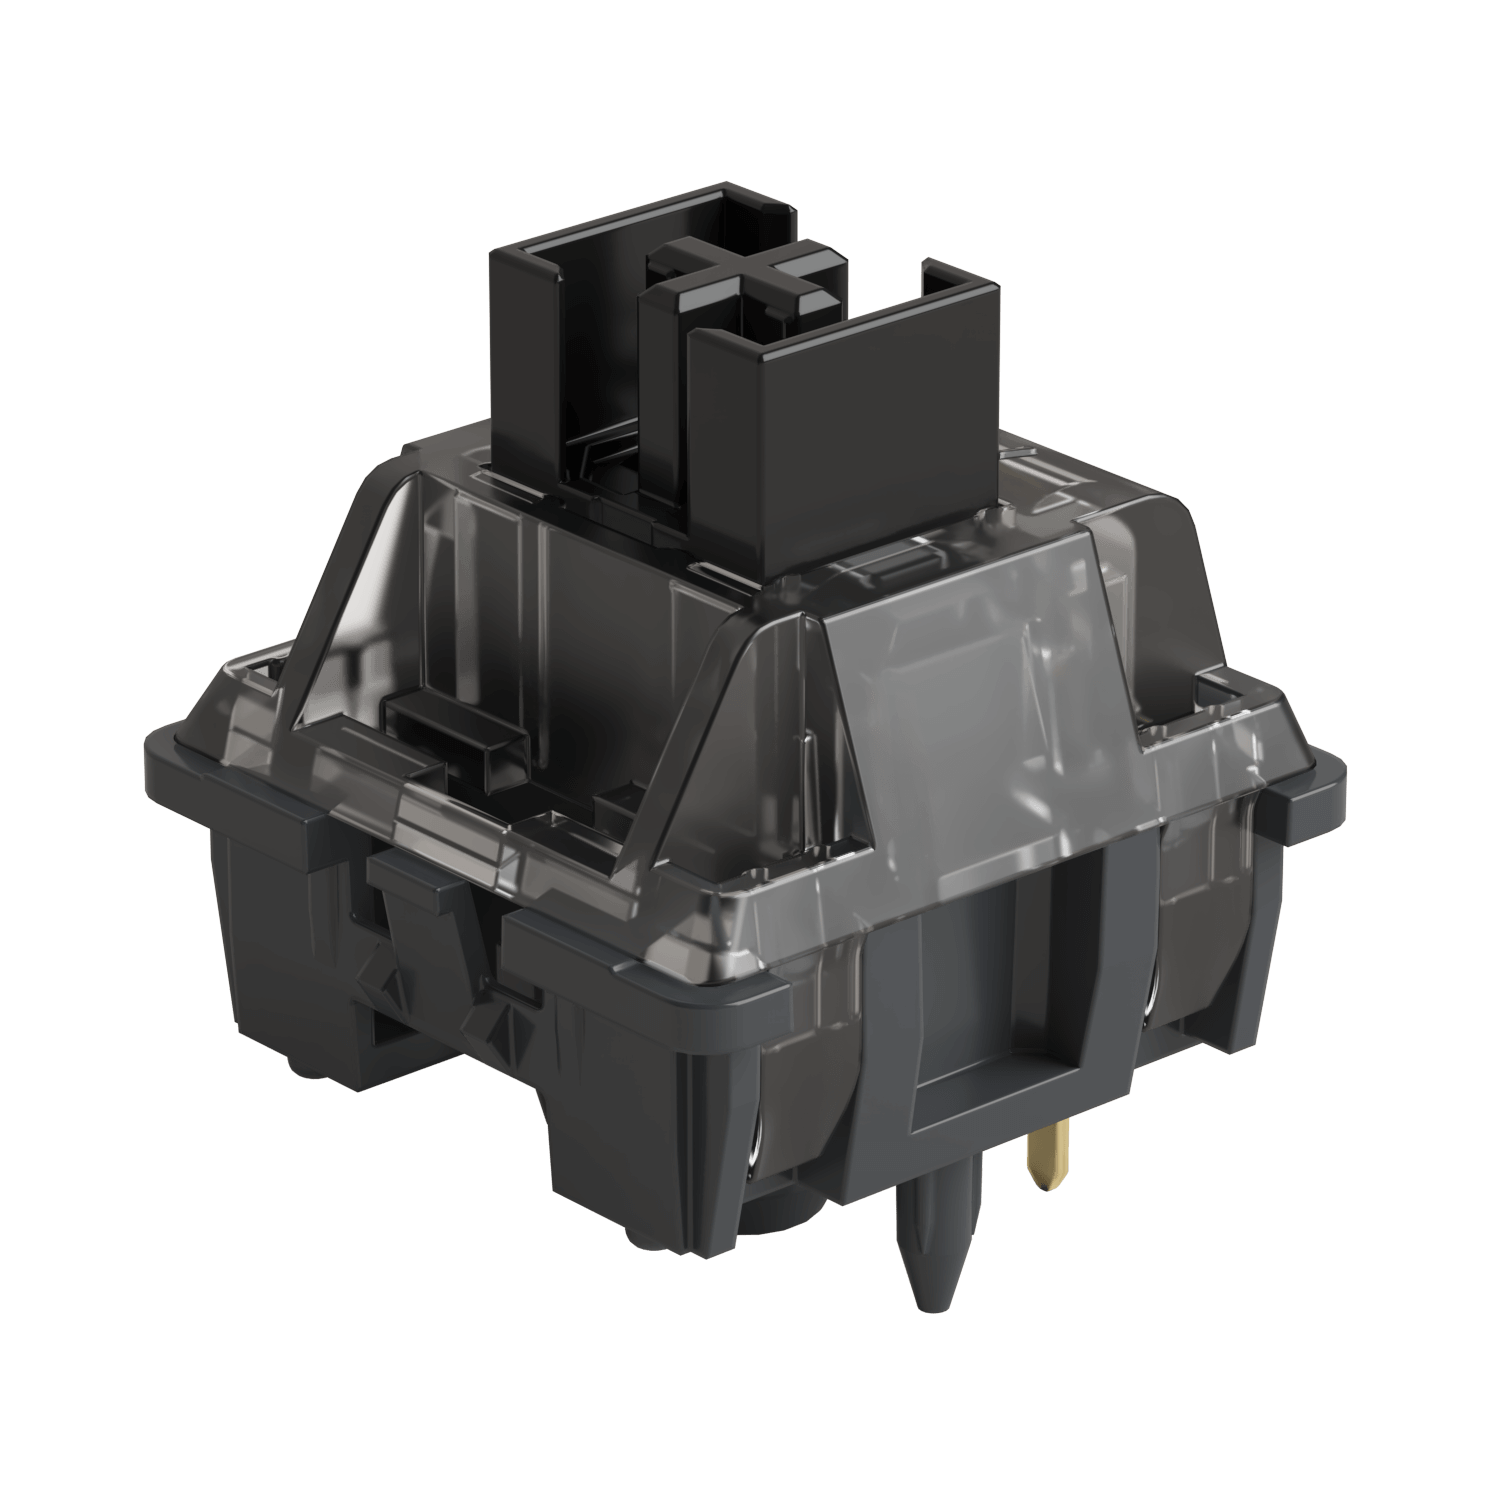
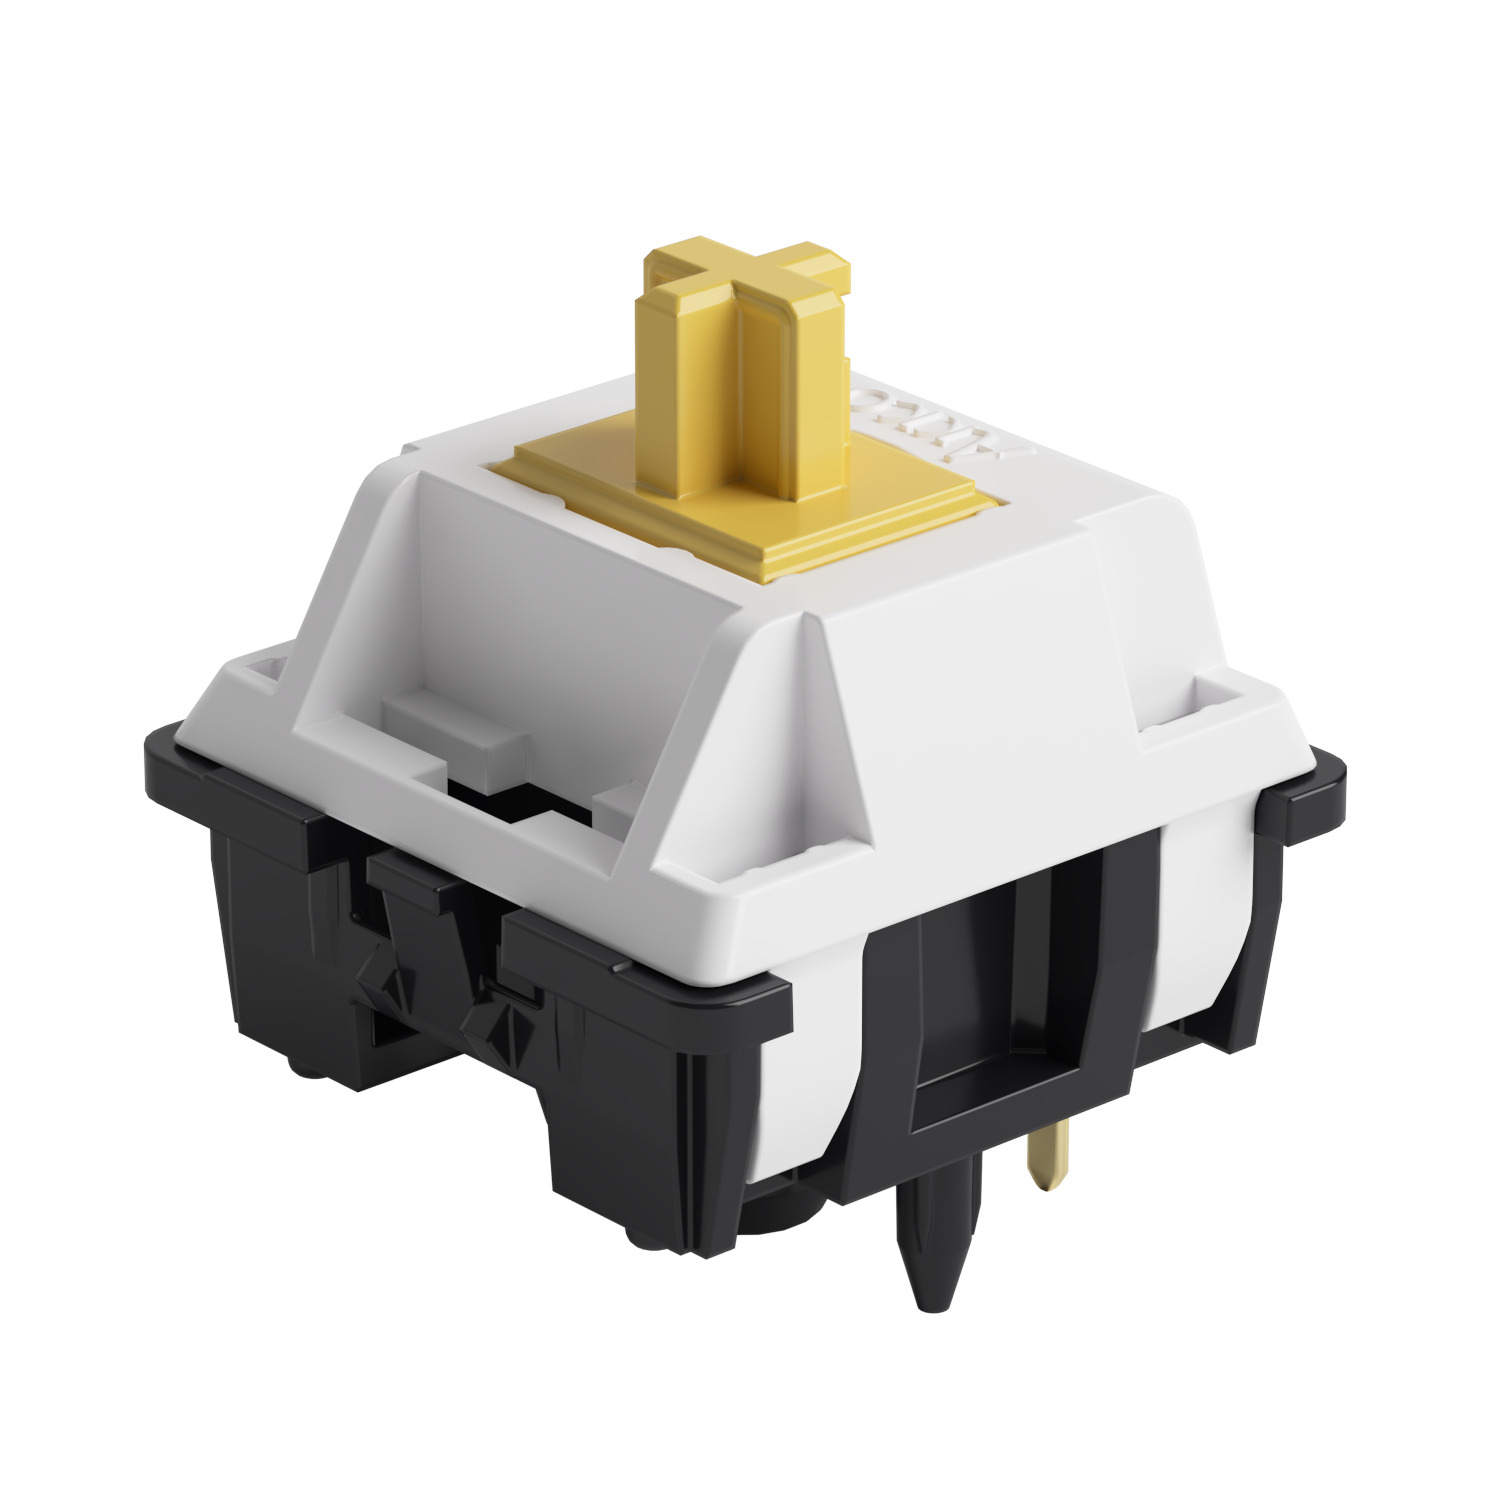
Before exploring thocky sound, let's look at what causes a switch to sound the way it does. The core parts of a keyboard switch are the stem, housing, spring, and the rails that guide the stem's movement.
When you press a key, the stem travels through the switch housing, compressing the spring until it strikes the bottom housing. This impact creates the sound you hear. Specifically, there are 3 types of sound:
- Bottom-out impact — when the stem hits the bottom housing, producing the main sound you hear
- Top-out (rebound) — when the stem returns and contacts the top housing, adding higher-frequency detail
- Internal resonance — how vibrations travel through the switch housing and amplify or dampen the sound
What Actually Creates a Thocky Sound?
In general, a “thocky” sound is defined by a few key characteristics:
- Deep: The pitch is low, closer to a soft drum hit than a sharp bell-like sound.
- Rounded: The sound feels smooth and full, without any harsh or piercing edges.
- Focused: Most of the sound energy is concentrated at the moment of bottom-out, without lingering or spreading out.
- Softly cushioned: There’s a slight sense of cushioning when the key bottoms out, rather than a hard, crisp impact.
After knowing the characteristics, we can work backward to deduce its technical implementation path.
1. Enhancing Low-Frequency
A switch sounds thocky when most of its bottom-out energy is concentrated in the low-frequency range. This can be achieved by:
- A smaller bottom-out area: A more focused impact produces a deeper sound. This is the idea behind the U1 switch's small cylindrical stem design.
- Using high-damping materials: Materials like modified POM absorb unwanted high-frequency noise, resulting in a fuller sound.
- Softening the bottom-out: A slight cushioning effect reduces sharp impacts and emphasizes lower frequencies.
2. Suppressing High-Frequency Noise
High-frequency noise can make a “thocky” sound feel sharp or dirty, even if the low end is good.
Key ways to reduce it
- Better damping materials: Use materials that absorb vibration more effectively.
Modified POM > PC, Nylon > hard plastics - Reduce friction points: Fewer contact areas and tighter tolerances help lower unwanted noise.
- Keep materials consistent: Using similar materials across the top, bottom, and stem reduces resonance between different interfaces.
3. Controlling Rebound Sound
This is the most easily overlooked but extremely crucial step. Many switches have a good bottoming-out sound, but when the stem hits the top cover during rebound, it produces a noticeable "tap" or "clink" sound, completely ruining the clean sound. Ways to avoid it:
- Use high-damping materials for the top cover (such as modified POM instead of PC).
- Optimize the internal structure of the top cover (reduce the impact area or increase cushioning).
How Switch Materials Shape Sound?
The way to produce a thocky sound firslt depends on one key factor: the material. Because sound starts with impact—whether it’s bottom-out, top-out, or stem friction. In the end, it’s all solid contact. The pitch, volume, and decay of the sound are mainly shaped by the materials involved in these collisions.
The material's density, stiffness, Internal damping and Self-lubrication can affect the sound:
- Density affects how fast sound travels through a material. Higher density allows impact energy to transfer more directly, giving a quicker, more immediate feel. However, density mainly influences the sense of speed, not the actual sound character.
- Stiffness is a material’s resistance to deformation. Higher stiffness means less deformation on impact, resulting in a sharper, more focused sound. Lower stiffness absorbs more energy, making the sound softer and more muted.
- Internal damping is the material’s ability to absorb vibration — and it’s the key factor behind sound cleanliness.
-
- High damping: vibrations are quickly absorbed, producing a clean sound with little to no aftersound.
- Low damping: vibrations linger and reflect, causing echo, noise, and a more scattered or “grainy” sound.
-
Self-lubrication affects friction noise. Smoother materials generate less scratchiness during movement, which is why some switches sound relatively smooth even without lubrication.
Common Switch Materials Characteristics
| Material | Density | Stiffness | Damping | Self-Lube |
|---|---|---|---|---|
| PC | Medium | High | Low | Poor |
| POM | High | Medium | Medium | Excellent |
| Nylon (PA) | High | Low–Medium | High | Moderate |
| ABS | Low | Low | Low | Poor |
| PBT | High | High | Medium | Poor |
| UPE | Low | Low | Low | Excellent |
| PEEK | High | High | Medium | Good |
- PC (Polycarbonate): Bright and crisp with a slightly hollow character. Low damping makes high-frequency noise more noticeable.
- POM (Standard): Balanced and muted “thock.” Medium damping and strong self-lubrication create a smooth, controlled sound.
- Nylon (PA): Deep and heavily damped sound profile. Feels soft but can lack definition in bottom-out impact.
- ABS: Thin and hollow acoustic signature. Low rigidity and damping result in weak sound presence.
- PBT: Solid and slightly woody tone. High stiffness provides structure, but friction noise can be noticeable.
- UPE: Extremely smooth and low-friction material. Very quiet, but with limited acoustic impact.
- PEEK: Clean, crisp, and highly controlled sound. Premium rigidity with balanced damping, but costly to produce.
No material is inherently “best.” Each comes with trade-offs between smoothness, sound profile, and structural behavior. The real difference comes from how these materials are combined and engineered within the switch design.
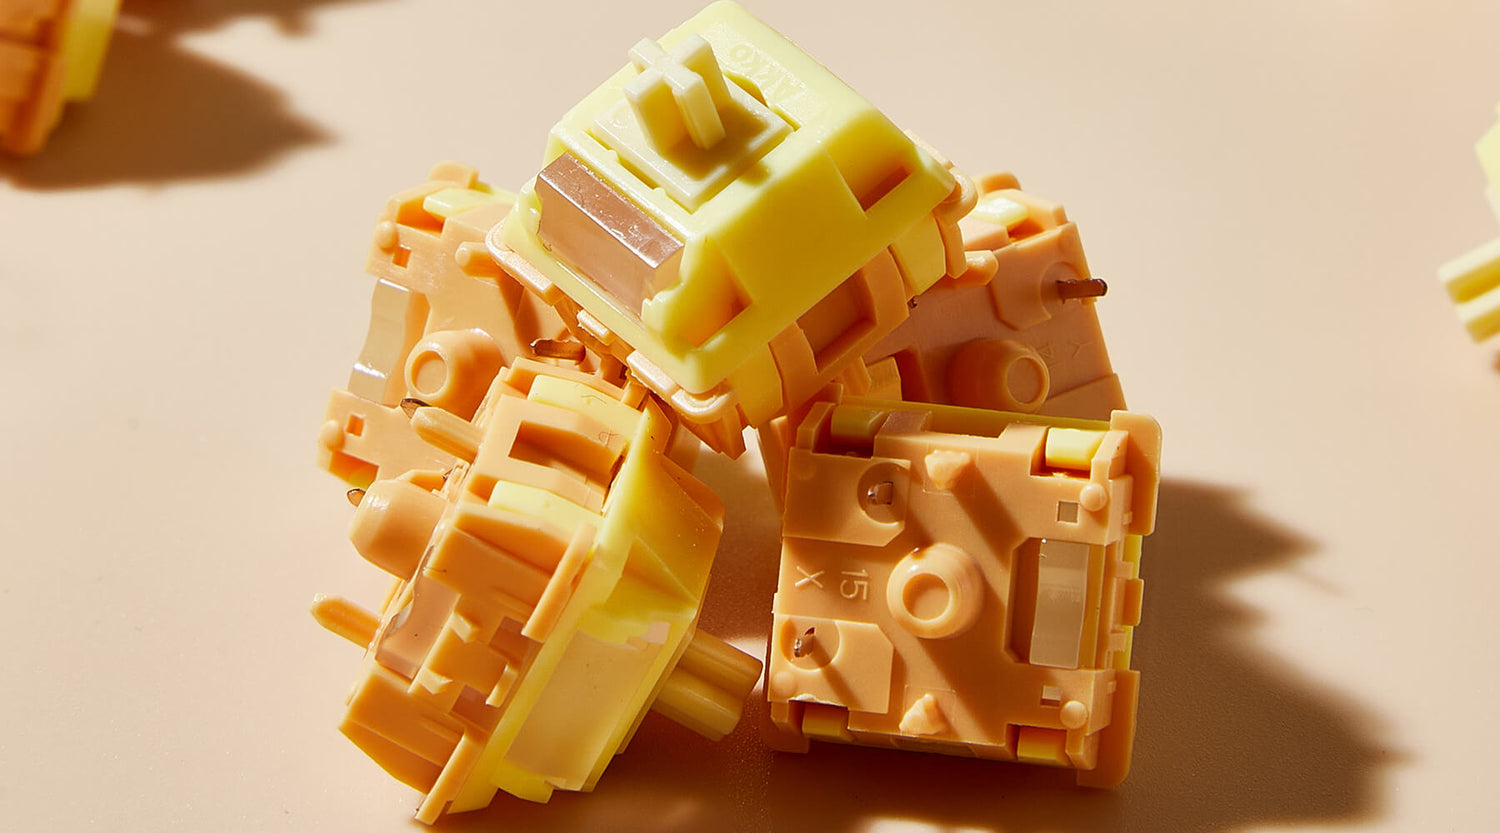
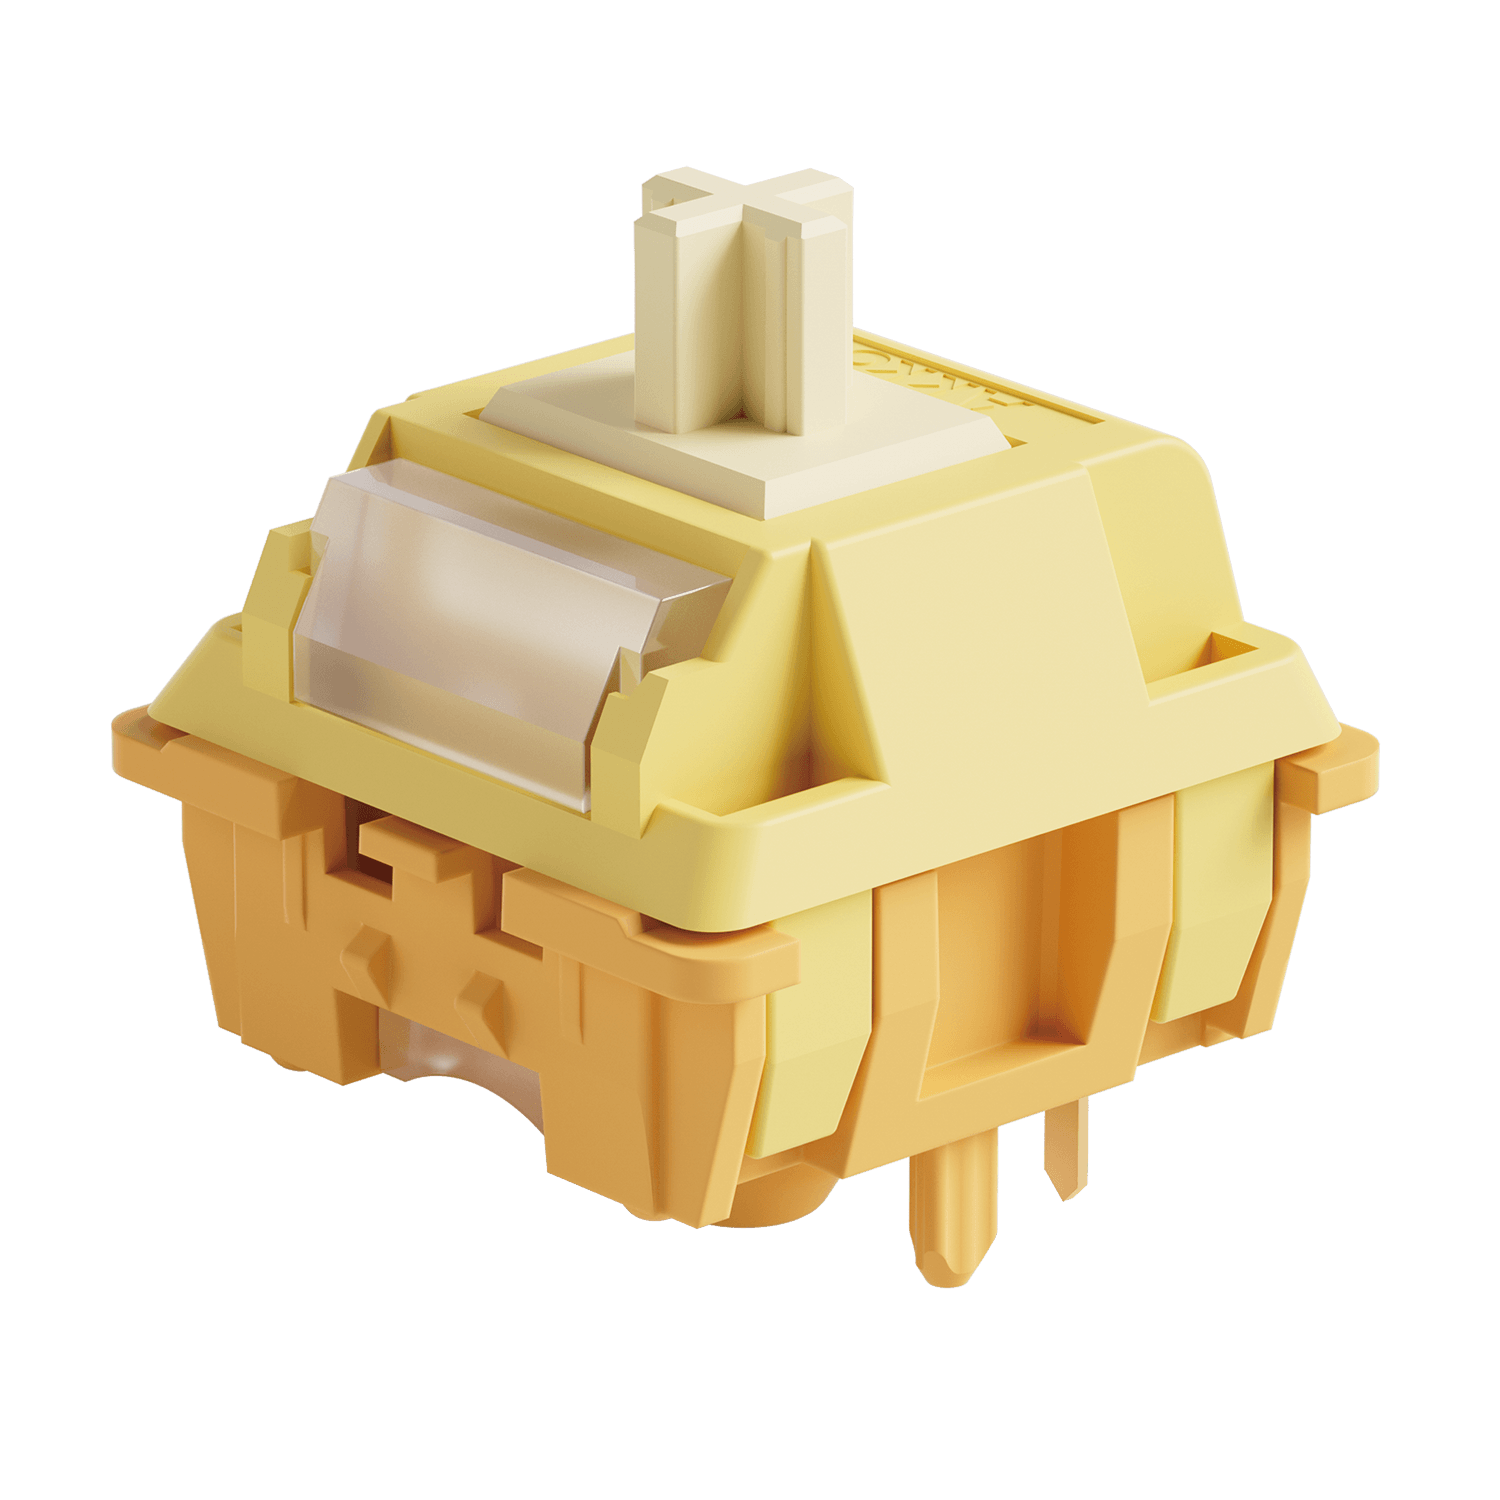
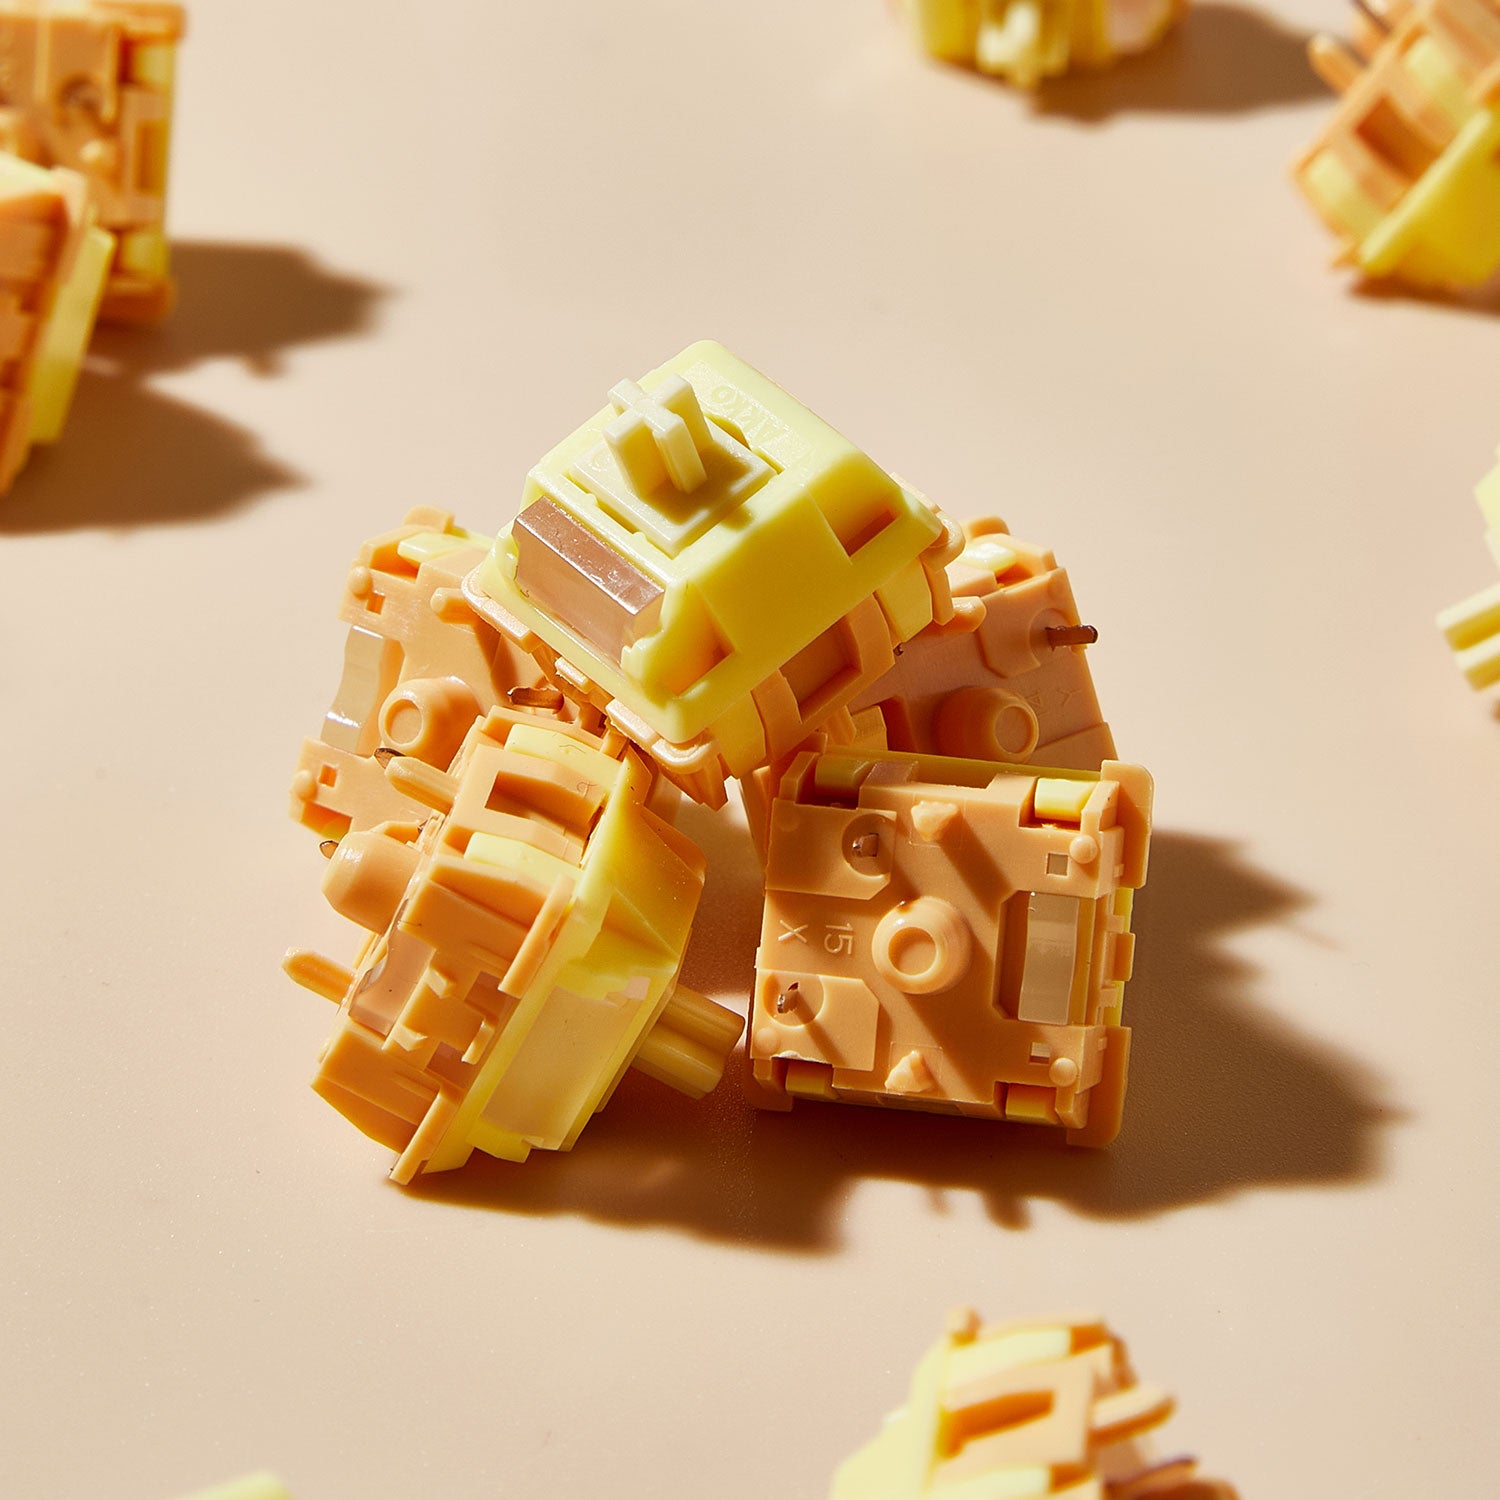
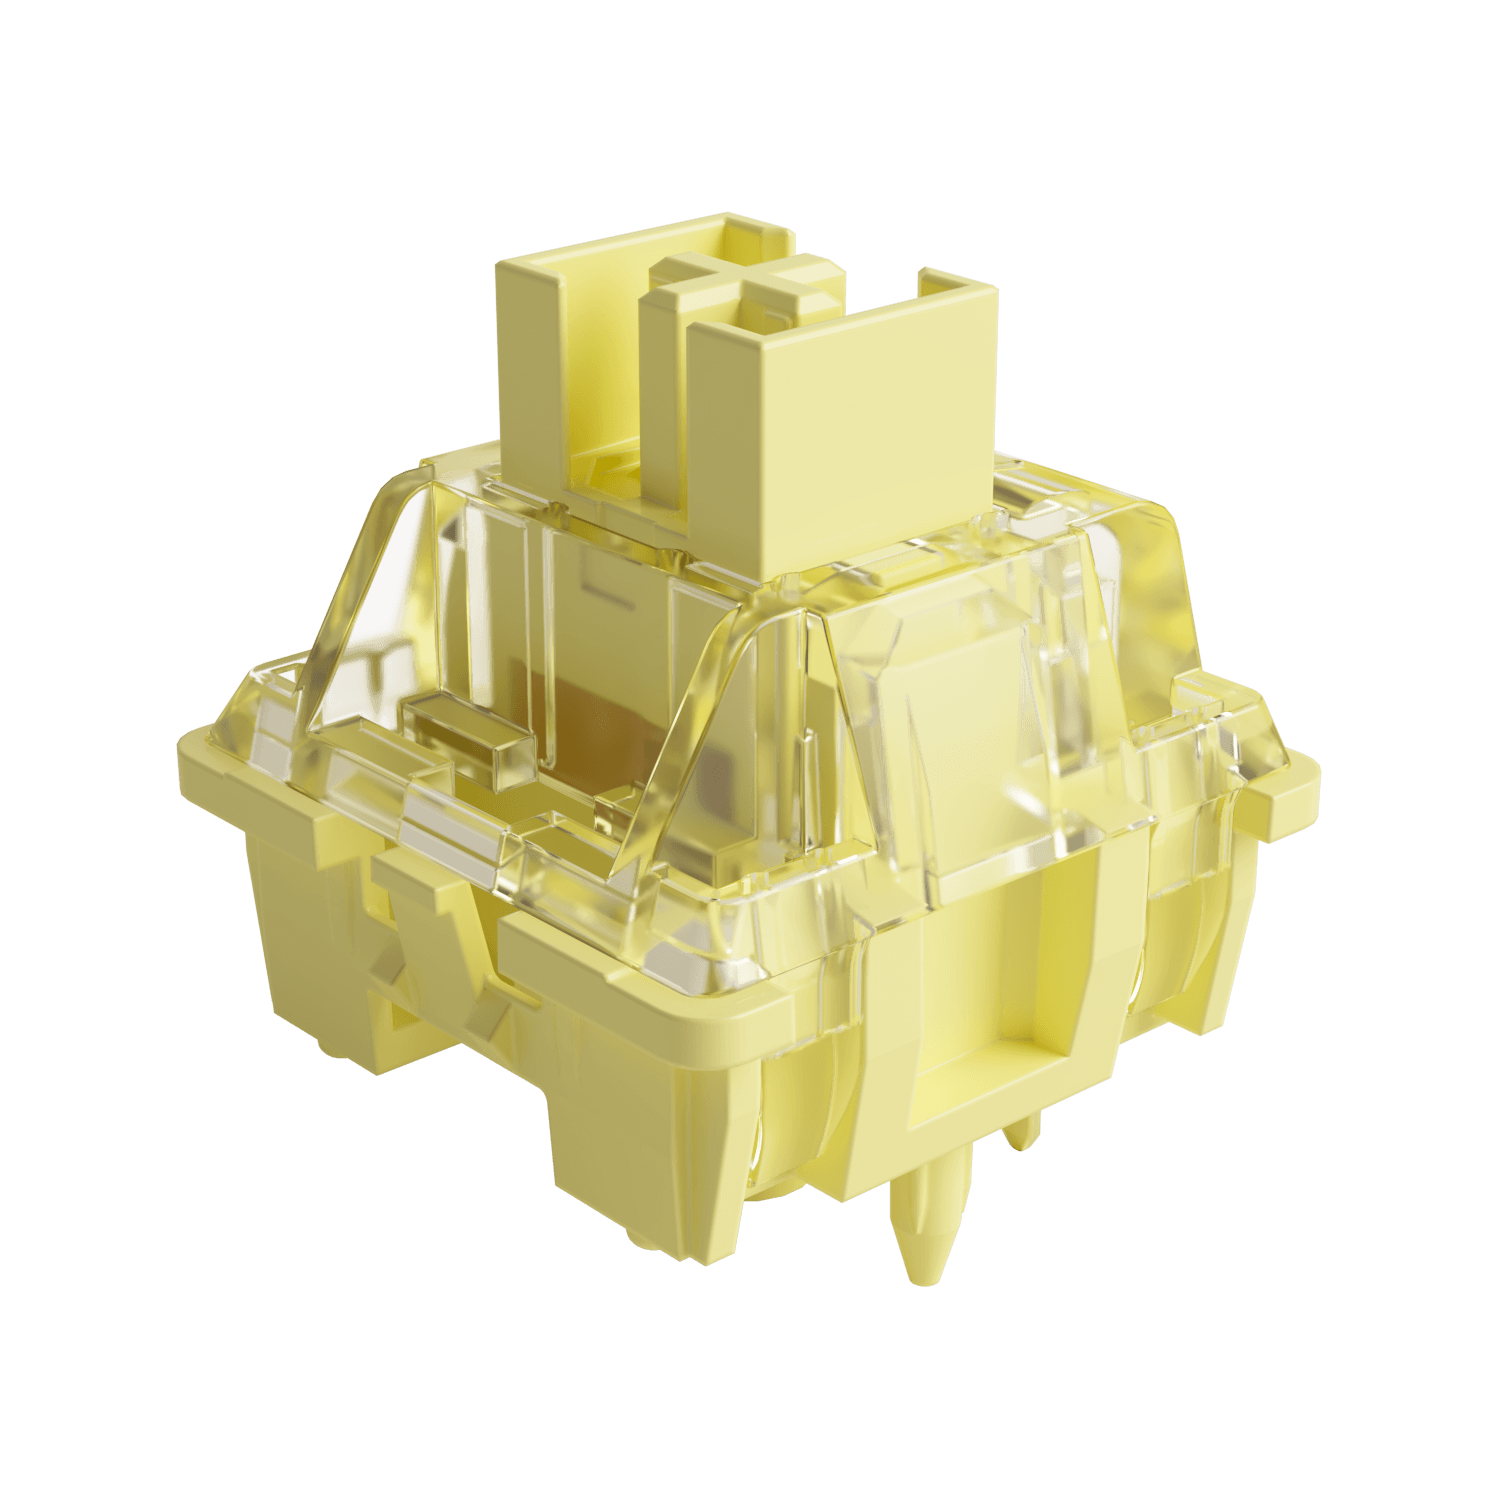
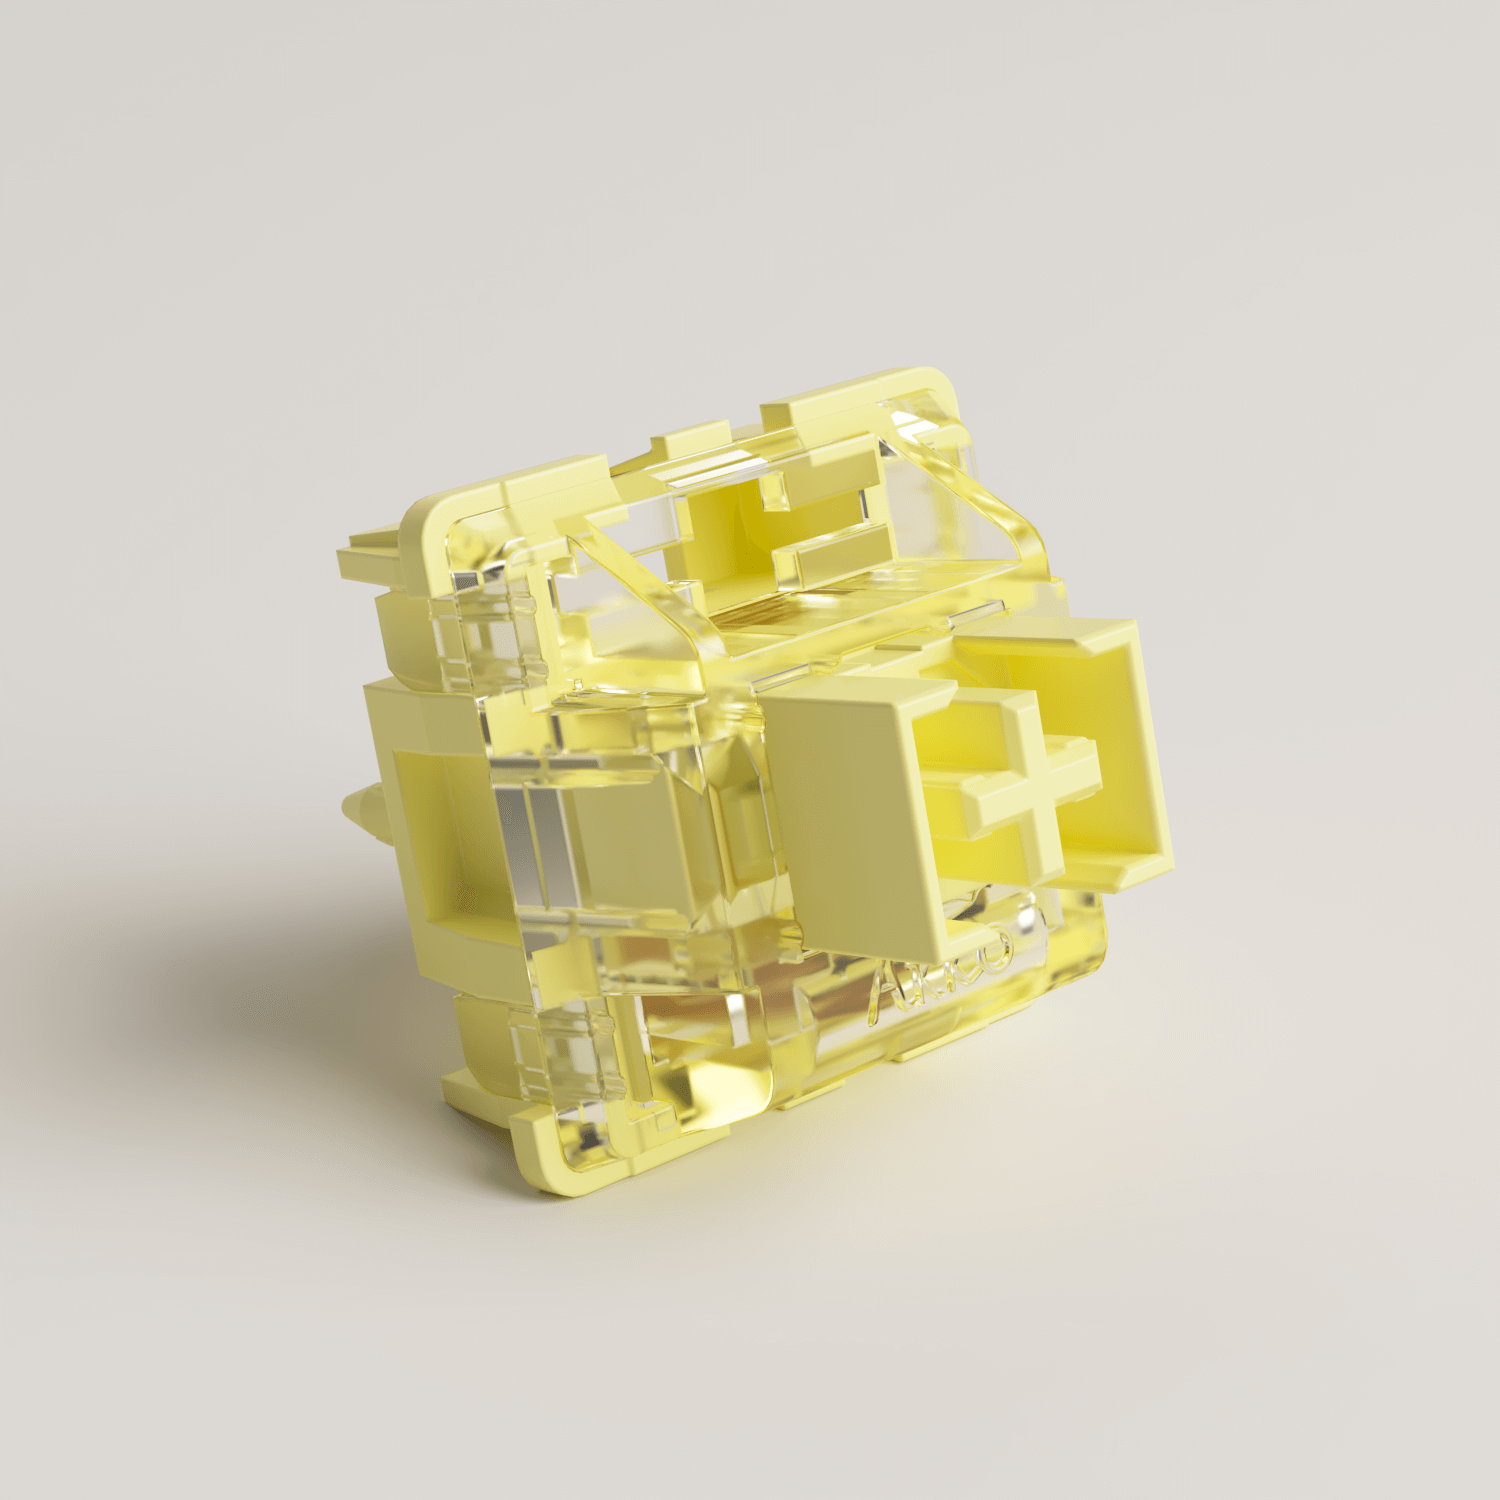
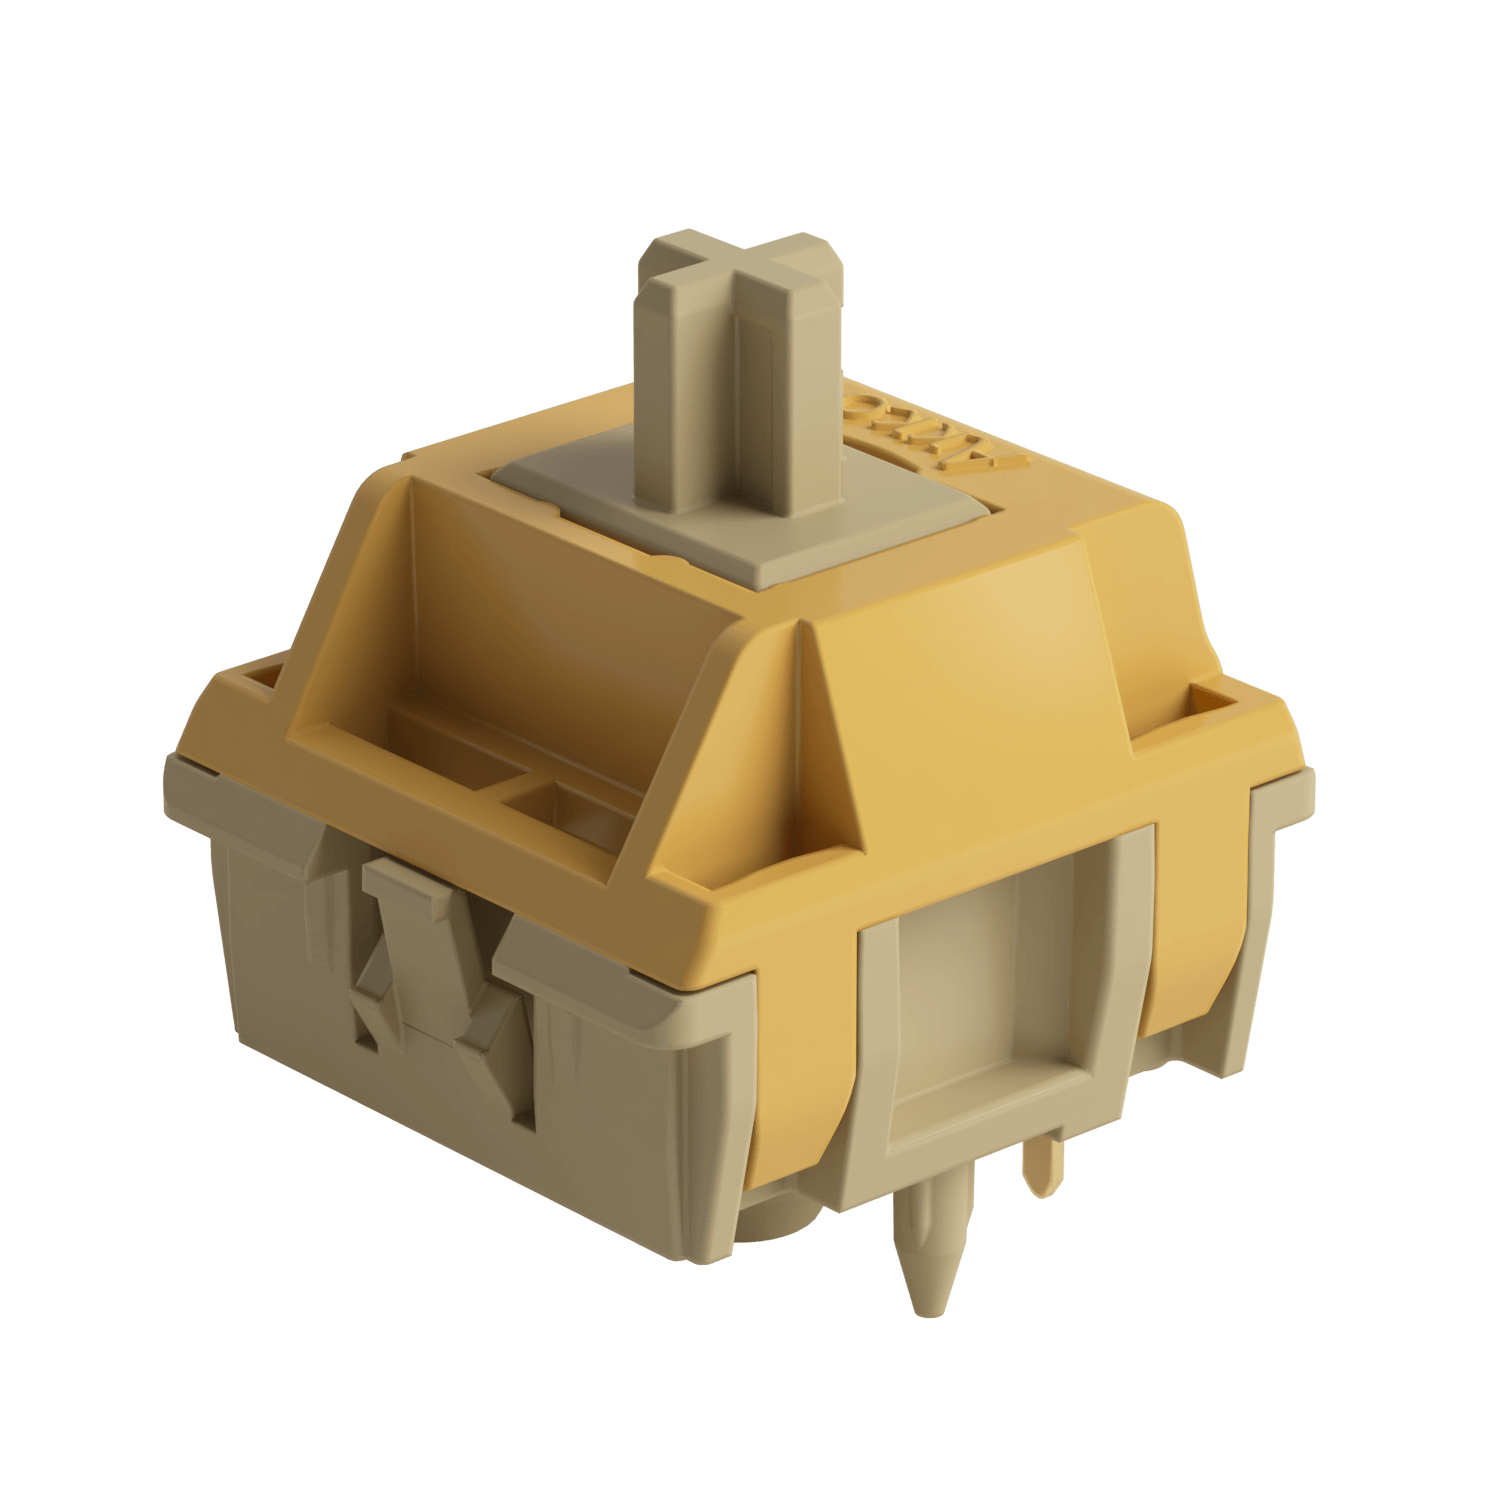
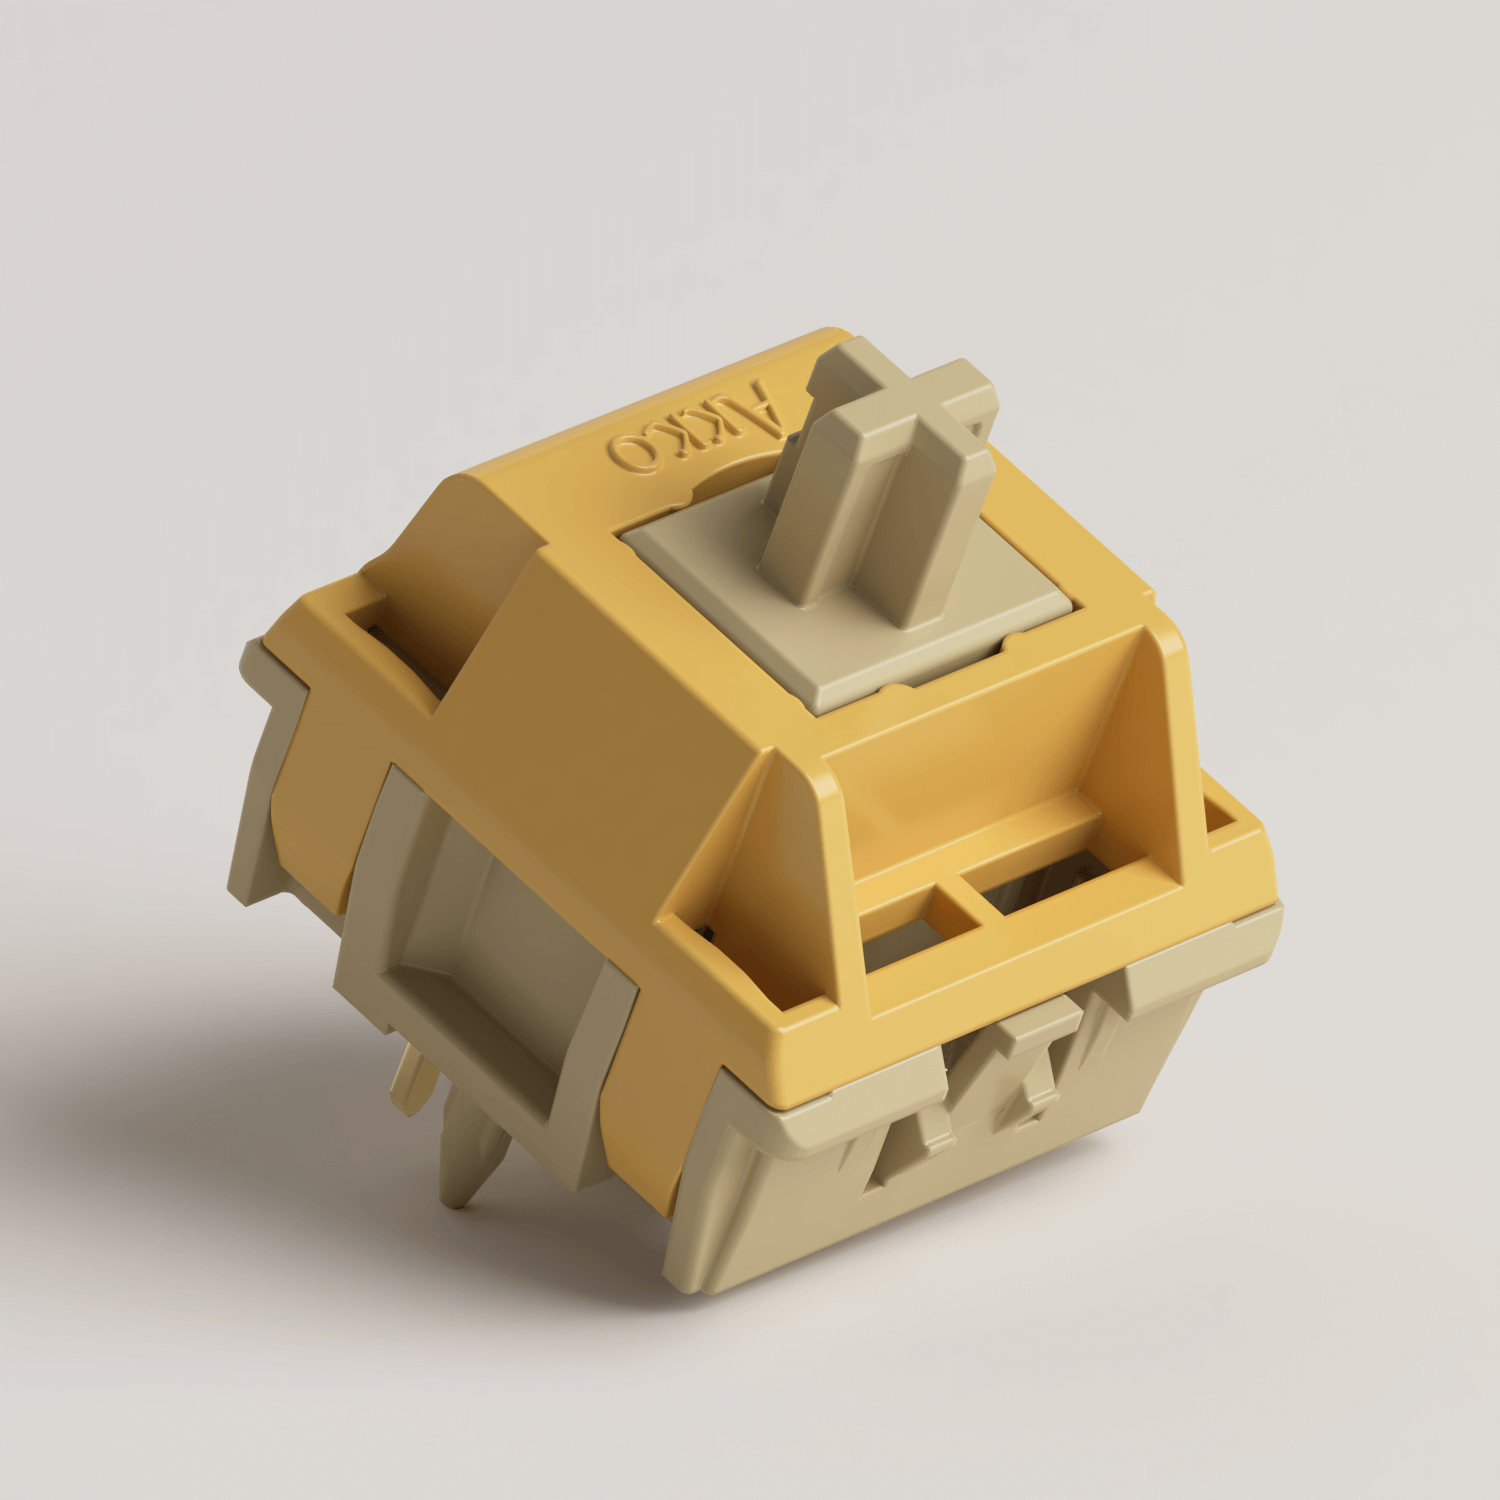
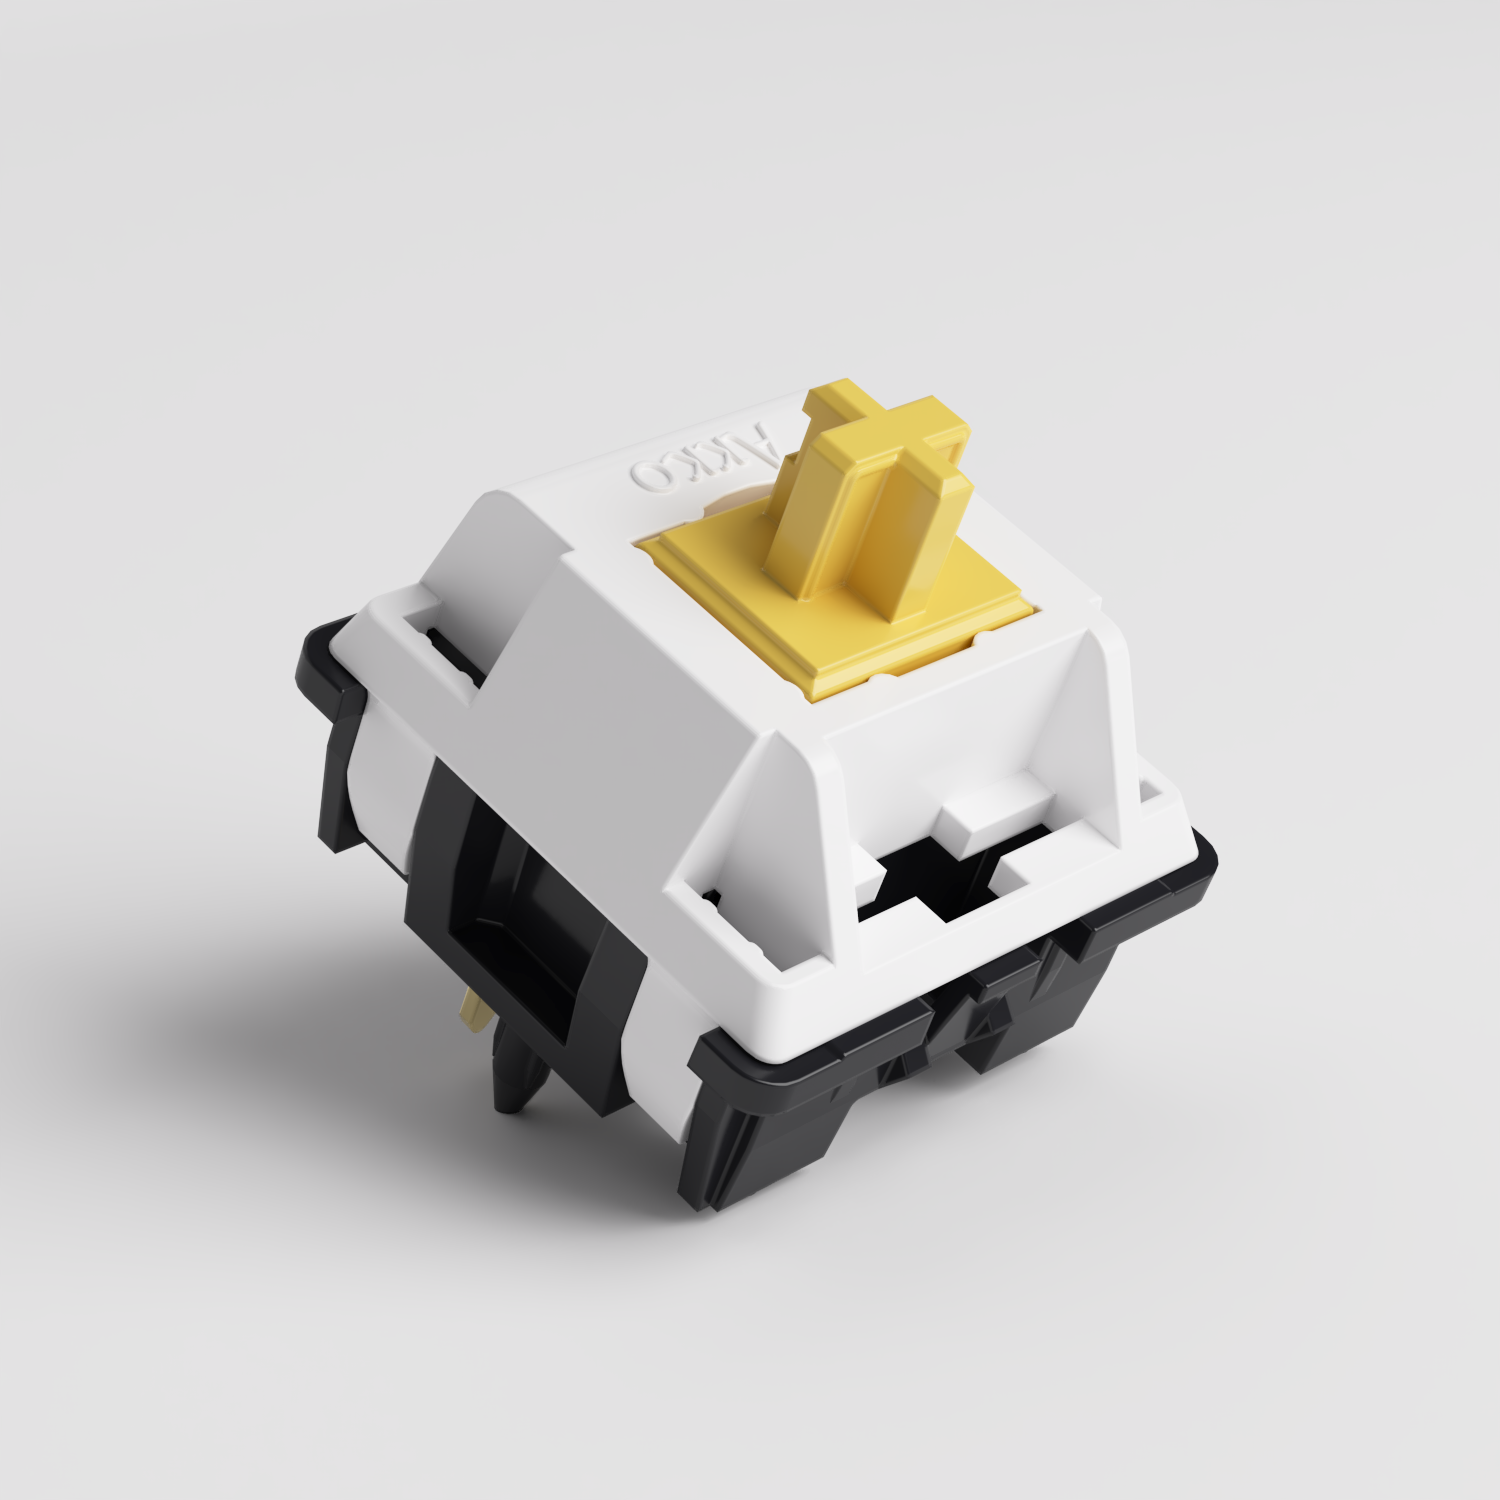
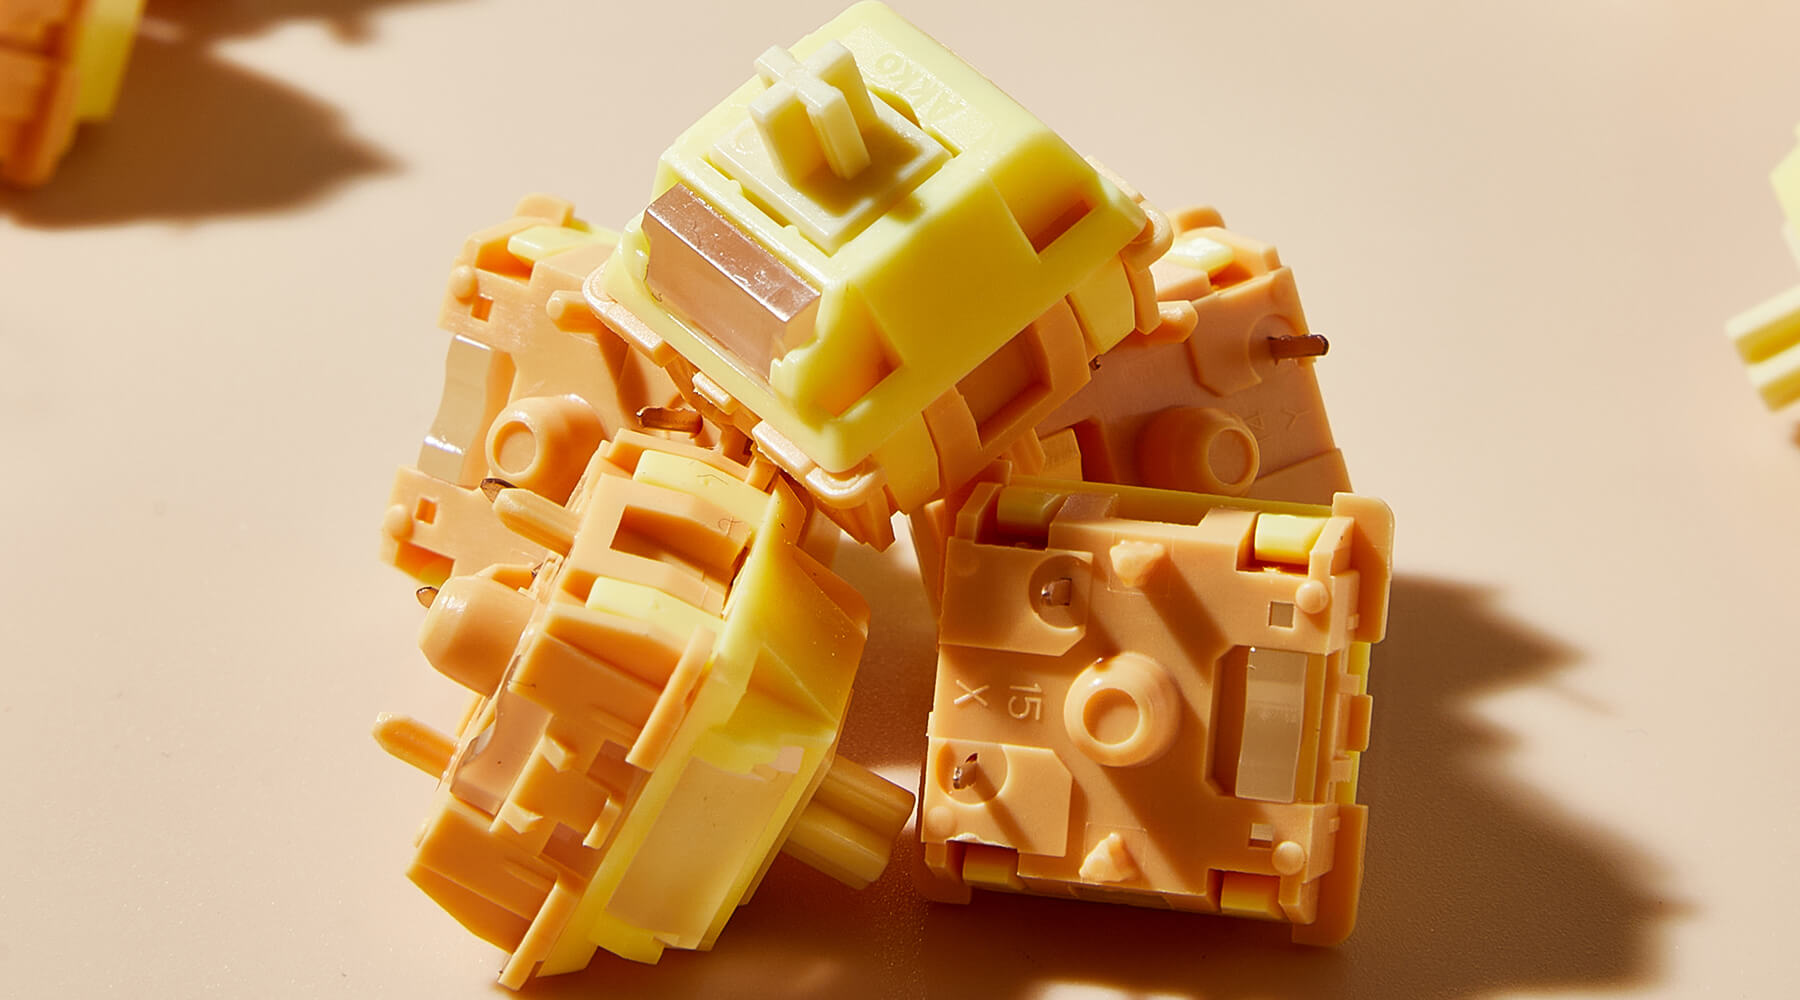
In the design of the Creamy Yellow U1 Switch, both the top housing and the stem use POM. This creates a more consistent material pairing during top-out, resulting in a cleaner, more focused impact sound. The bottom housing is made of PA66 to utilize its high damping to absorb bottoming-out vibrations.
Why Material Alone Isn’t Enough?
If you've tried some switches, you'll find that even switches made of the same material can sound very different. The difference comes down to how that material is used within the switch design.
1. Shape of contact points
The shape and size of where the stem meets the housing directly affect how impact energy is concentrated or dispersed.
| Stem Bottom Shape | Contact Area | Sound Character |
|---|---|---|
| Flat bottom | Large | Wide, dispersed sound with weak focus |
| Rounded bottom | Medium | Moderately focused but still slightly broad |
| Small cylinder / pointed bottom | Very small | Tight, focused “point-like” sound with stronger low-end presence |
2. Stem guide rails
The stem guide rails are the internal channels inside the top housing that control the stem’s vertical movement. They directly affect both friction noise and impact noise. Reduce the contact area between the stem and the guide rails—the fewer and more precise the contact points, the lower the friction and impact noise.
3. Top Housing Design & Return Sound Tuning
Return sound is one of the most overlooked aspects of switch acoustics, yet it has a major impact on perceived “cleanliness.”
After the key is released, the stem rebounds upward and collides with the inner wall of the top housing, producing a return sound. If the top housing is made of PC (high stiffness, low damping), this results in a sharp “clack” sound with noticeable cavity resonance and lingering high-frequency noise—commonly perceived as a “grainy” or “cracked” sound.
Simply using a “good material” doesn’t guarantee a good result. What matters is how materials and structure work together to control impact, rebound, and resonance.
How to Choose a Thocky Switch?
We’ve already covered the basics of what creates a thocky sound. But when evaluating a switch in practice, how can you quickly tell if it has thock potential? Here are a few simple checks.
1. Check the Materials
When check the switch mateirals, you can focus on these three factors:
| What to Check | Ideal Condition | How to Evaluate |
|---|---|---|
| Material combination | POM / PA66 or other medium–high damping materials | PC top housing → brighter, sharper sound with weaker thock potential; POM/PA66 combo → stronger thock potential |
| Stem bottom shape | Small cylindrical or pointed bottom | Flat bottom → more dispersed sound; small/pointed bottom → more focused sound |
| Structural optimization | Reduced guide rail contact area, return sound tuning | Mentioned → better noise control potential; not mentioned → likely more dependent on lubrication |
2. Check the Sound
If you can test the switch yourself—or listen to a sound test in a review—you can evaluate its thock potential with a few simple steps.
- Check the bottom-out sound: Press the switch slowly to the bottom—does it sound like “thock” or “clack”?
- Check the return sound: Release your finger—do you hear any trailing “click” or “ping”?
- Check the friction sound: Rapidly press the switch multiple times—any noticeable scratchiness?
And check the if the bottom-out, return, and friction sounds feel consistent with each other.
3. Test the Switch in a Keyboard
A switch can sound very different on its own versus inside a keyboard. That's because the plate, PCB, foam, and keycaps all affect the final sound.
- For a fair comparison, test different switches in the same keyboard with the same keycaps.
- Type normally for 5–10 minutes and pay attention to whether the sound stays consistently thocky across different keys.
- If possible, try different plate materials, such as metal and PC/FR4. A well-designed switch should retain a similar sound character across different setups.
Final
A satisfying sound profile doesn’t come from a single factor. It is the result of the synergistic effect of materials, structure and assembly precision. This is why some switches feel immediately satisfying out of the box, while others require extensive tuning to reach the same level. It’s not just about what materials are used, but how precisely they are engineered to behave as a system.
For most users, especially those new to custom keyboards, this is the most important takeaway, you don’t need to chase perfection through constant adjustments. You can start with a switch that is designed to already get very close to it.


Yorum yazın
Tüm yorumlar yayınlanmadan önce incelenir.
Bu site hCaptcha ile korunuyor. Ayrıca bu site için hCaptcha Gizlilik Politikası ve Hizmet Şartları geçerlidir.