You may find that after using your keyboard for a long time, the keycaps will be covered with stains, and even the gaps between the keyboards will have a lot of debris. Mechanical keyboards, a popular choice in DIY hardware, are particularly prone to hiding dirt due to their structure. Maintaining a clean mechanical keyboard not only provides a nice typing experience, but it also extends the life of this crucial component.
However, cleaning a mechanical keyboard can be a bit tricky and requires some skill. So, how should you clean the debris and dust from a mechanical keyboard? Here I divide keyboard cleaning into two categories: one is to remove the keycaps for cleaning, and the other is to clean without removing the keycaps.

Methods do not require removing the keycaps
1. Upside the keyboard down and tap it gently
Turn the keyboard upside down and tap it gently to remove the hair and dust. Remember not to use too much force; otherwise, it may cause the internal keys to malfunction.
2. Use alcohol wipes
Since the keyboard has been used for a long time, a lot of dust will definitely accumulate around the panel, and the panel is relatively easy to clean. Just wipe it with alcohol wipes. Alcohol is very volatile and will automatically dry up soon after wiping. Secondly, it is non-conductive and will not damage the keyboard. Not only will it not leave paper scraps, but it can also disinfect the area around the keyboard, killing two birds with one stone.
3. Use a dryer
If you want to simply clean the residue and dust in the gap of the keyboard, then a dryer is a good help. Just pick it up and blow it towards the keyboard for a few minutes. The dust and residue inside will go out with the dryer, but remember to use cold air when using it; otherwise, it may damage the keyboard and deform the keycap.
4. Use a vacuum cleaner
There are many small vacuum cleaners on the market based on keyboards, etc. Some low-priced portable USB vacuum cleaners may have limited suction due to their size, but they should be better than hair dryers because there will be no feeling of flying dust and residue. You can also try a larger vacuum cleaner, and the effect should be better.
5. Use a brush
For stains that are difficult to clean, such as hair, a brush can be used to clean them well, but it takes a lot of time and energy. The stains need to be swept out little by little, which takes a long time, but the cleaning effect is much better than a blower.
6. Use keyboard cleaning mud
Keyboard cleaning mud is also a good helper for keyboard cleaning. It can be bought on various shopping websites. It is cheap and easy to operate. Rolling the cleaning mud on the keyboard can absorb dust and residue. However, you must be extra careful when using it. Never let the cleaning mud stay on the keyboard for too long. You can pick it up after leaving it for 0.5 seconds to clean the next place. Because it is left for too long, some of the cleaning mud will flow back into the gap of the keyboard, which is extremely difficult to clean. It may not be cleaned, but it is damaged.

Methods require removing the keycaps
1. Disconnect your keyboard
Firstly, you should disconnect your keyboard from your computer. It will prevent accidental key presses or harm to your system while cleaning. If your keyboard is wired, you should unplug its USB link from your computer. For a wireless keyboard, you should turn off your keyboard and, if feasible, remove its batteries. Keeping your keyboard entirely removed will make the cleaning procedure easier and safer.
2. Pull off the keycaps
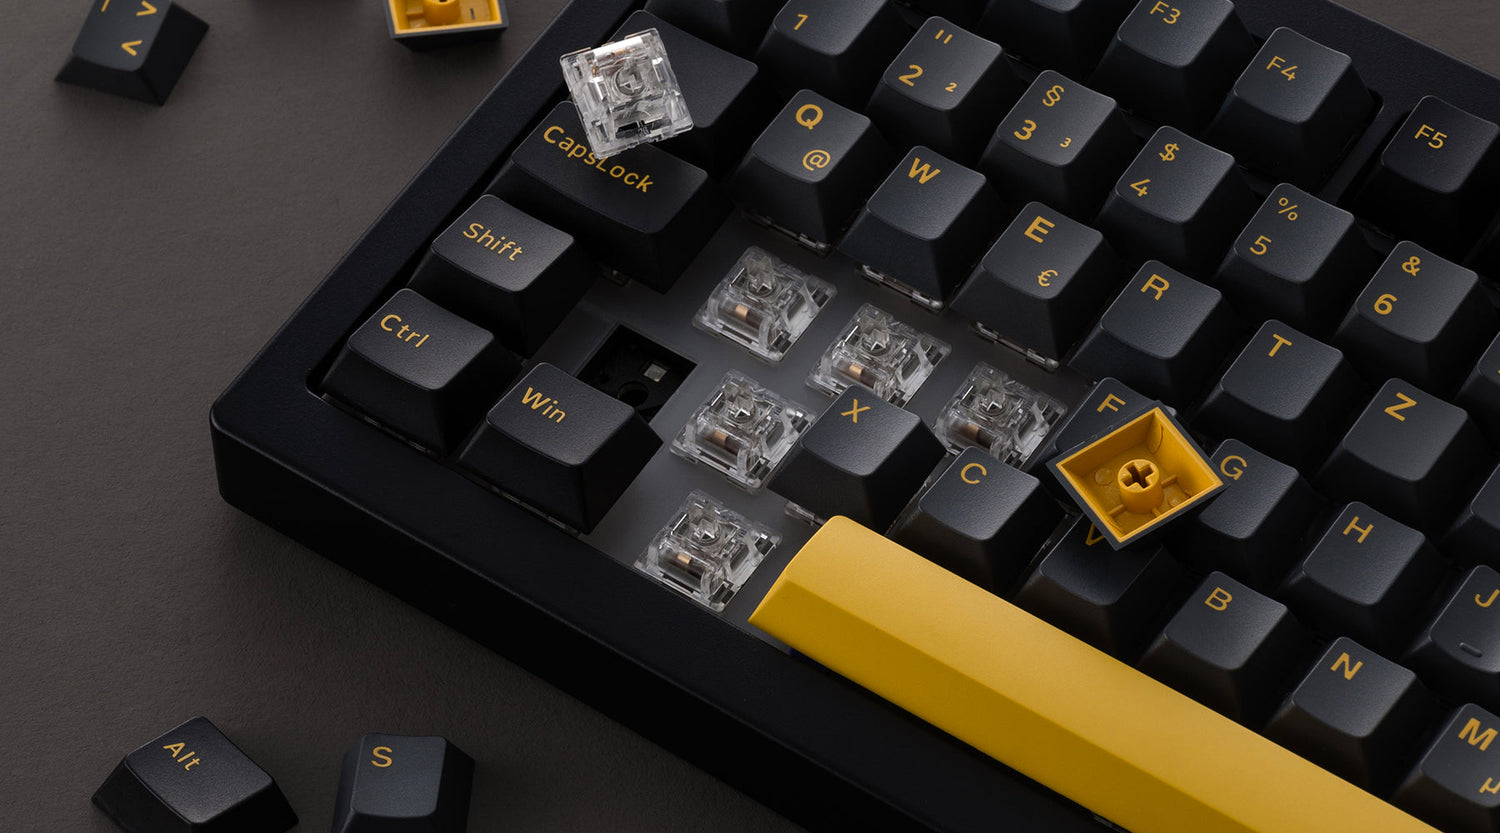
After disconnecting your keyboard, you can pull off all the keycaps on the keyboard using a key puller. Generally speaking, a key puller will be included in the keyboard package.
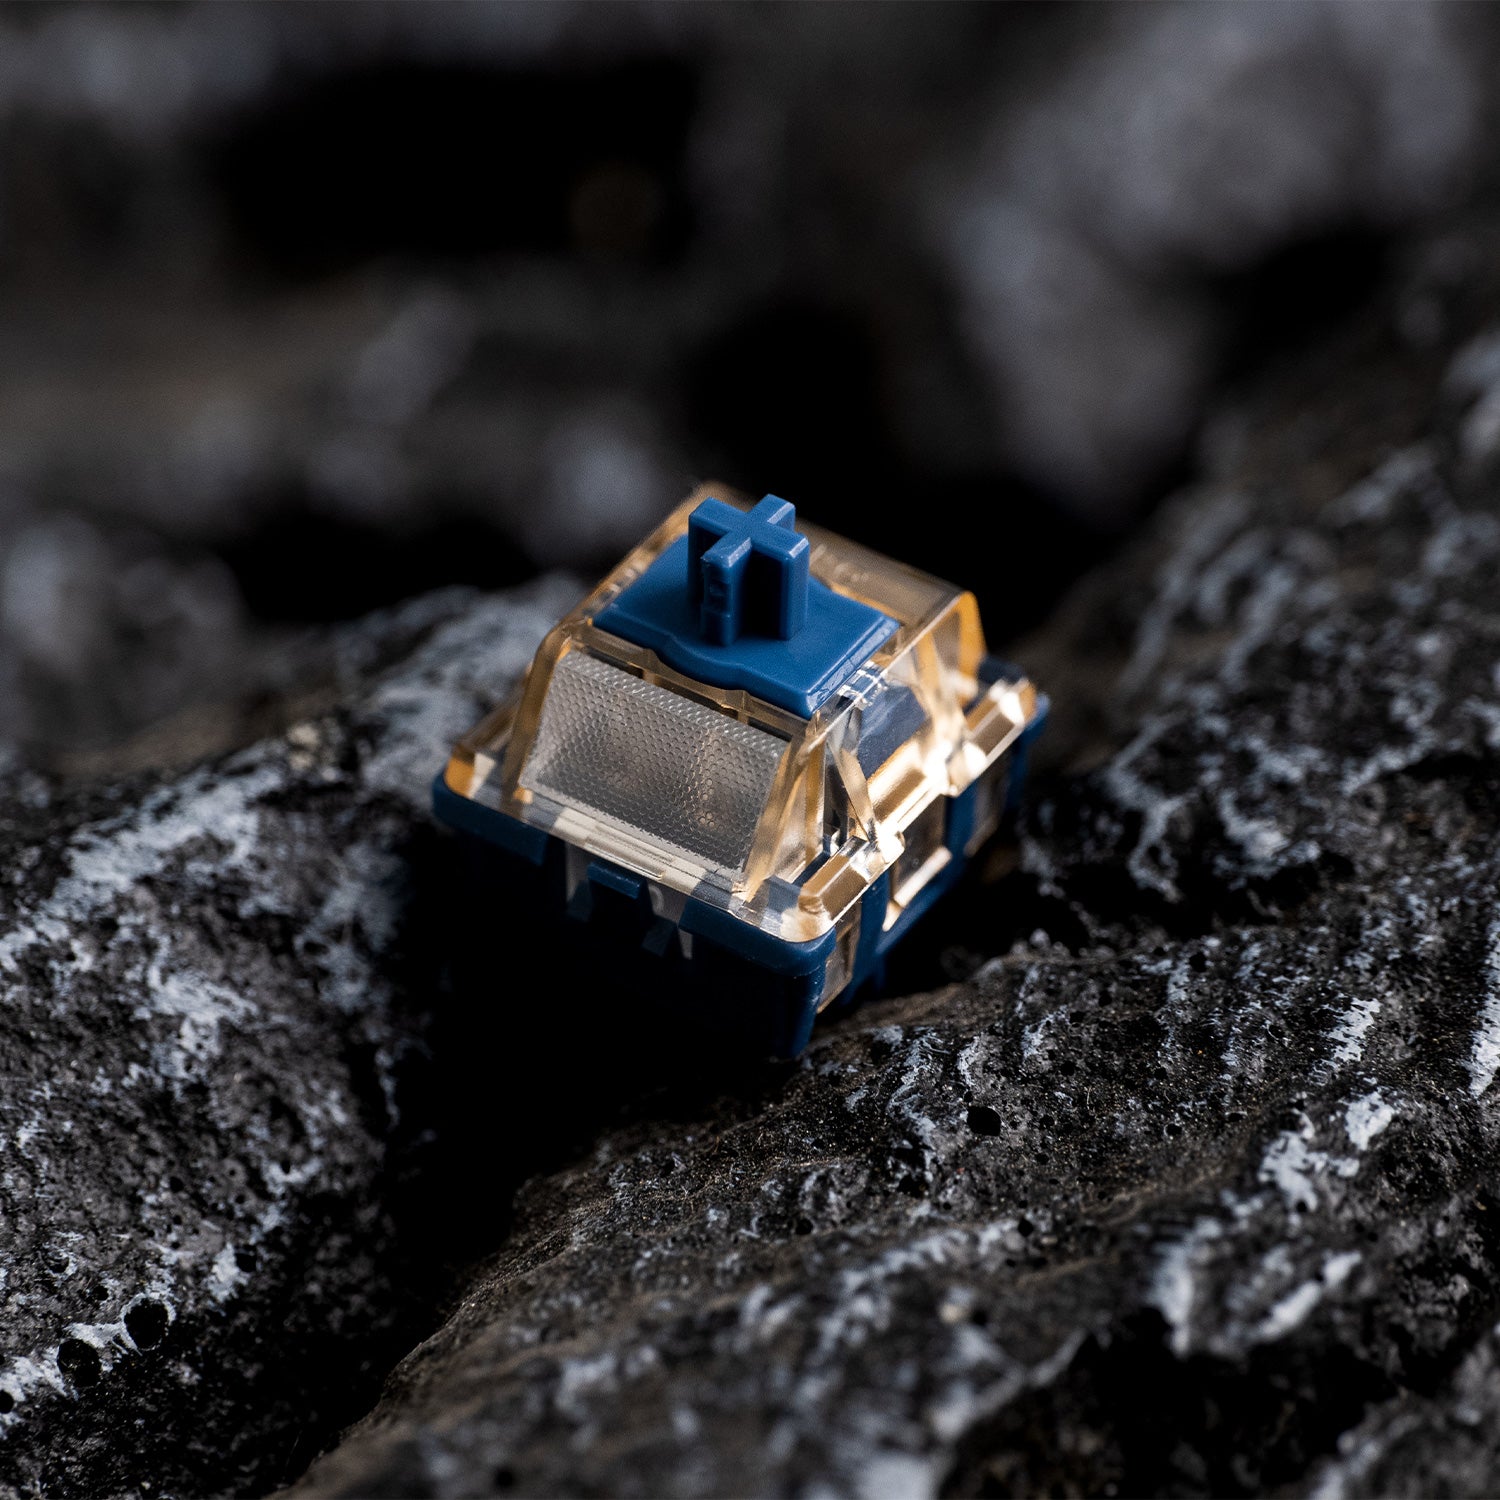
Removing the keycaps of a mechanical keyboard is a relatively careful job. We need to restore the removed keycaps to their original state and try not to damage the keycaps and switches. You know, the main device for the keyboard to send signals is the switch, so handle them with care. Here are some important considerations.
- Avoid Switch Damage: Be gentle when removing the keycaps to avoid damaging the switch. If you have a hot-swappable keyboard, you can easily replace a damaged switch. Unfortunately, if the keyboard is not hot-swappable, it is necessary to replace the entire switch, which requires soldering and can be time-consuming.
- Pay attention to stabilizers (or satellite stems) behind larger keycaps. These components aid in the stability of bigger keys and should be handled with care.
By following these measures, you can reduce the chance of damage and keep your keyboard in good operating order.
Tip: If you are concerned that you will be unable to restore the keyboard to its original state after removing the keycaps, take a snapshot of the keyboard first. When installing, you can place the keys according to the photo.

3. Clean the board
Clean the keyboard board after removing the keycaps. After removing the keycaps, the stains inside the keyboard are easier to clean. We can use the alcohol wipes, brushes, and keyboard cleaning mud for cleaning, just like the methods mentioned for the methods that do not need to remove the keycaps.
4. Clean the keycaps
Cleaning the keycaps is not so troublesome. You can start cleaning by preparing a basin of water and a cleaning agent. The cleaning agent can be household cleaning liquid, detergent or soap. You can also prepare a small brush that is not used. Use the brush to clean parts that are more difficult to clean, which leads to cleaner keycaps. After washing both inside and outside, replace the keycaps and place them in a cool, aired area to dry.
5. Install the keycaps
Once the keycaps have dried, you can install them. If you're not sure, use a hair dryer to blow the keycaps and keyboard surface for a few minutes to keep some areas from drying. But everyone must pay attention to using the cold air mode to ensure that the keyboard keycaps are not deformed.
At this time, you will benefit from the keyboard pictures taken before. Install the keyboard according to the pictures. After installation, the keyboard will definitely become brand new.

Additional Tips and Precautions
Avoiding Common Cleaning Mistakes
- Avoid Excessive Moisture: Never soak your keyboard in water or use too much liquid cleanser. Always use moist rags or wipes, and make sure the keyboard is dry before reconnecting.
- Use safe cleaning agents. Stick with alcohol wipes or a light dishwashing liquid. Harsh chemicals can harm keycaps and interior components.
- Use a key puller to gently remove keycaps without damaging the switches or stabilizers.
Ensuring Keycaps Are Completely Dry
- Air Dry Thoroughly: After washing the keycaps, allow them to air dry completely in a well-ventilated area. Do not use heat sources like hair dryers on hot settings, as this can warp the plastic.
- Check for Residual Moisture: Before reattaching the keycaps, ensure there is no residual moisture that could seep into the keyboard.
Final
A clean mechanical keyboard works better and lasts longer. Whether you pick a quick surface cleaning or a thorough keycap removal, regular maintenance keeps your keyboard in peak condition. Follow these cleaning instructions to keep your mechanical keyboard looking and performing like new. Happy typing!
Frequently Asked Questions
How do you clean a mechanical keyboard after a spill?
If liquid falls on your keyboard, you should immediately detach it from the computer.
If all you spilled was water, turn the keyboard over to drain the water. To clean the spill, remove the keycaps using a keycap puller and wipe the keyboard well with a cloth.
If you spill coffee, soda, or sugary beverages, remove keycaps and use a handkerchief to absorb extra water.
After drying the board, use the preceding methods to clean the keycaps.
What should I do if a key remains unresponsive after cleaning?
Reinstall the keycap. Make sure the keycap is fully restored and doesn't interfere with the switch.
Check the switch. Inspect the switch for debris or damage, then clean it thoroughly.
Consult a professional. If the switch on your non-hot-swappable keyboard is broken, consult a professional.
What should I do if a key remains unresponsive after cleaning?
Reinstall the keycap. Make sure the keycap is fully restored and doesn't interfere with the switch.
Check the switch. Inspect the switch for debris or damage, then clean it thoroughly.
Consult a professional. If the switch on a non-hot-swappable keyboard is broken, get professional help.











Leave a comment
All comments are moderated before being published.
This site is protected by hCaptcha and the hCaptcha Privacy Policy and Terms of Service apply.