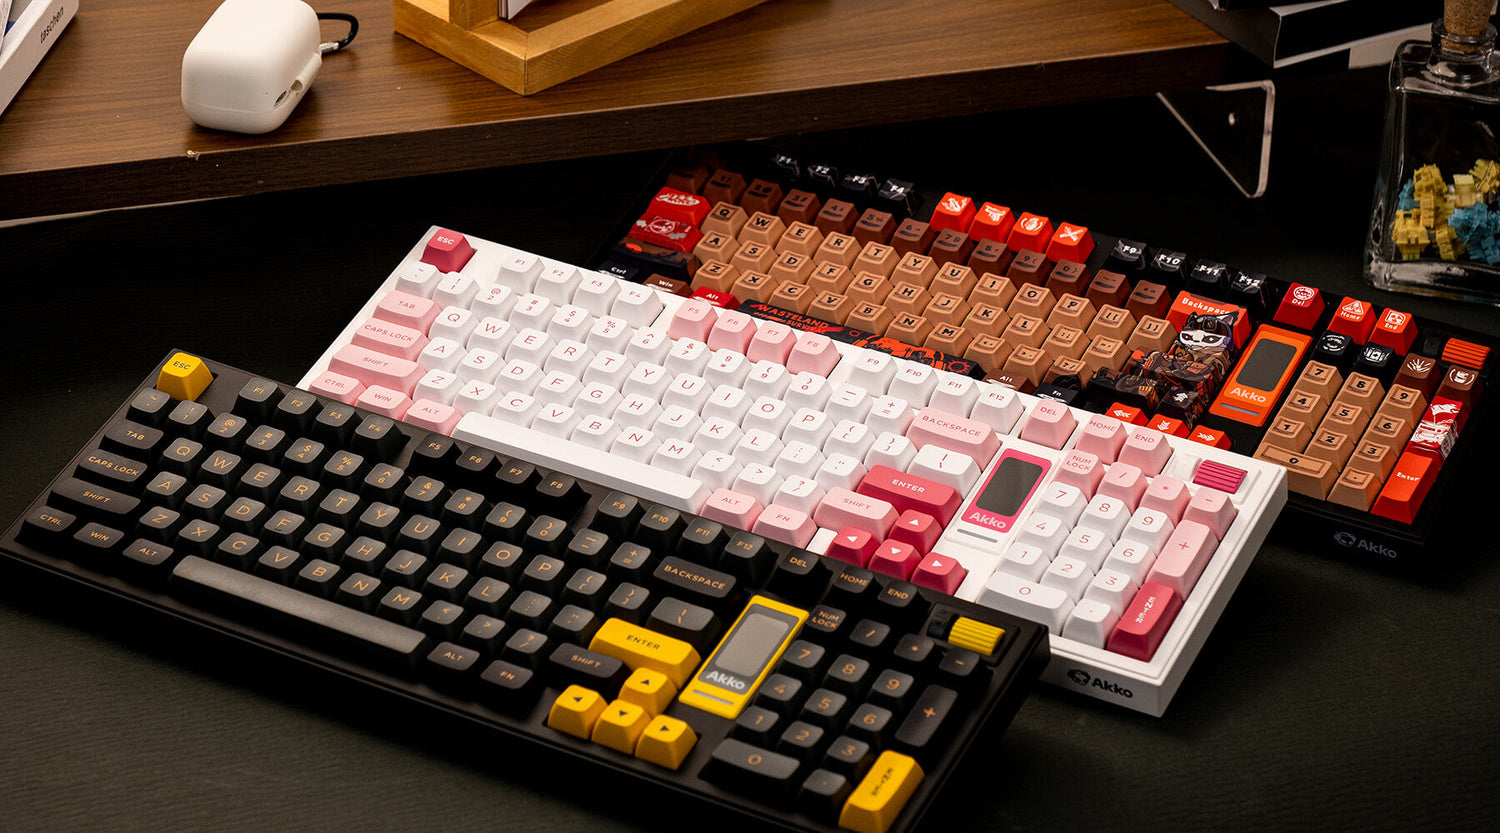
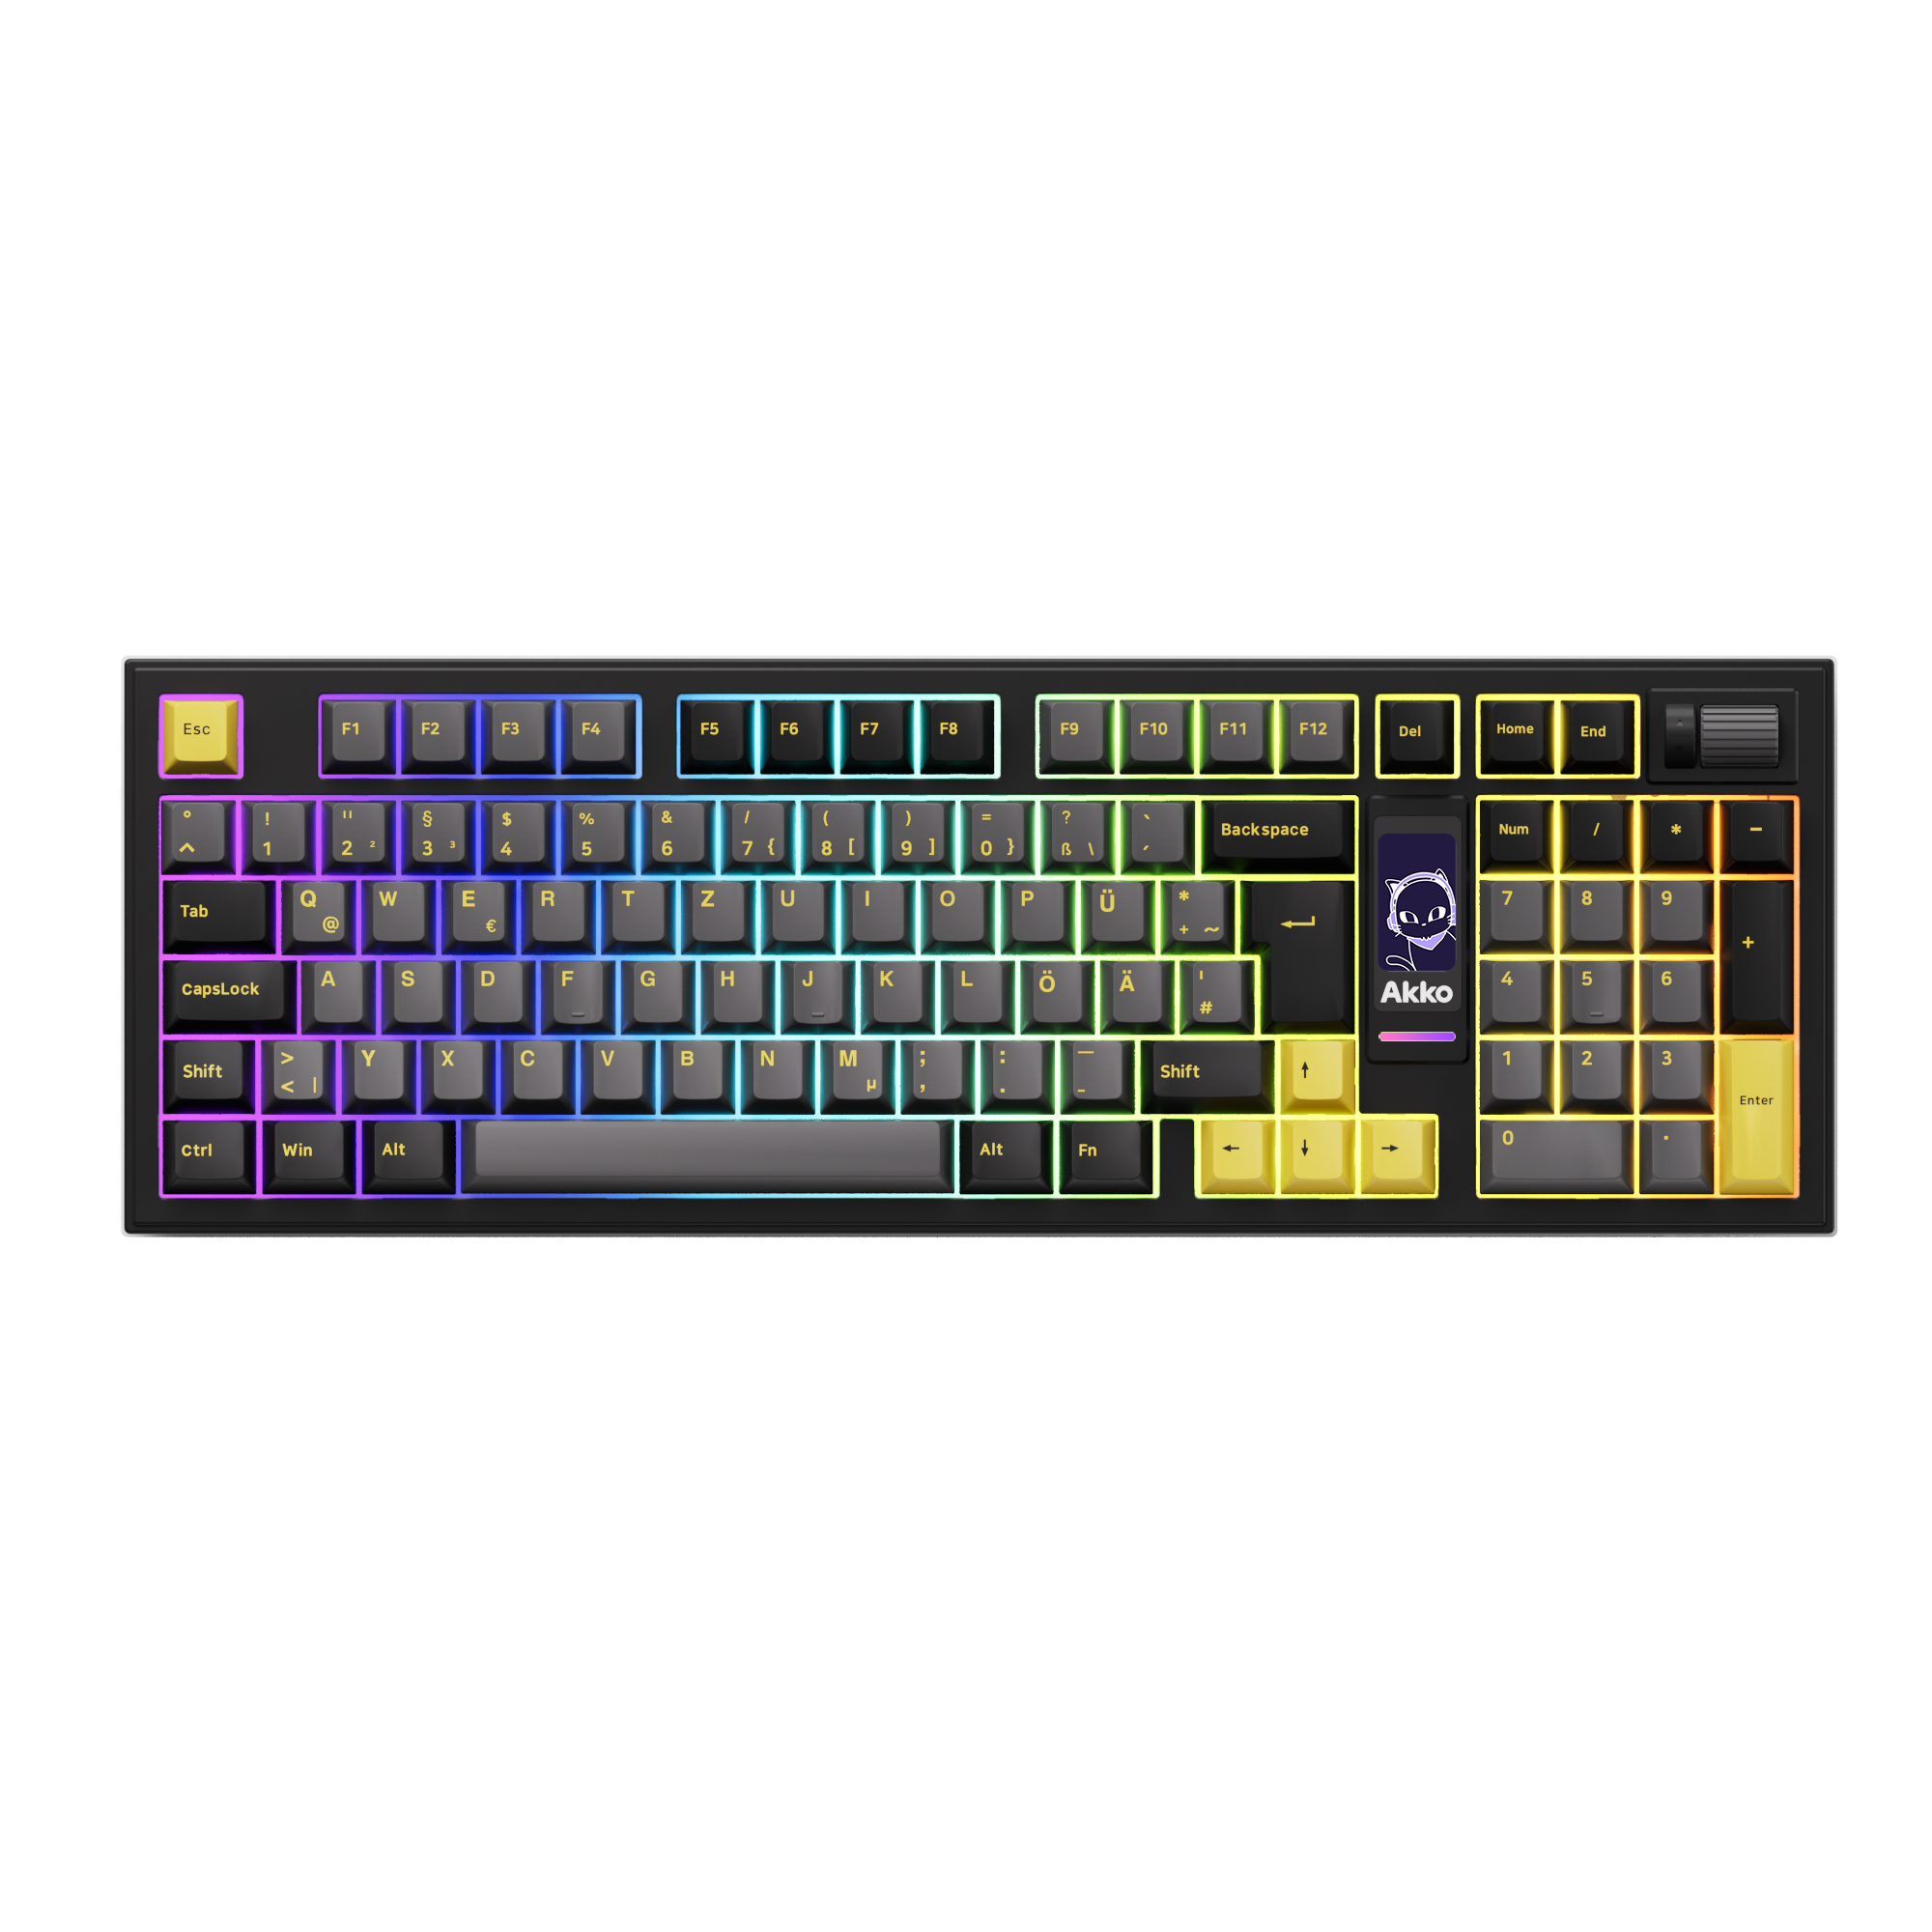
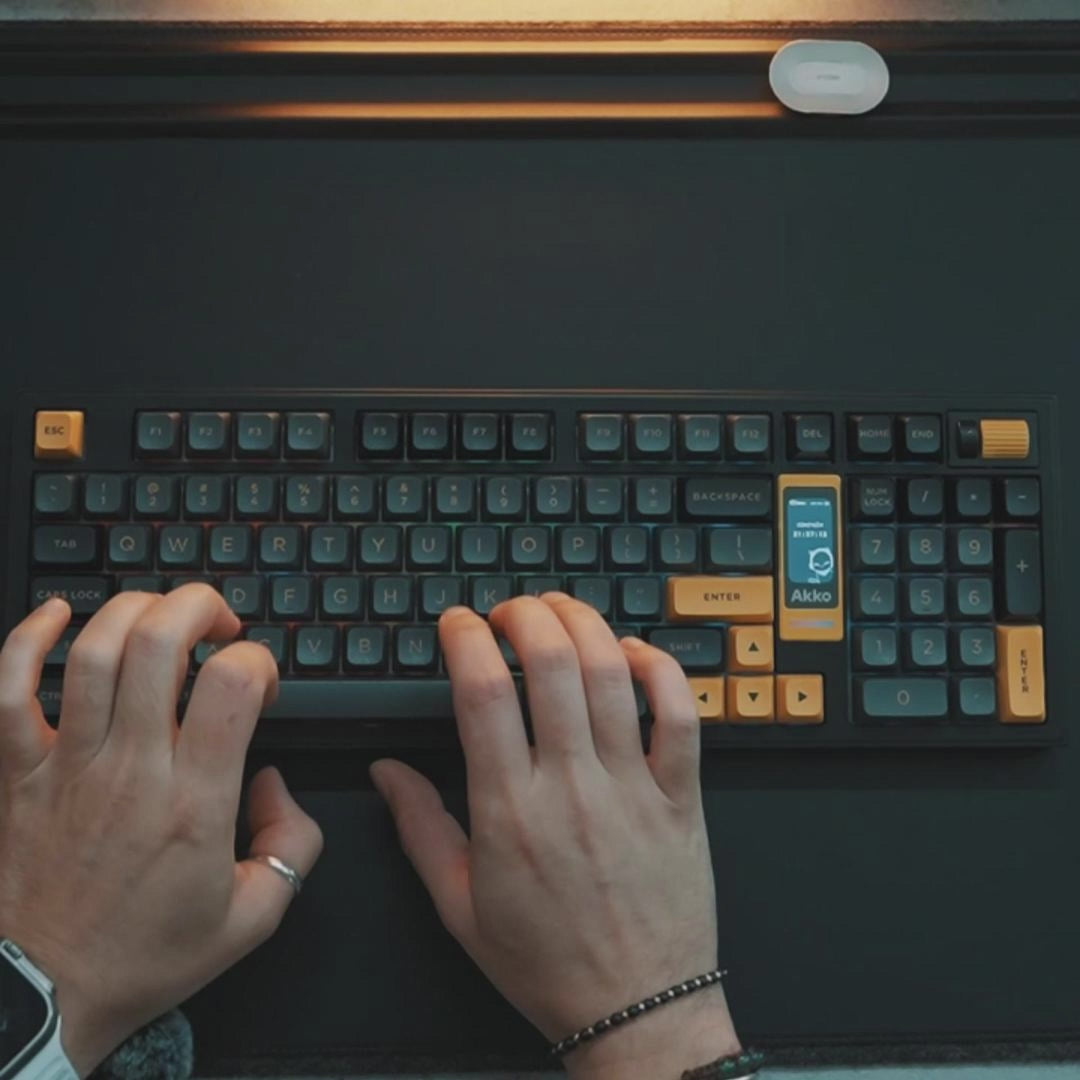
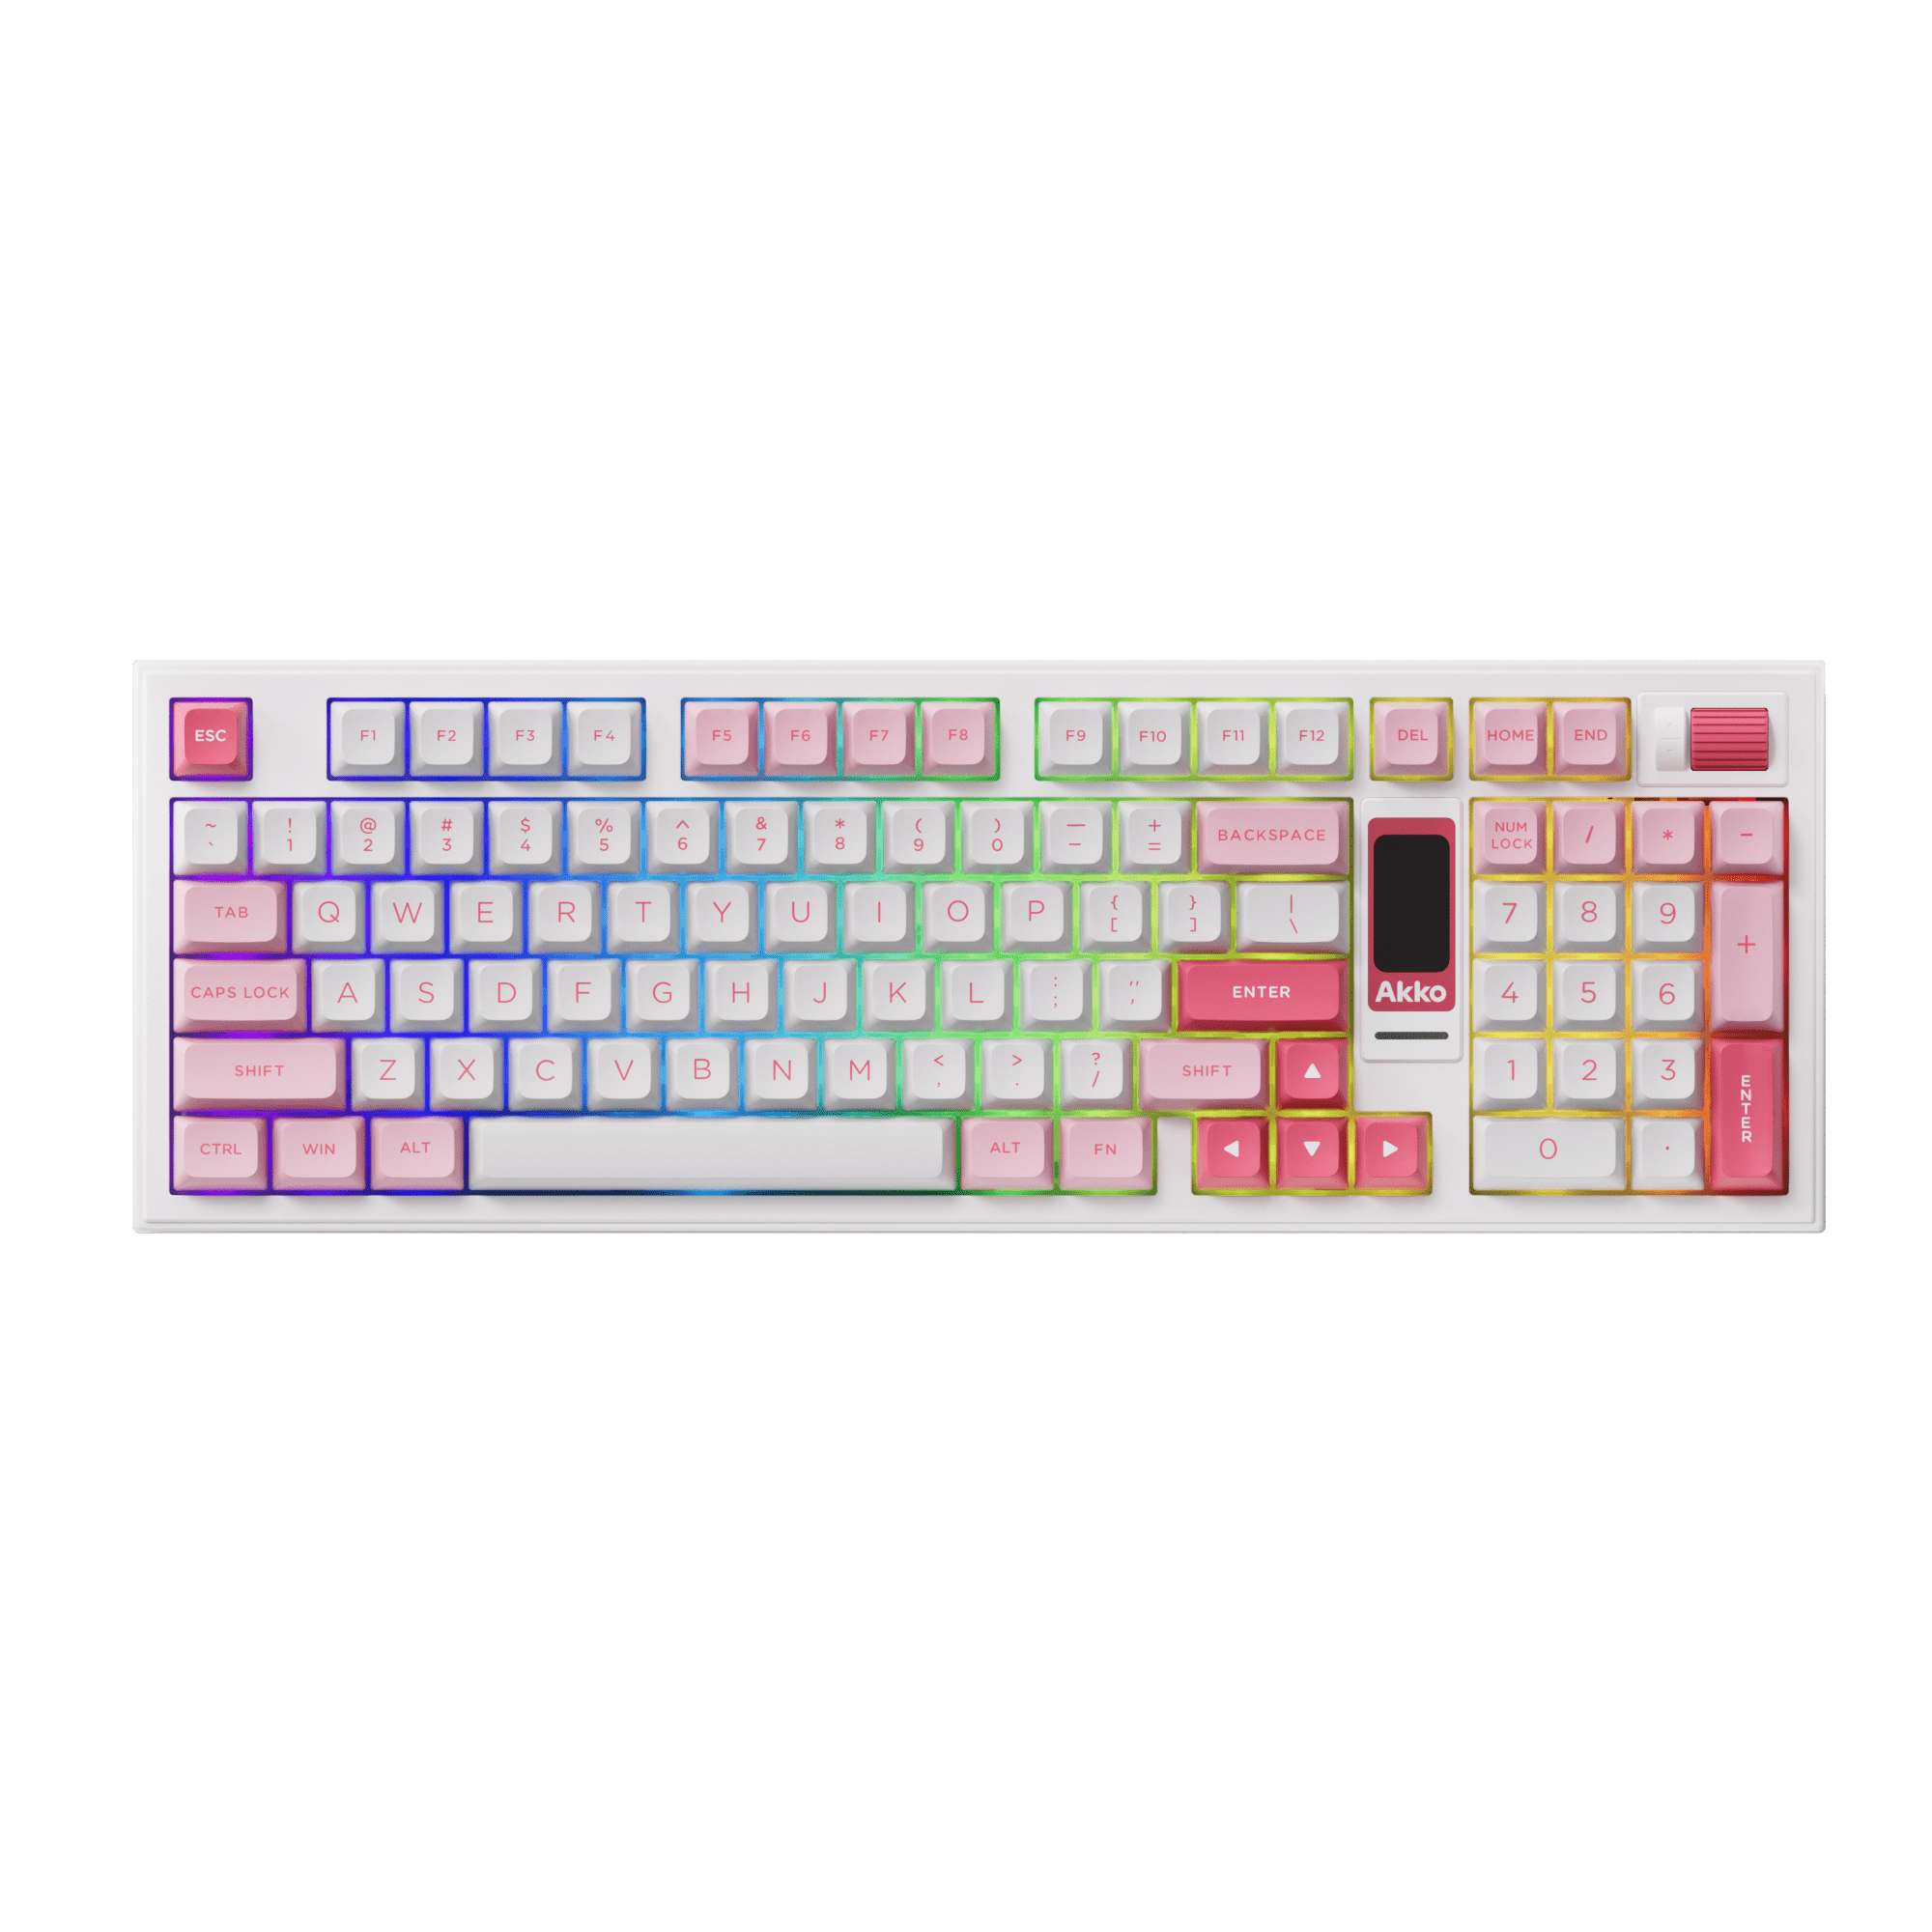
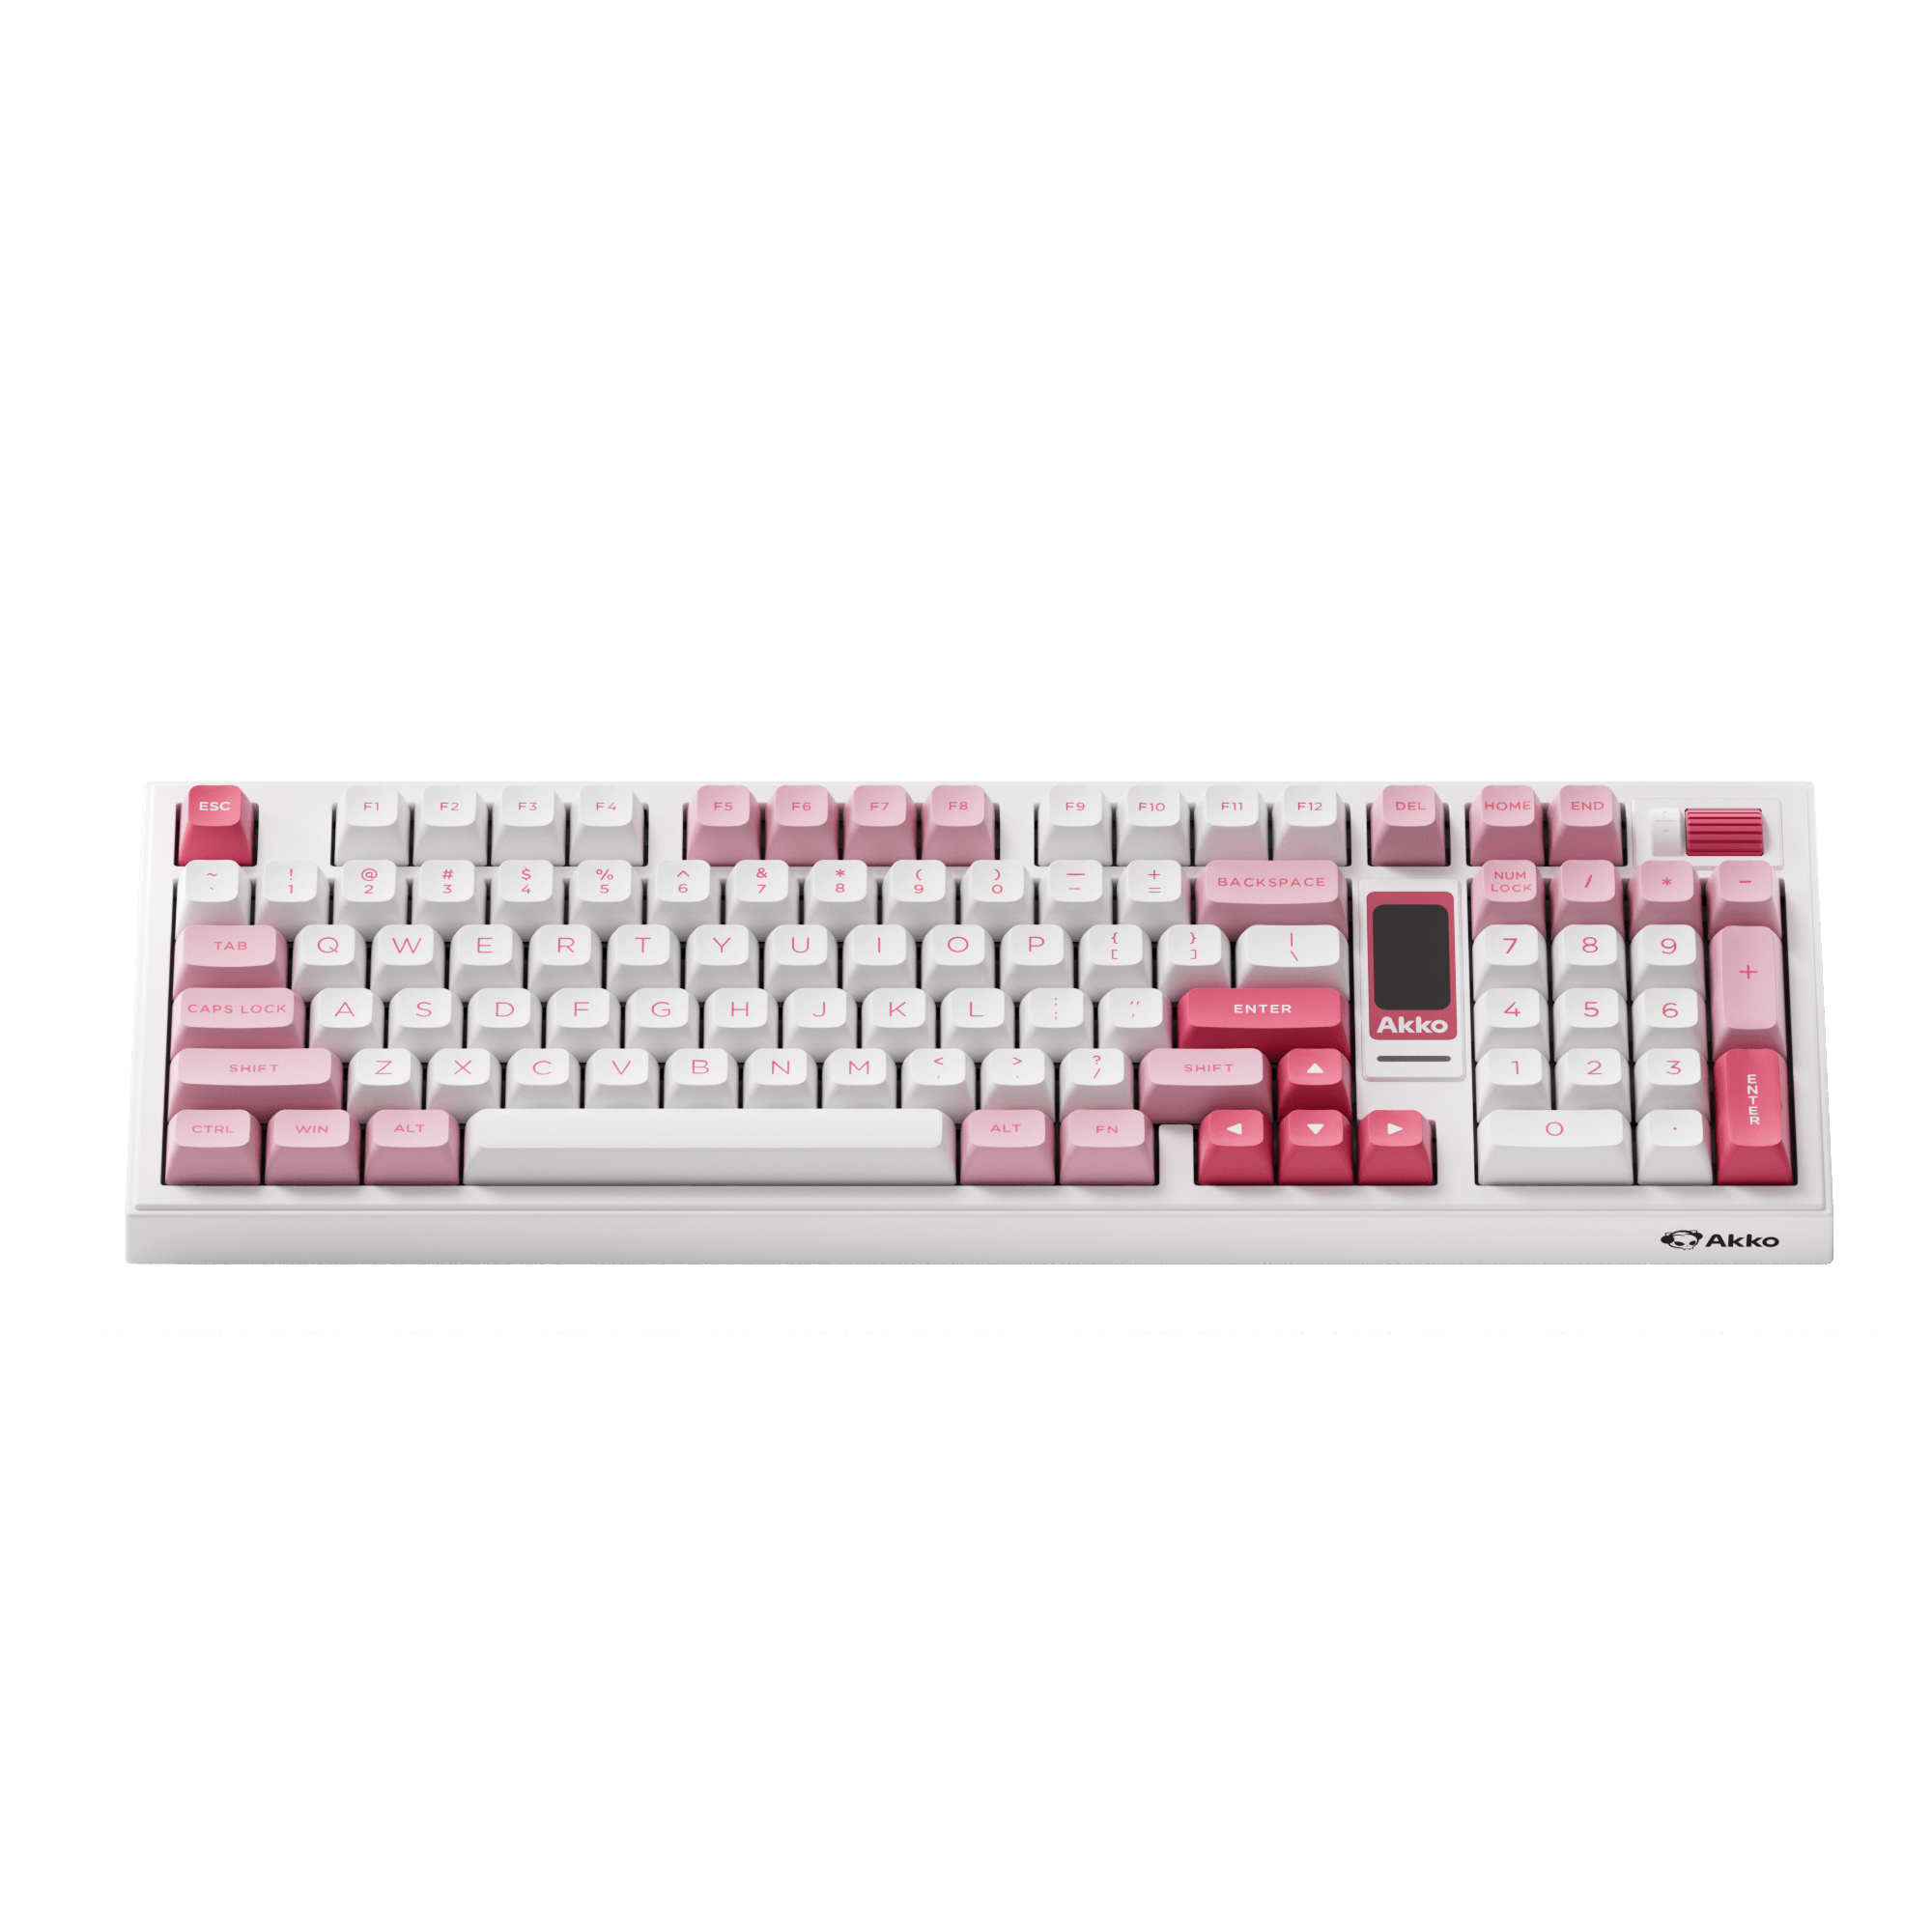
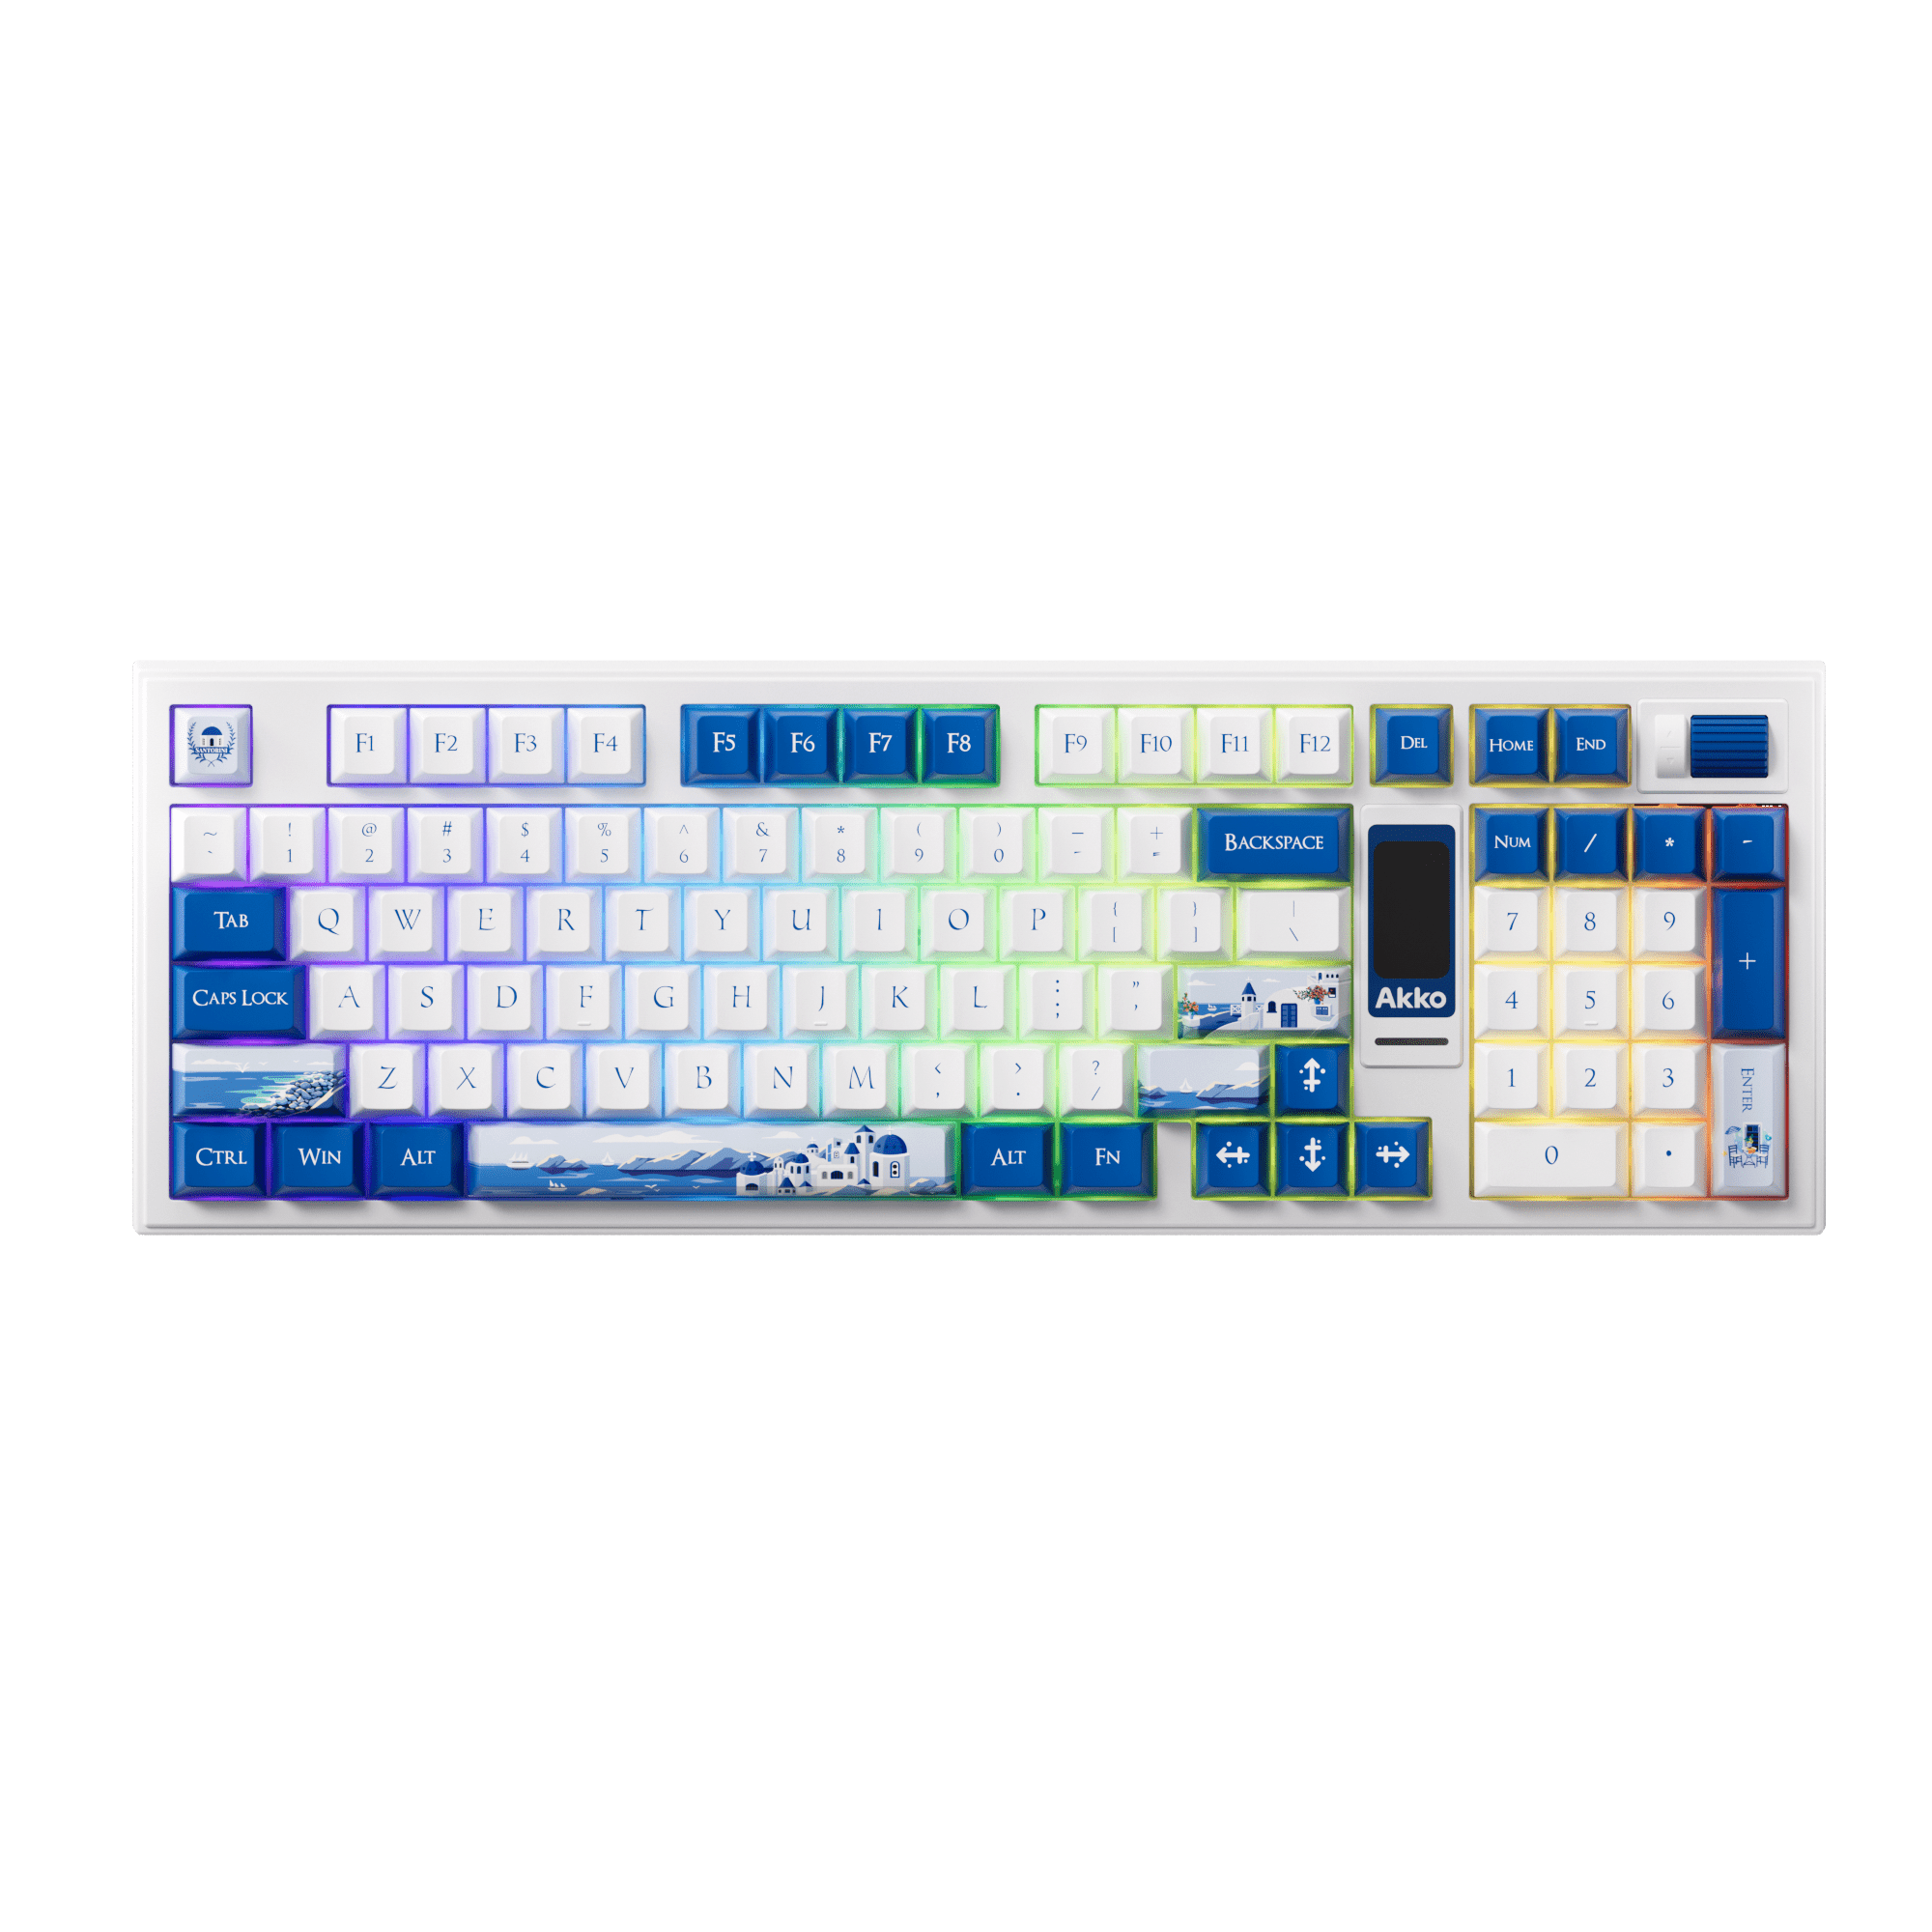
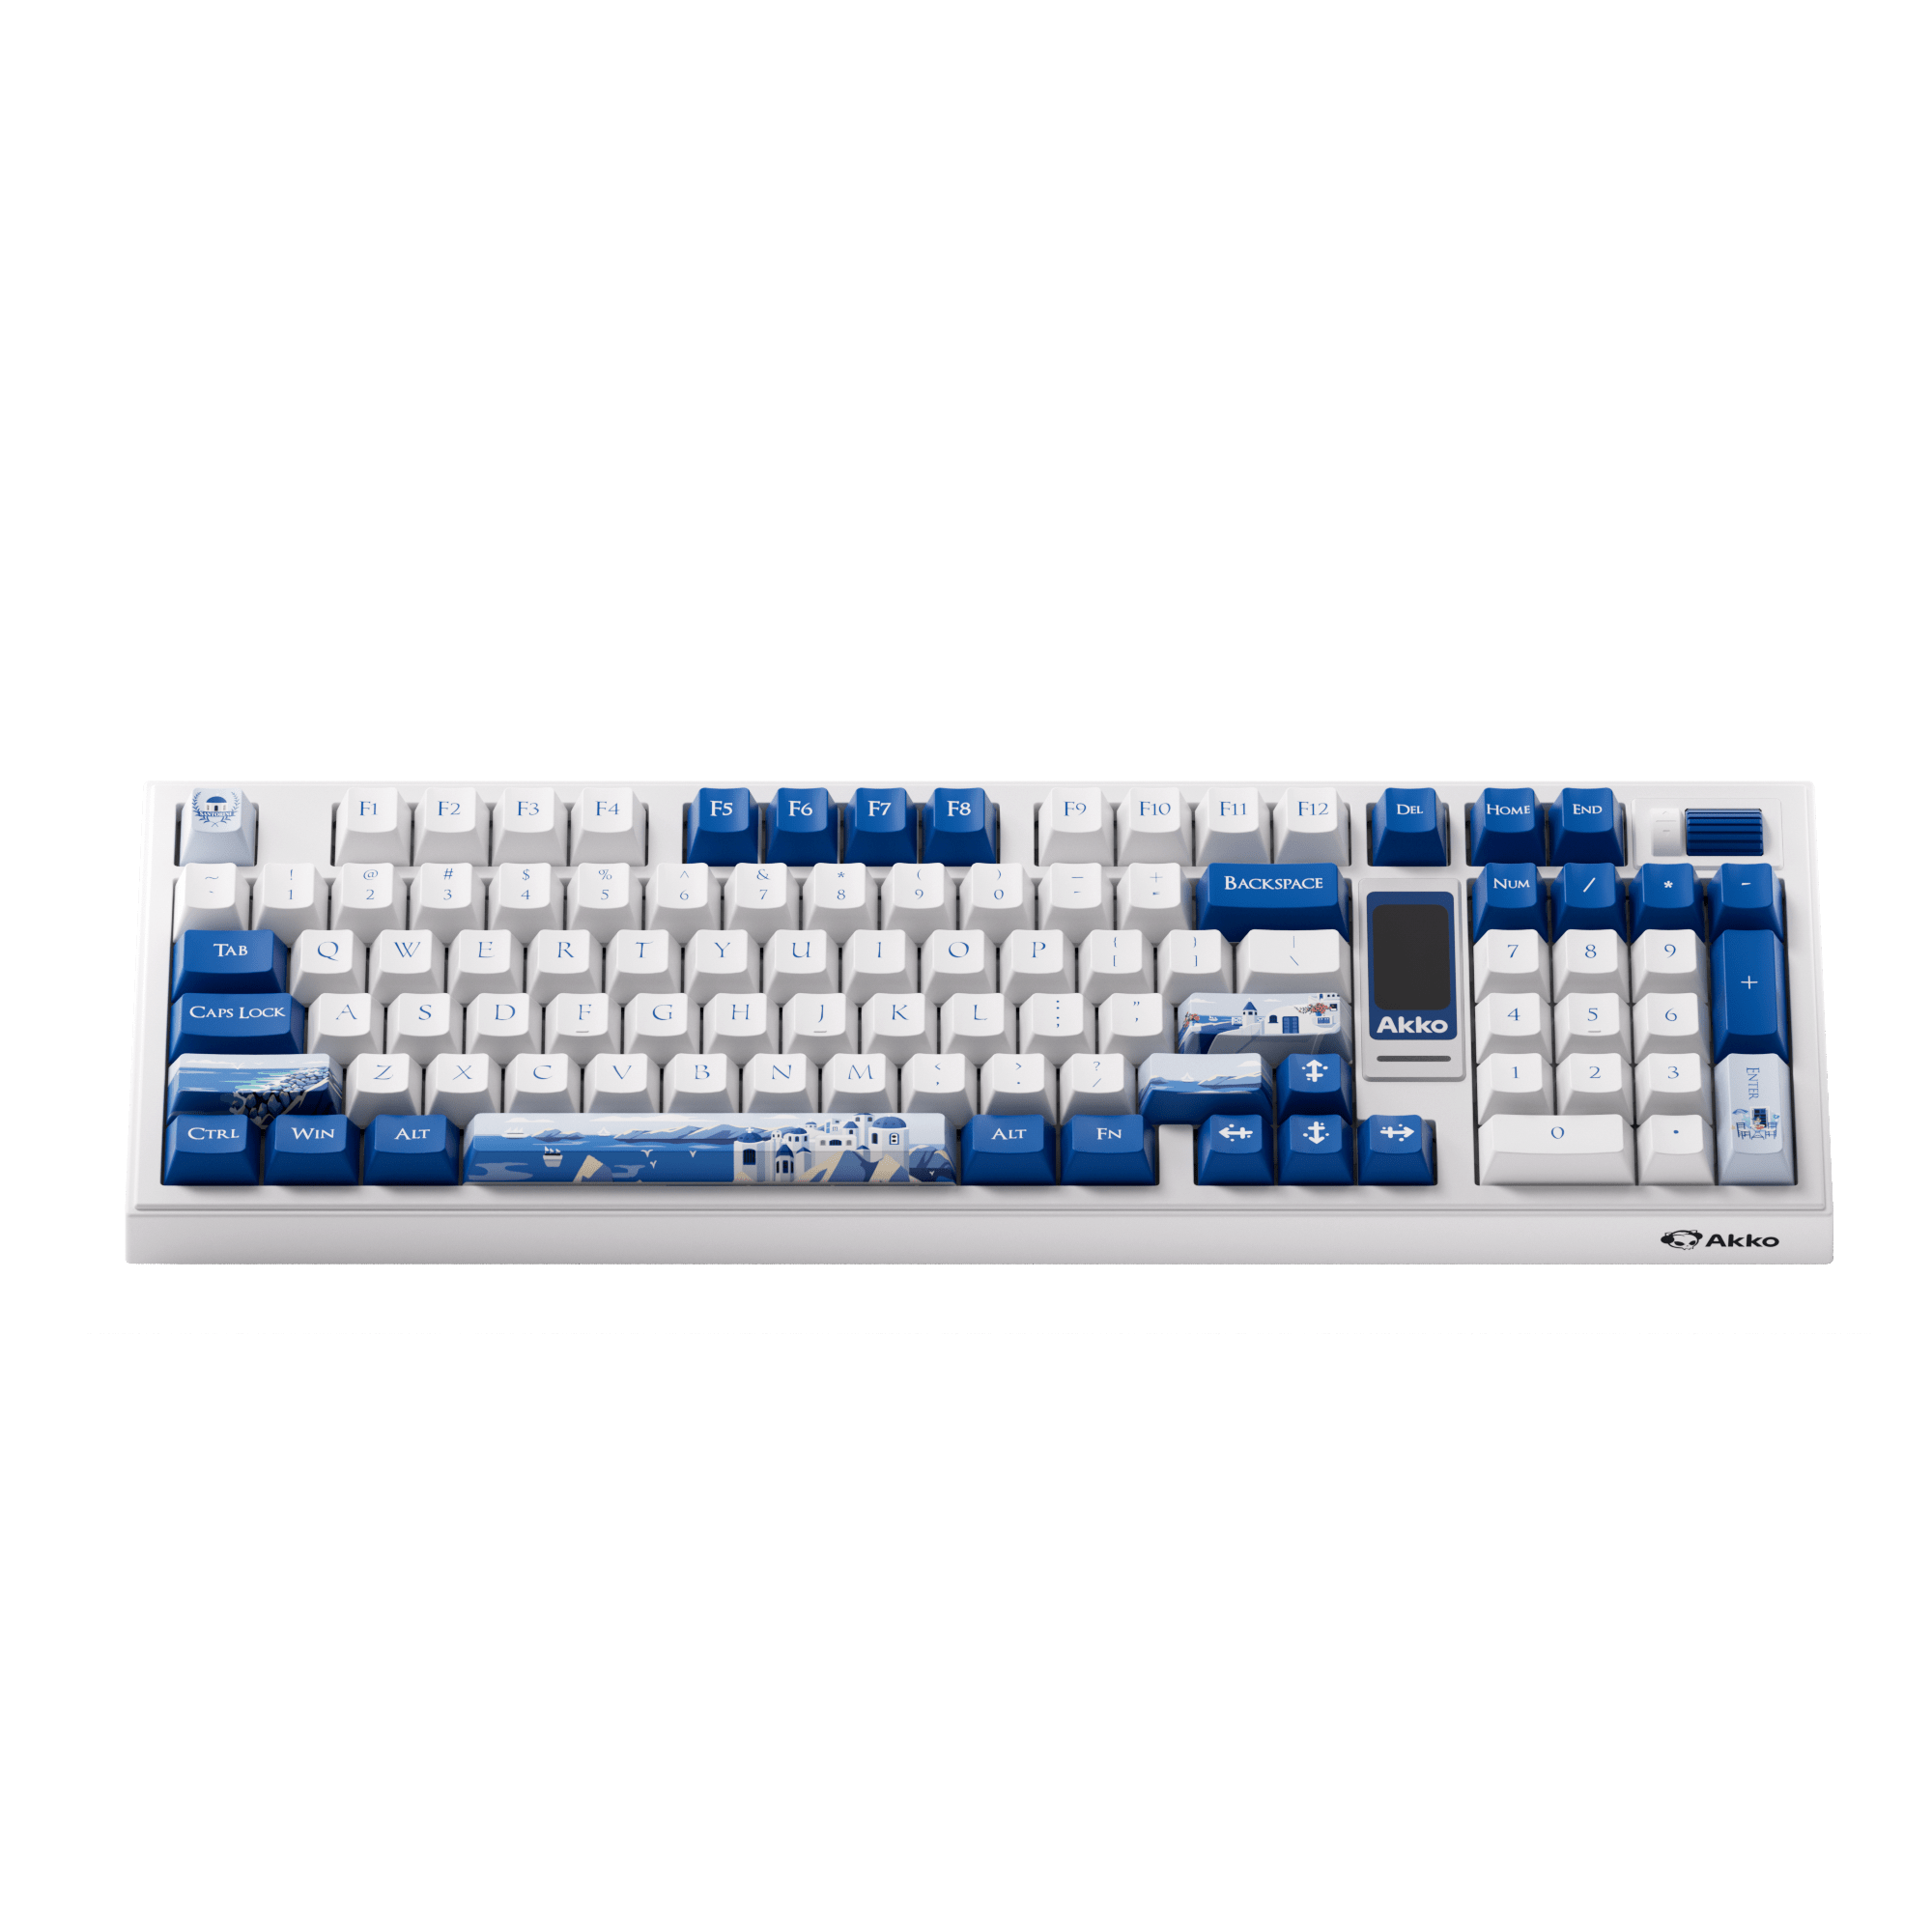
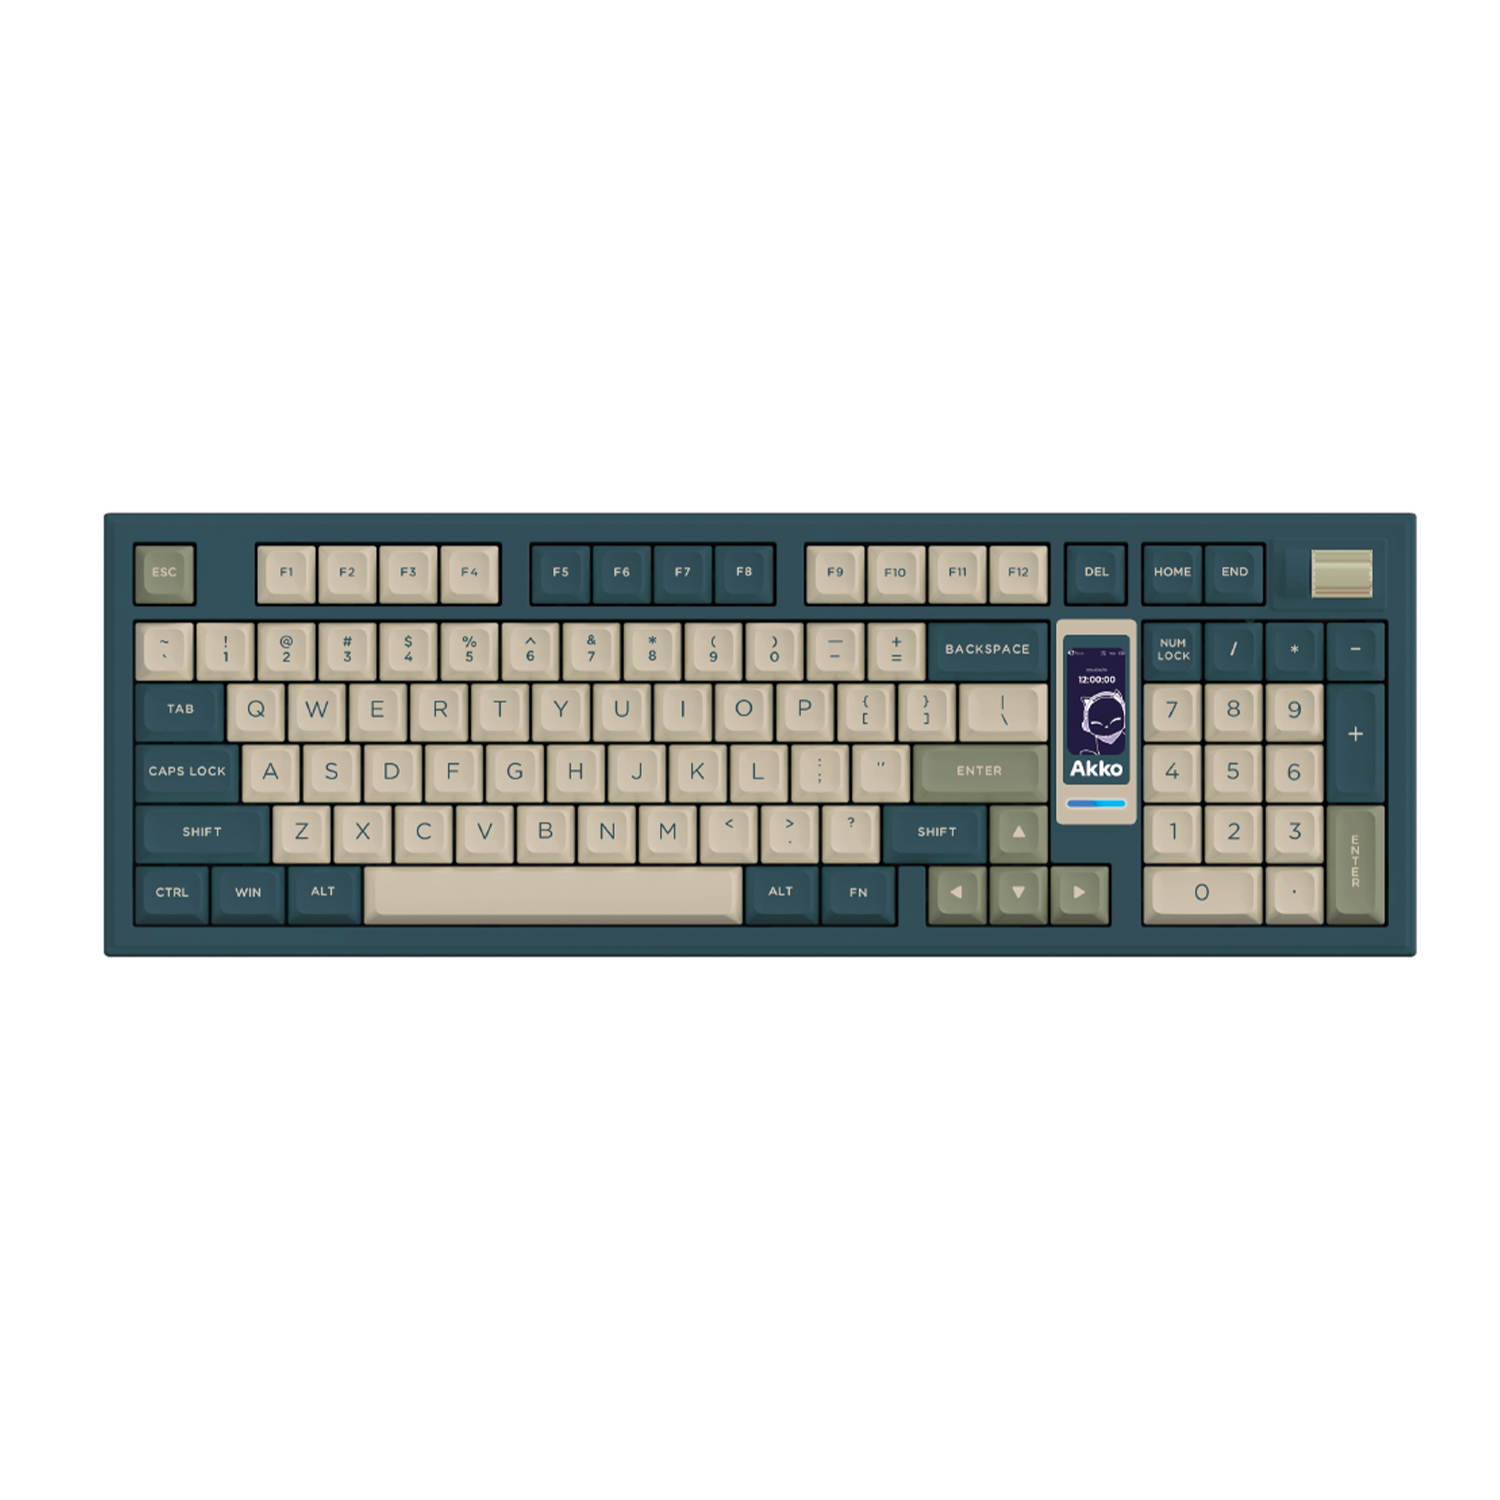
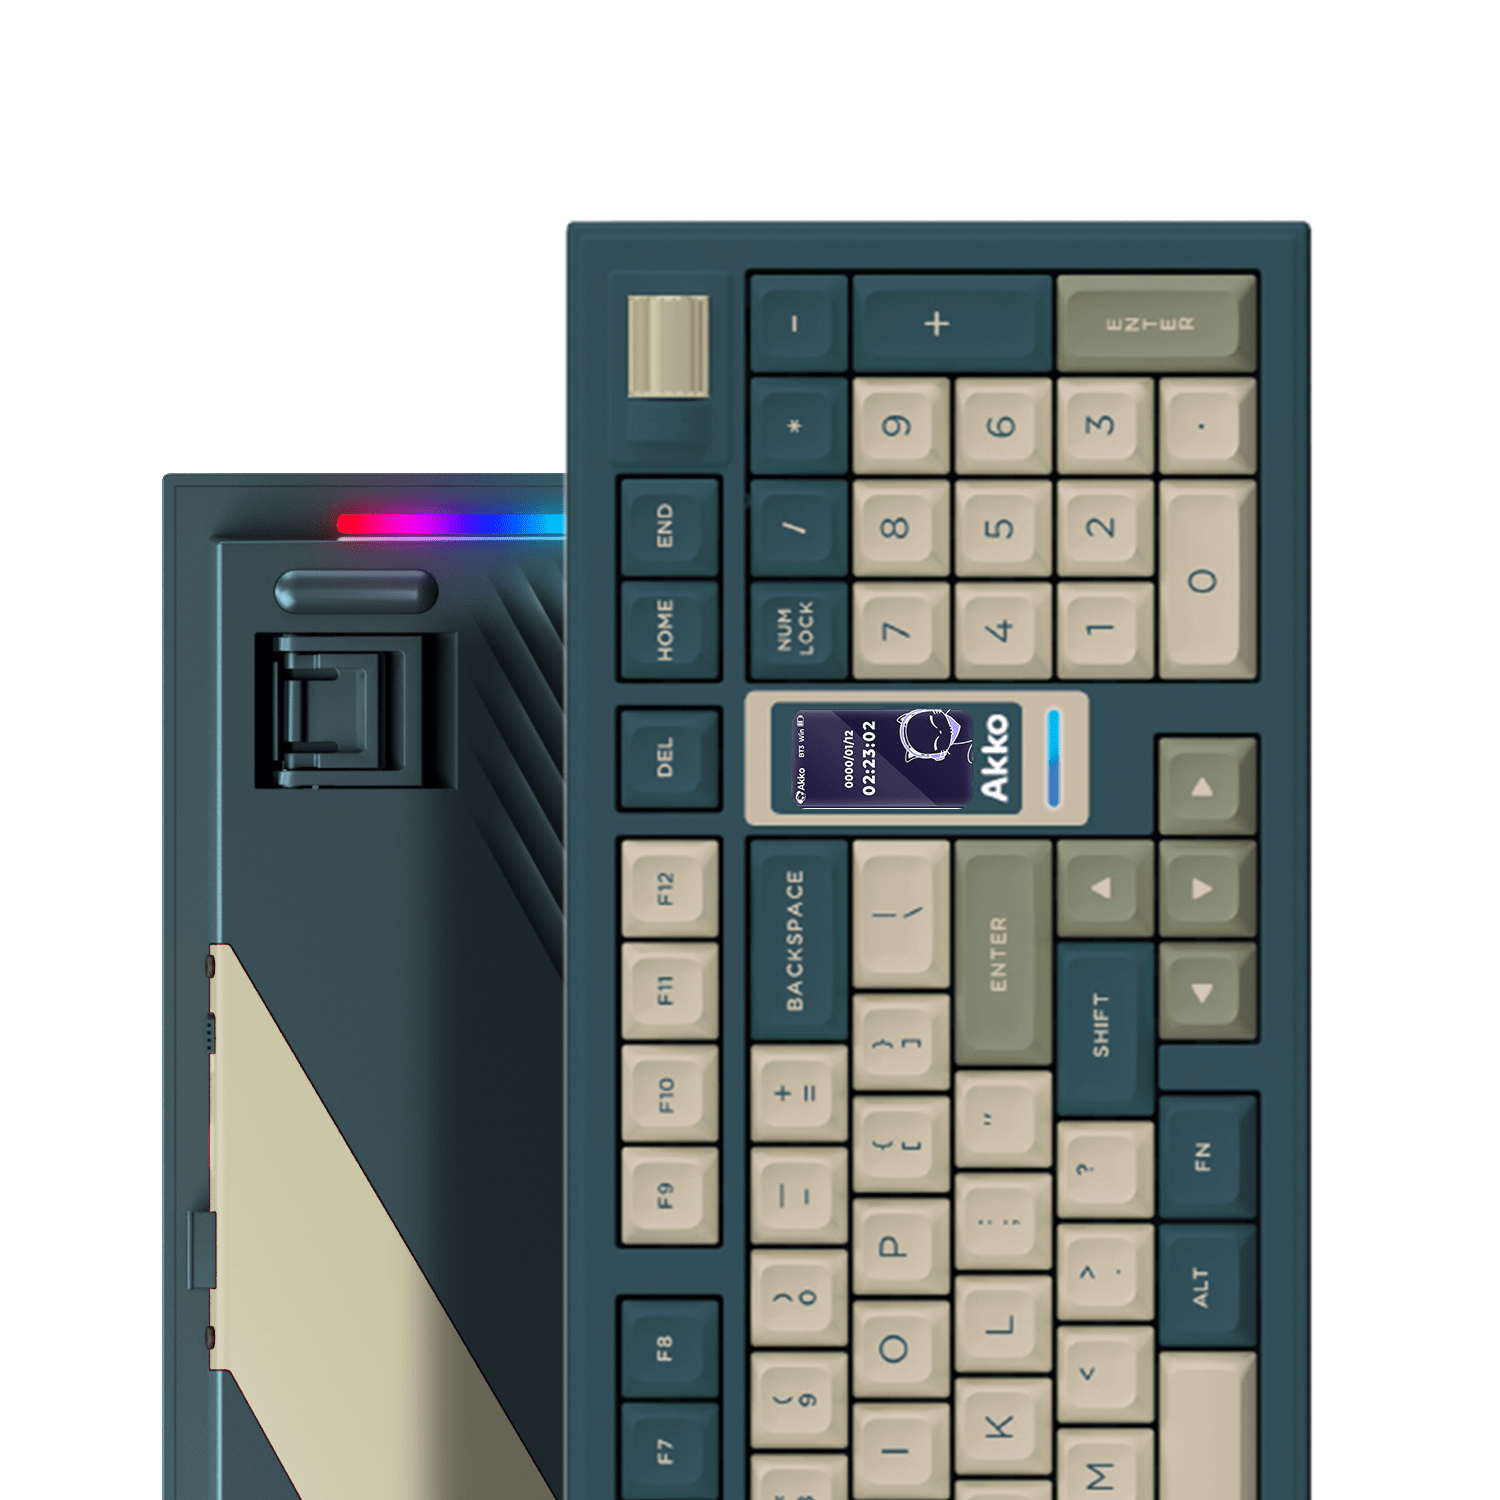
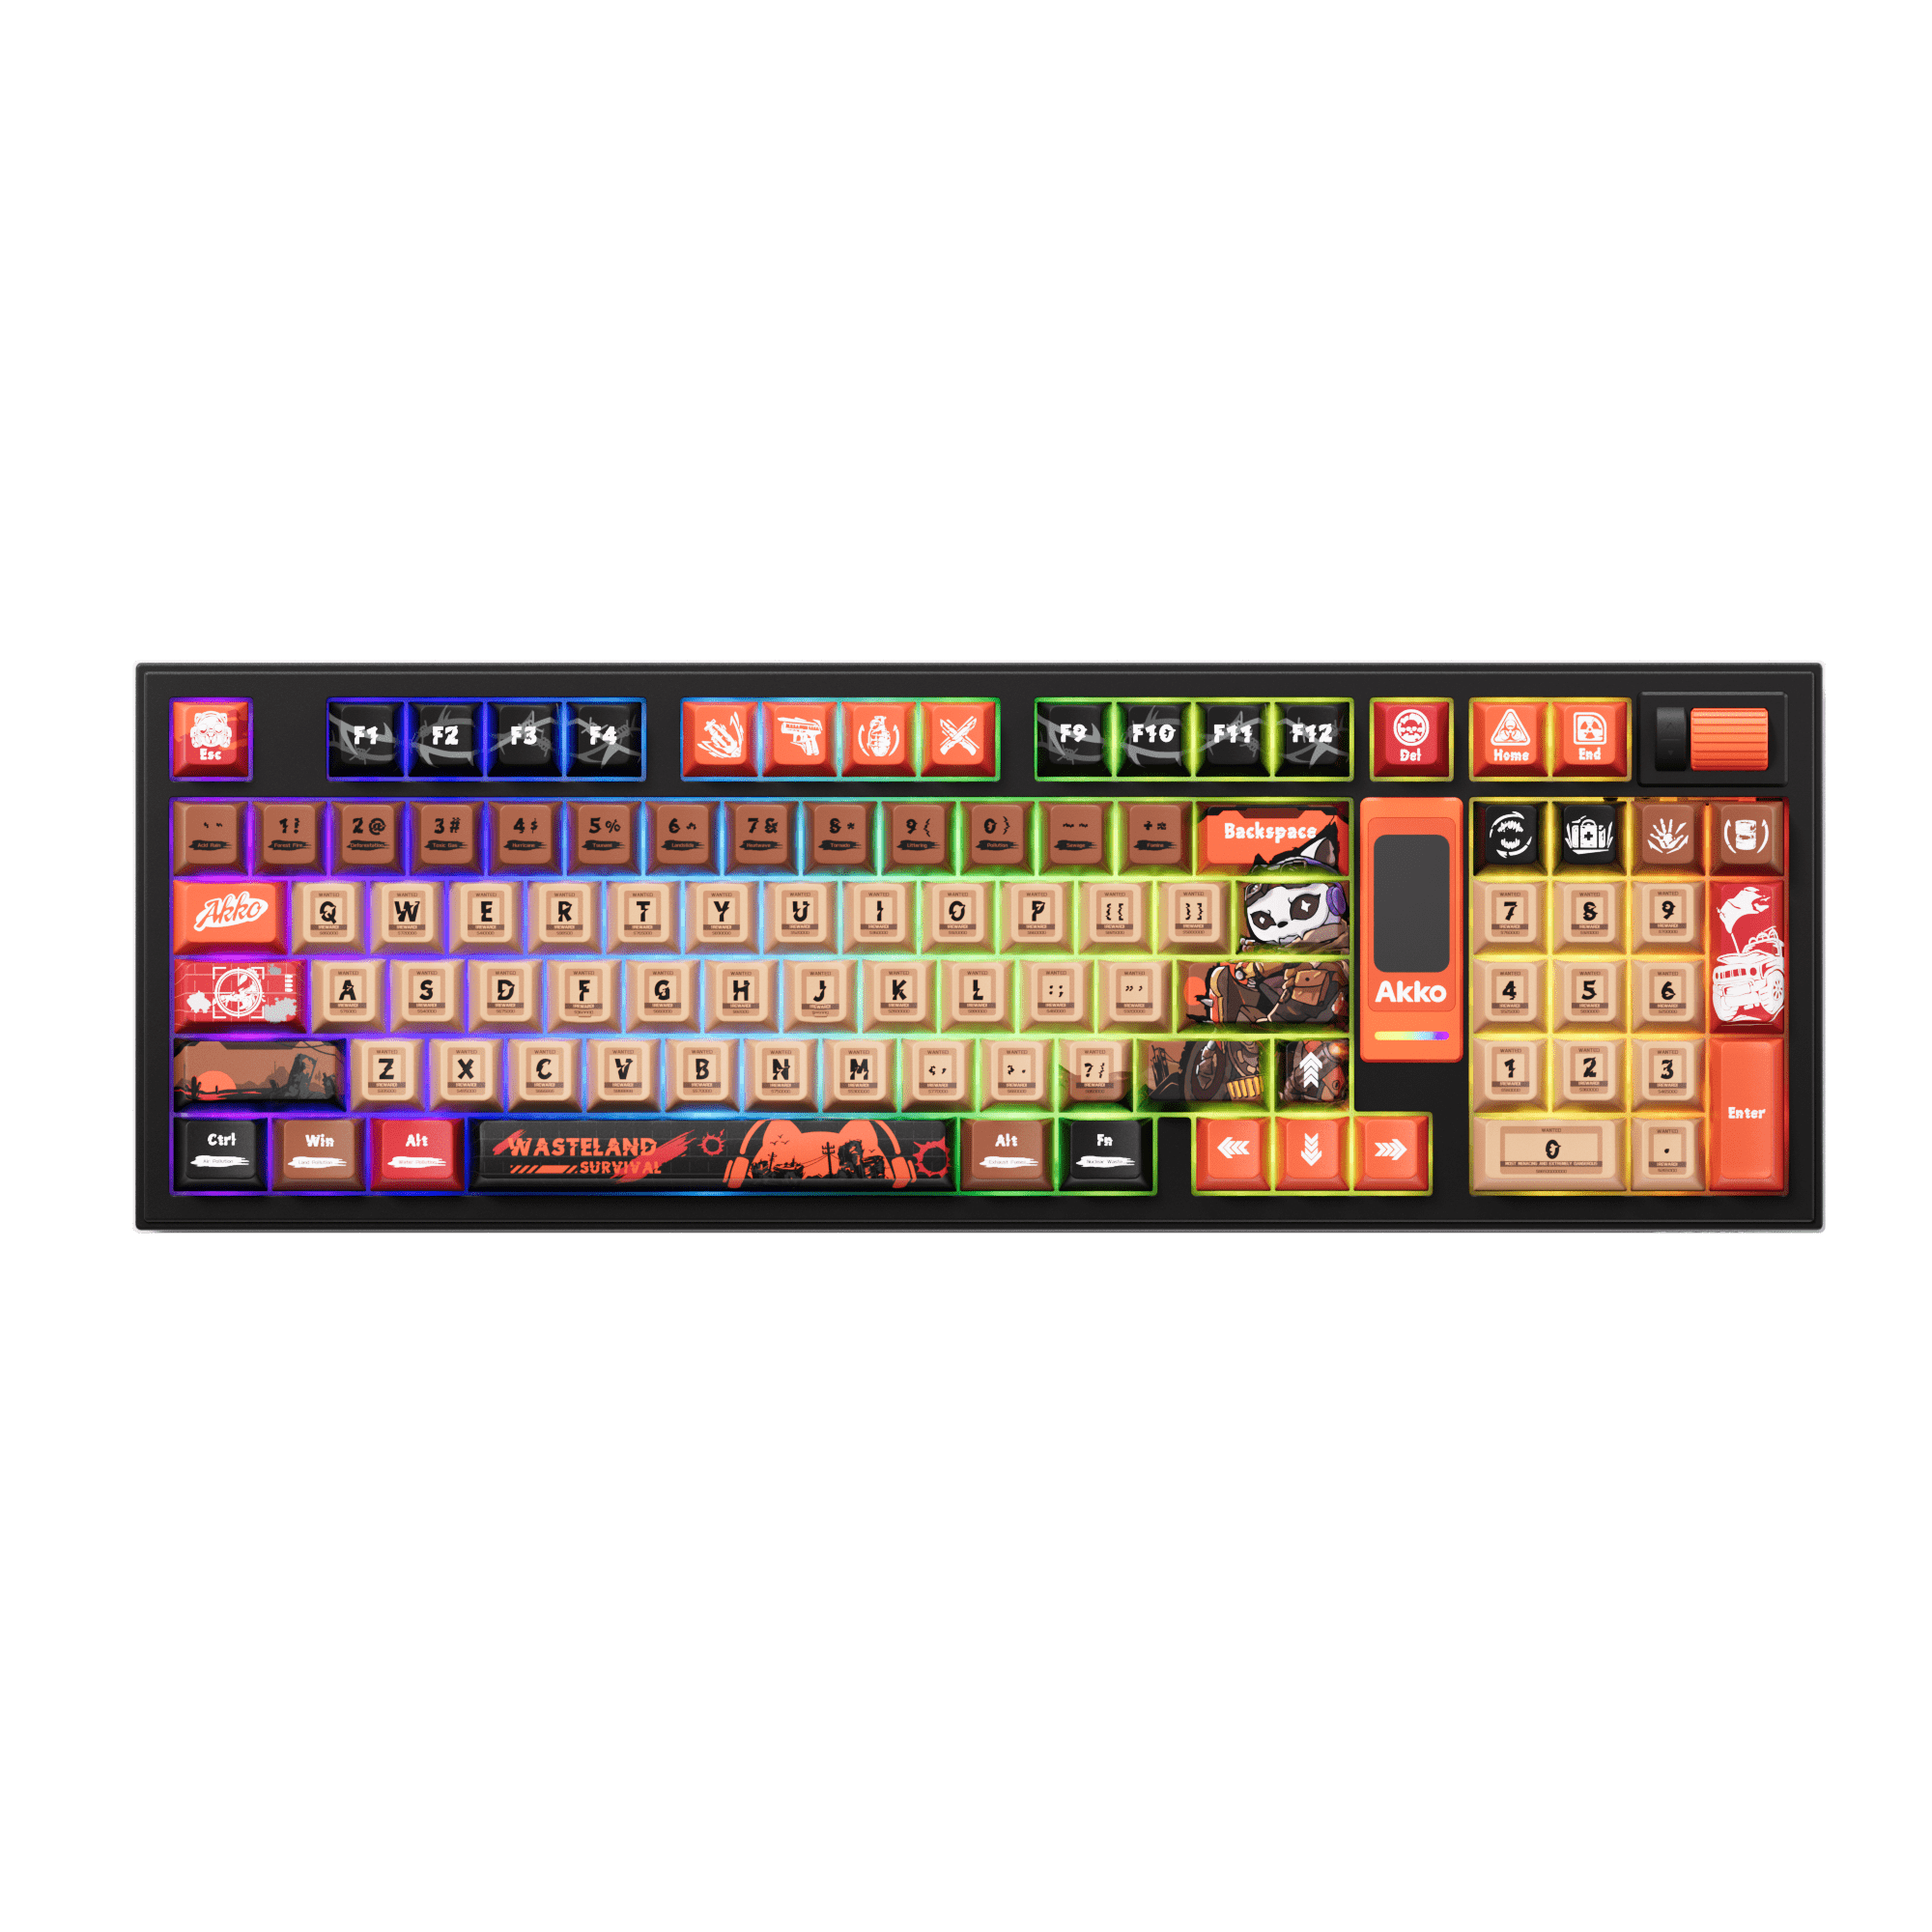
Have you experienced our new keyboard with LCD screen- 5098B? It's for gaming, content creation, or even just the simplest type of personalized setup—every little thing has its place in the 5098B keyboard, all in wireless connection and wide customization. From easy wireless connectivity with Bluetooth and 2.4G to the precision of wired mode, the 5098B is designed to keep up with it all. But with its included custom vertical knob, dynamic lighting controls, and even the ability to upload custom media into the screen of that LCD, this keyboard is just as diverse as it is powerful. In this guide, we take you through some key features and key combinations, in addition to showing off some customization options to get the most out of your 5098B keyboard and take your setup to the next level.
5098B Wireless/Wired Connection Guide
Keyboard Key Combinations for Connections:
- Fn + E: Bluetooth Device 1
- Fn + R: Bluetooth Device 2
- Fn + T: Bluetooth Device 3
- Fn + Y: 2.4G Wireless Device
- Fn + U: Wired Mode
- Short press to reconnect
- Long press to pair
How to Use the 5098B Custom Vertical Knob?
The custom vertical knob on the 5098B is a powerful tool for both quick adjustments and deeper customizations. Here's what each function does:
- Scroll Up: Turn up the volume—perfect for quickly raising your audio while gaming or watching a video.
- Scroll Down: Lower the volume—an easy way to adjust sound levels without needing to touch your computer.
- Press: Play or Pause your media instantly.
- Fn + Press: Enter screen control mode. Once you’re in screen control mode, you can use the following options:
- Scroll Up/Down: Move between different screen settings and functions.
- Press: Confirm your selection and go back to the previous menu.
This setup makes it easy to tweak your settings without ever having to leave your keyboard.

How to Adjust the Lighting Using Shortcuts?
To customize the backlight settings on your 5098B keyboard, use the following key combinations with the Fn key to achieve various lighting effects and adjustments.
| Feature | Key Combination | Description |
| Effect Selection | Fn + Del | Switch between 20 different backlight effects: Effect1 to Effect20 |
| Brightness Control | Fn + ↑ | Increase brightness |
| Fn + ↓ | Decrease brightness | |
| Animation Direction | Fn + ← | Set animation direction to left |
| Fn + → | Set animation direction to right | |
| Animation Speed | Fn + - | Slow down animation |
| Fn + = | Speed up animation | |
| Color Selection | Fn + \ (backslash) | Set backlight color to one of 7 single colors with an RGB loop effect |
| Side LED Brightness | Fn + Z | Adjust side LED brightness (5 levels) |
| Side LED Speed | Fn + X | Adjust side LED animation speed (5 levels) |
| Main Light On/Off | Fn + L | Toggle main light on or off |
| Side LED Mode | Fn + Left Ctrl | Enter side LED mode, turning all lights off (6 levels) |
| Side LED Single Color Mode | Fn + Left Alt | Set side LED to one of 7 single colors with an RGB loop effect |
How to Set the LCD Screen to English with Knob?
1. First, activate the screen by holding down the FN key and the top-right scroll wheel simultaneously. This will open the settings menu.
2. Next, navigate to the Language Selection option, and click the scroll wheel to enter. Select English and click the scroll wheel once more to confirm.
3. Your system language is now set to English!
How to Change the LCD Screen Display with Software?
Create Sketch and Animation
1. Run the Akko software/driver; if you don't have it, click here to download

2. Click "Screen" and click the paintbrush icon, then you can create your own art.

3. To create an animation, click the + icon to add a new frame, then create a new sketch for each frame to build your animation.
Add a frame

Create a new sketch
Upload a gif or Photo
1. You can click Upload Picture to upload your photo to display; also, you can choose Upload Animation to upload your gif.









Leave a comment
All comments are moderated before being published.
This site is protected by hCaptcha and the hCaptcha Privacy Policy and Terms of Service apply.