


Whether you're cleaning your keyboard, upgrading your keycaps, or addressing any issues, we need to pull out the key from the keyboard. In this guide, we’ll walk you through the simple process of removing a key, whether you're working with a mechanical keyboard or a membrane keyboard.
What You’ll Need
Before you start, gather the following tools:
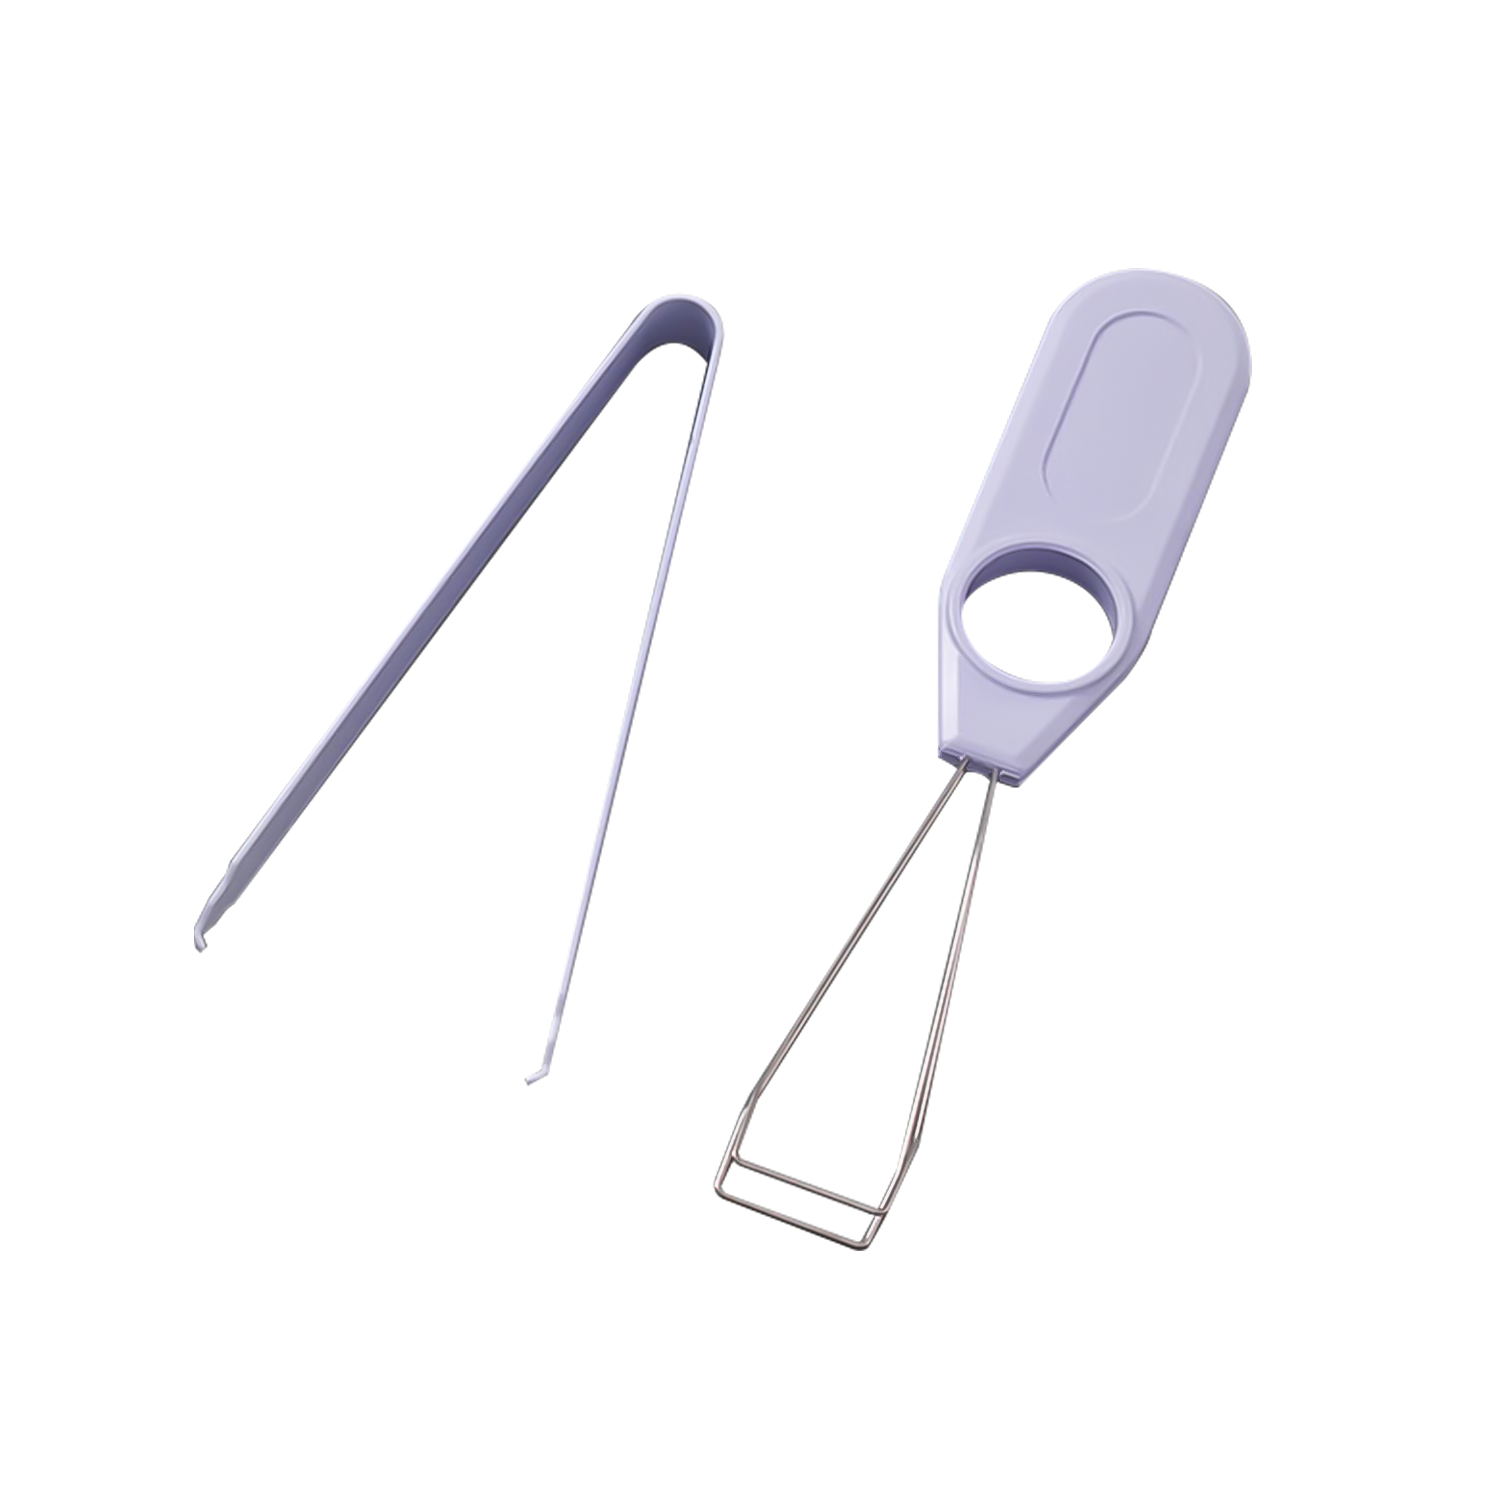
1. Keycap Puller
If you're using a mechanical keyboard, a keycap puller is the best tool to safely remove the keycap without causing any damage. All Akko mechanical keyboards come with the keycap puller in the package. Also, you can separately purchase the keycap puller in our store.
If you don't have the keycap puller, you can try to create a makeshift one by bending a paperclip into a U shape.
And for some keys, just like the Enter key and Spacebar Key, you an try pinching the edge with your fingers and pulling it straight up.
However, this method requires skill and strength, and it can potentially damage your fingers. Use caution when attempting this.

2. Flat Tool
If you're working with a membrane keyboard or an older model, a flathead screwdriver or similar tool can also help lift the key.
Step-by-Step Guide to Removing a Key from Keyboard
1. Power Off the Keyboard
Firstly, it is important to disconnect the power of the keyboard to avoid circuit damage
- If it is a wired keyboard, it should be disconnected from the computer.
- If it is a wireless keyboard, remove the batteries or turn off the power switch.
2. Identify the Key You Want to Remove
Look closely at the keyboard to determine the key that needs to be removed.
- If you want to replace the key, you'll typically want to pick a single key.
- However, if you want to inspect the issue of the keyboard, maybe you have to check thoroughly.
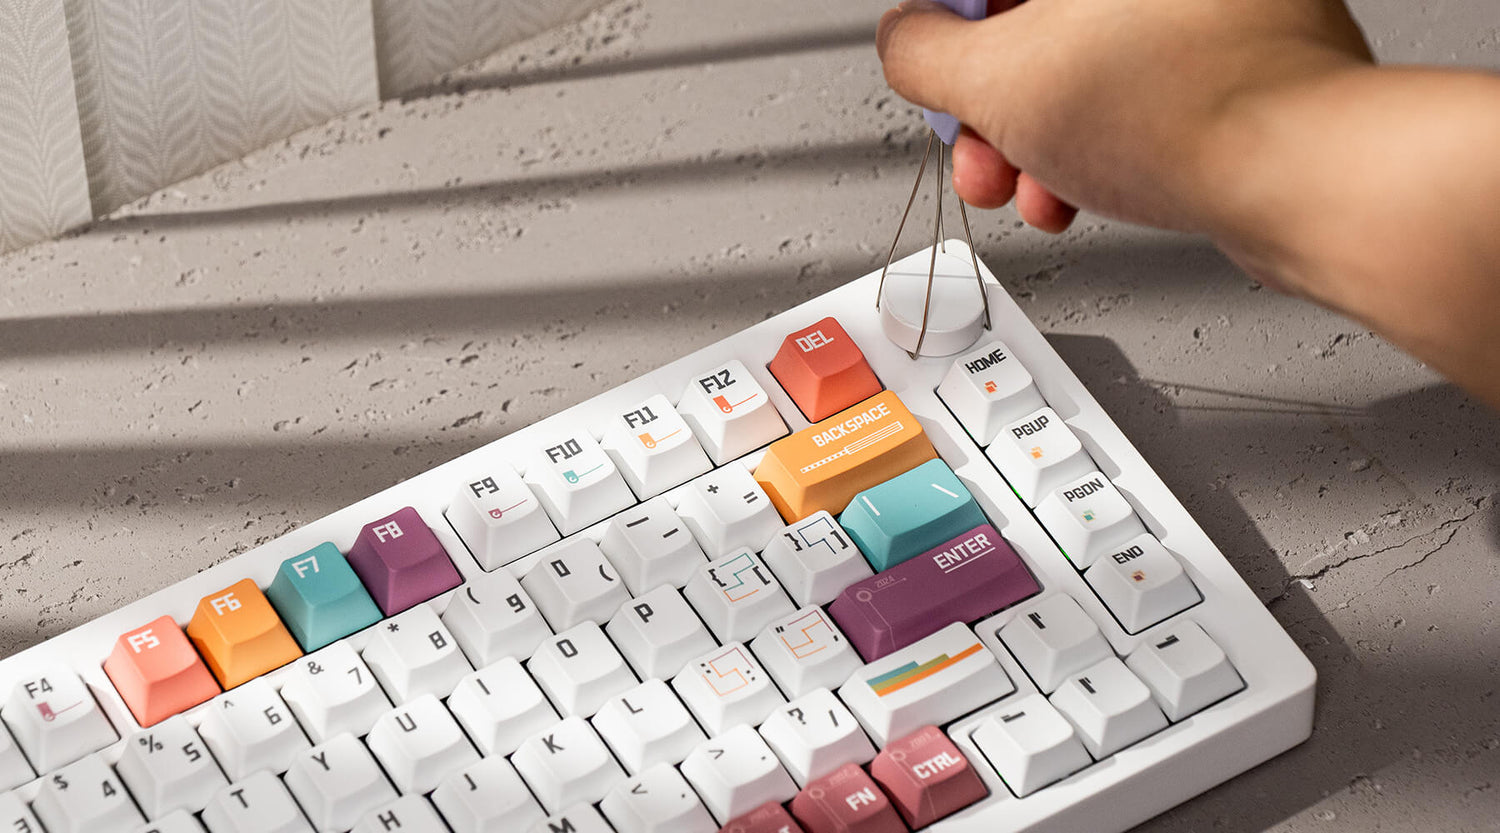
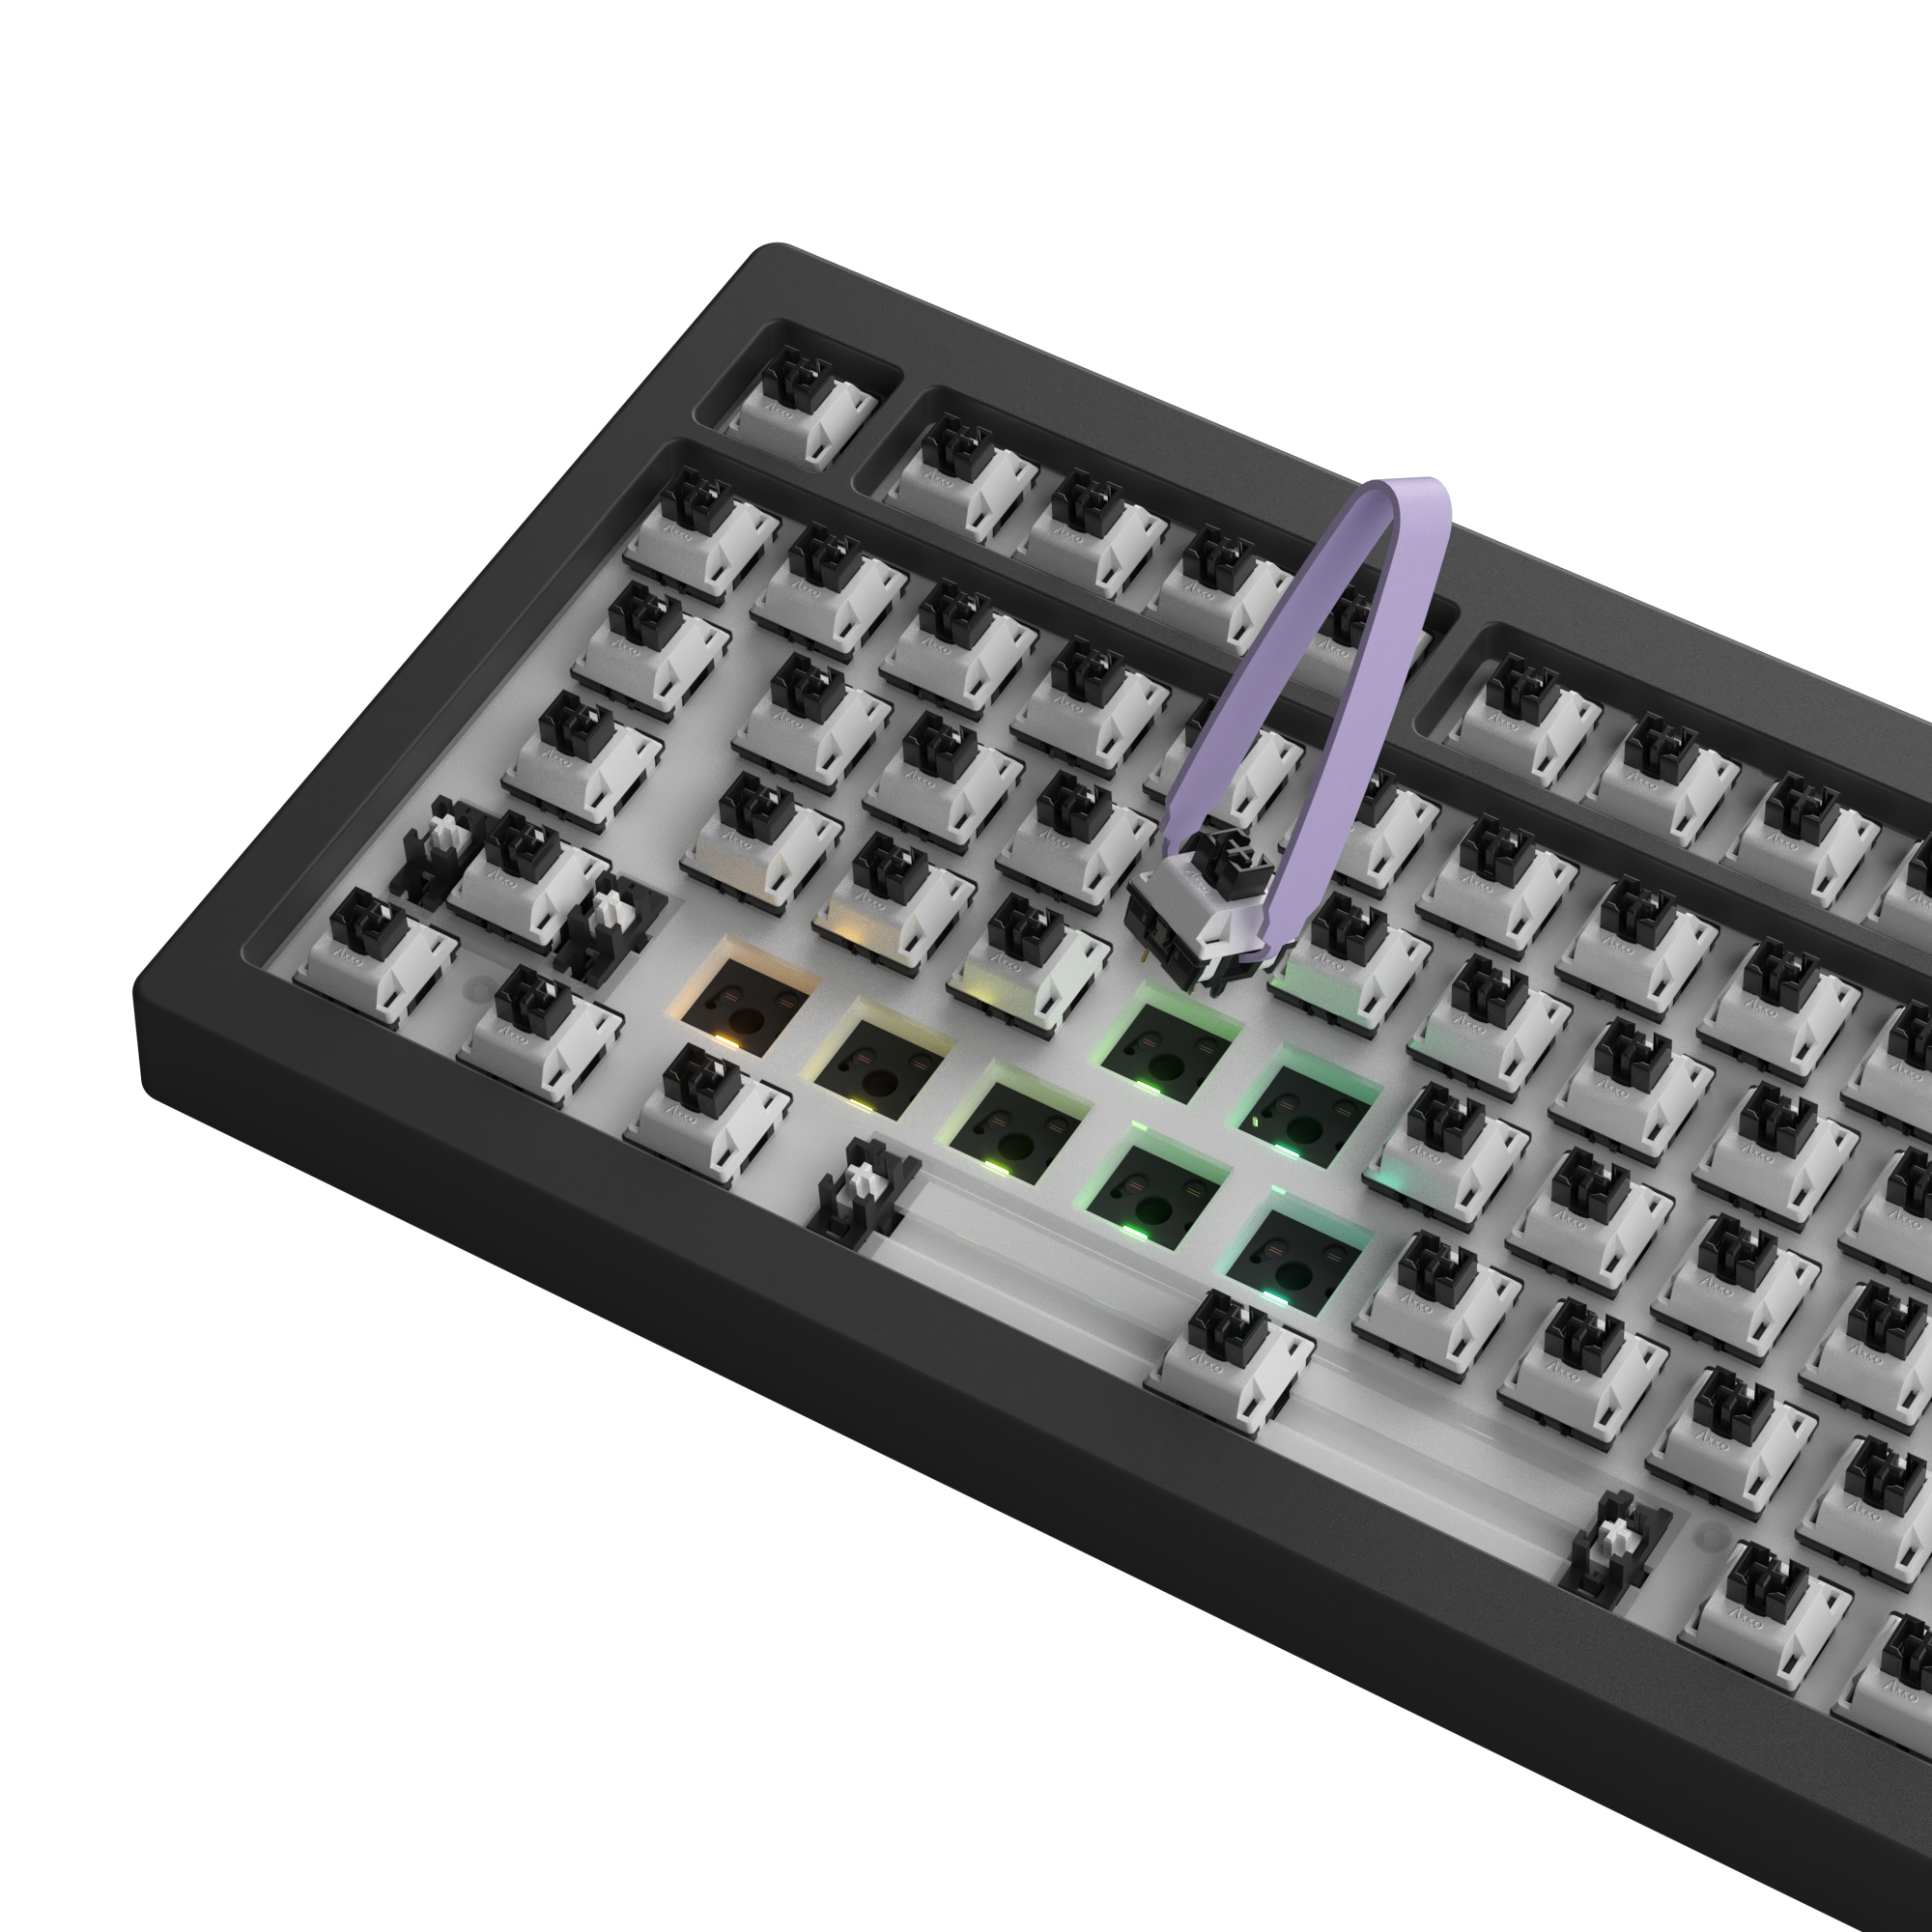
3. Using a Keycap Puller (For Mechanical Keyboards)
- Gently position the key puller over the target key, ensuring it fits snugly against the keycap
- Follow the instructions for your key puller, typically applying even upward pressure by pressing or twisting.
- Once you feel the keycap start to loosen, continue applying steady force until it’s fully removed.
4. Using a Flat Tool (For Membrane Keyboards)
If you’re dealing with a membrane keyboard or an older model, a flathead screwdriver or similar small flat tool can be used.
- Gently slide the flat tool under the edge of the key.
- Slowly pry the key up. Be extra careful with membrane switches, as they may be more fragile than mechanical ones.
- Tip: Apply even pressure and avoid using too much force to prevent damaging the key or the keyboard.

What to Do After Removing the Key
1. Clean the Keyboard and Keycap
After the keycaps are removed, you can gently clean the inside of the key from dust and debris using a soft-bristled brush or a can of compressed air.
Do not use excessive force or sharp tools to avoid damaging the keyboard circuit board.
Related Article: How to Clean Your Mechanical Keyboard?
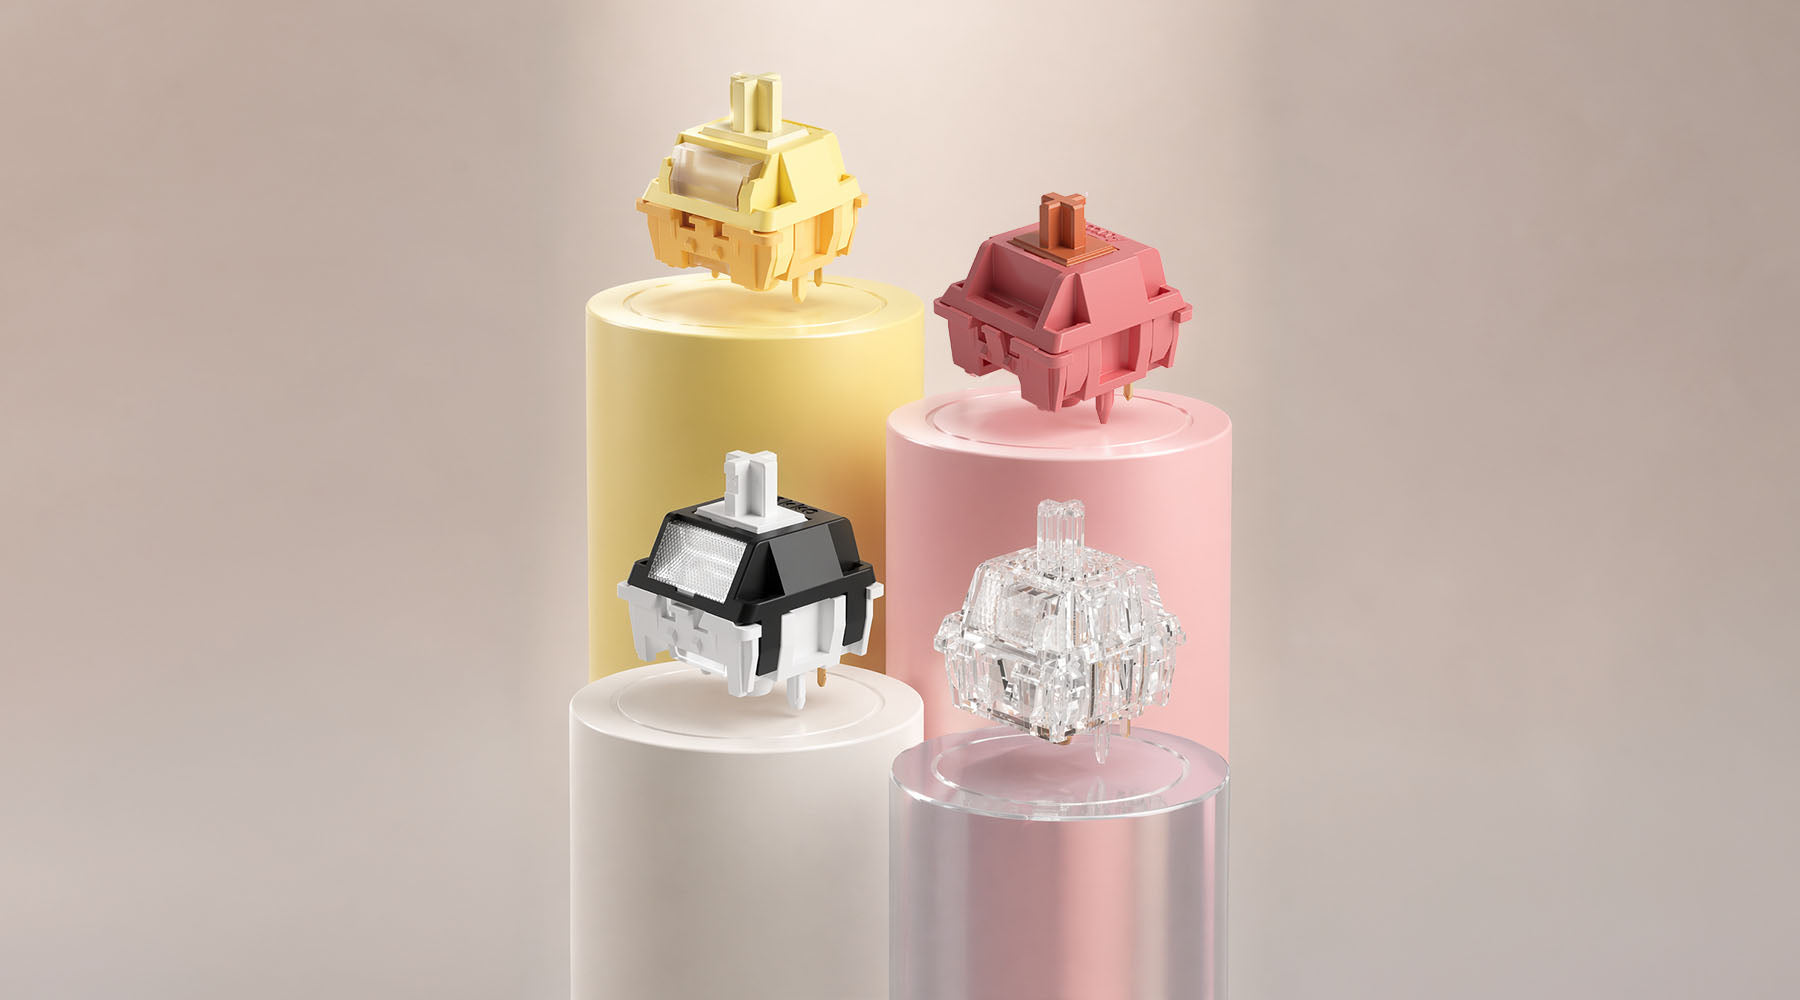
2. Check the switch
After removing the keycaps, you can check the switches directly. Sometimes, your switches can not work due to dirt buildup or a broken switch.
How to Reattach the Keycap
When you’re ready to put the keycap back on:
Make sure the keycap is aligned with the keyboard switch, and then press it gently until you hear a "click" sound, indicating that the keycap is firmly installed.
Throughout the process, be sure to apply gentle force to prevent any damage to the keyboard or keycap. Additionally, always use the appropriate key puller and tool, and carefully follow the provided instructions to ensure a safe and effective removal.
Troubleshooting Tips
1. Damaged keycaps
If the keycaps are not properly handled or used with inappropriate tools, they may break or deform.
Make sure you use the correct key puller and follow the correct procedure. If the keycap is damaged, you can replace it with a new keycap.
2. The keyboard is not working
When removing and reinstalling the keycaps, you may accidentally touch other keys or circuits, causing the keyboard can not working well.
3. Lost parts
Small screws or other parts may fall out and be lost during the process of removing the keyboard cover or removing the keys.
Lay a soft cloth or paper towel on the work area to help retrieve the dropped parts. Also, keep the work area clean and organized.
Conclusion
Removing the keycap from the keyboard is not a hard task. Whether you’re cleaning, replacing a keycap, or troubleshooting an issue, following these steps will ensure you don’t cause any damage.


Leave a comment
All comments are moderated before being published.
This site is protected by hCaptcha and the hCaptcha Privacy Policy and Terms of Service apply.