Table of Contents
What is VIA?
VIA (Virtual Keyboard Interface) is an open source keyboard configuration tool that allows users to customize the keyboard's key mapping, lighting effects, and other features.
The main goal of VIA is to provide a simple and easy-to-use interface that allows users to easily configure and personalize their mechanical keyboards.
VIA supports multiple keyboard layouts and brands; it can also be accessed directly through a browser without installing any software.
Akko VIA Keyboards
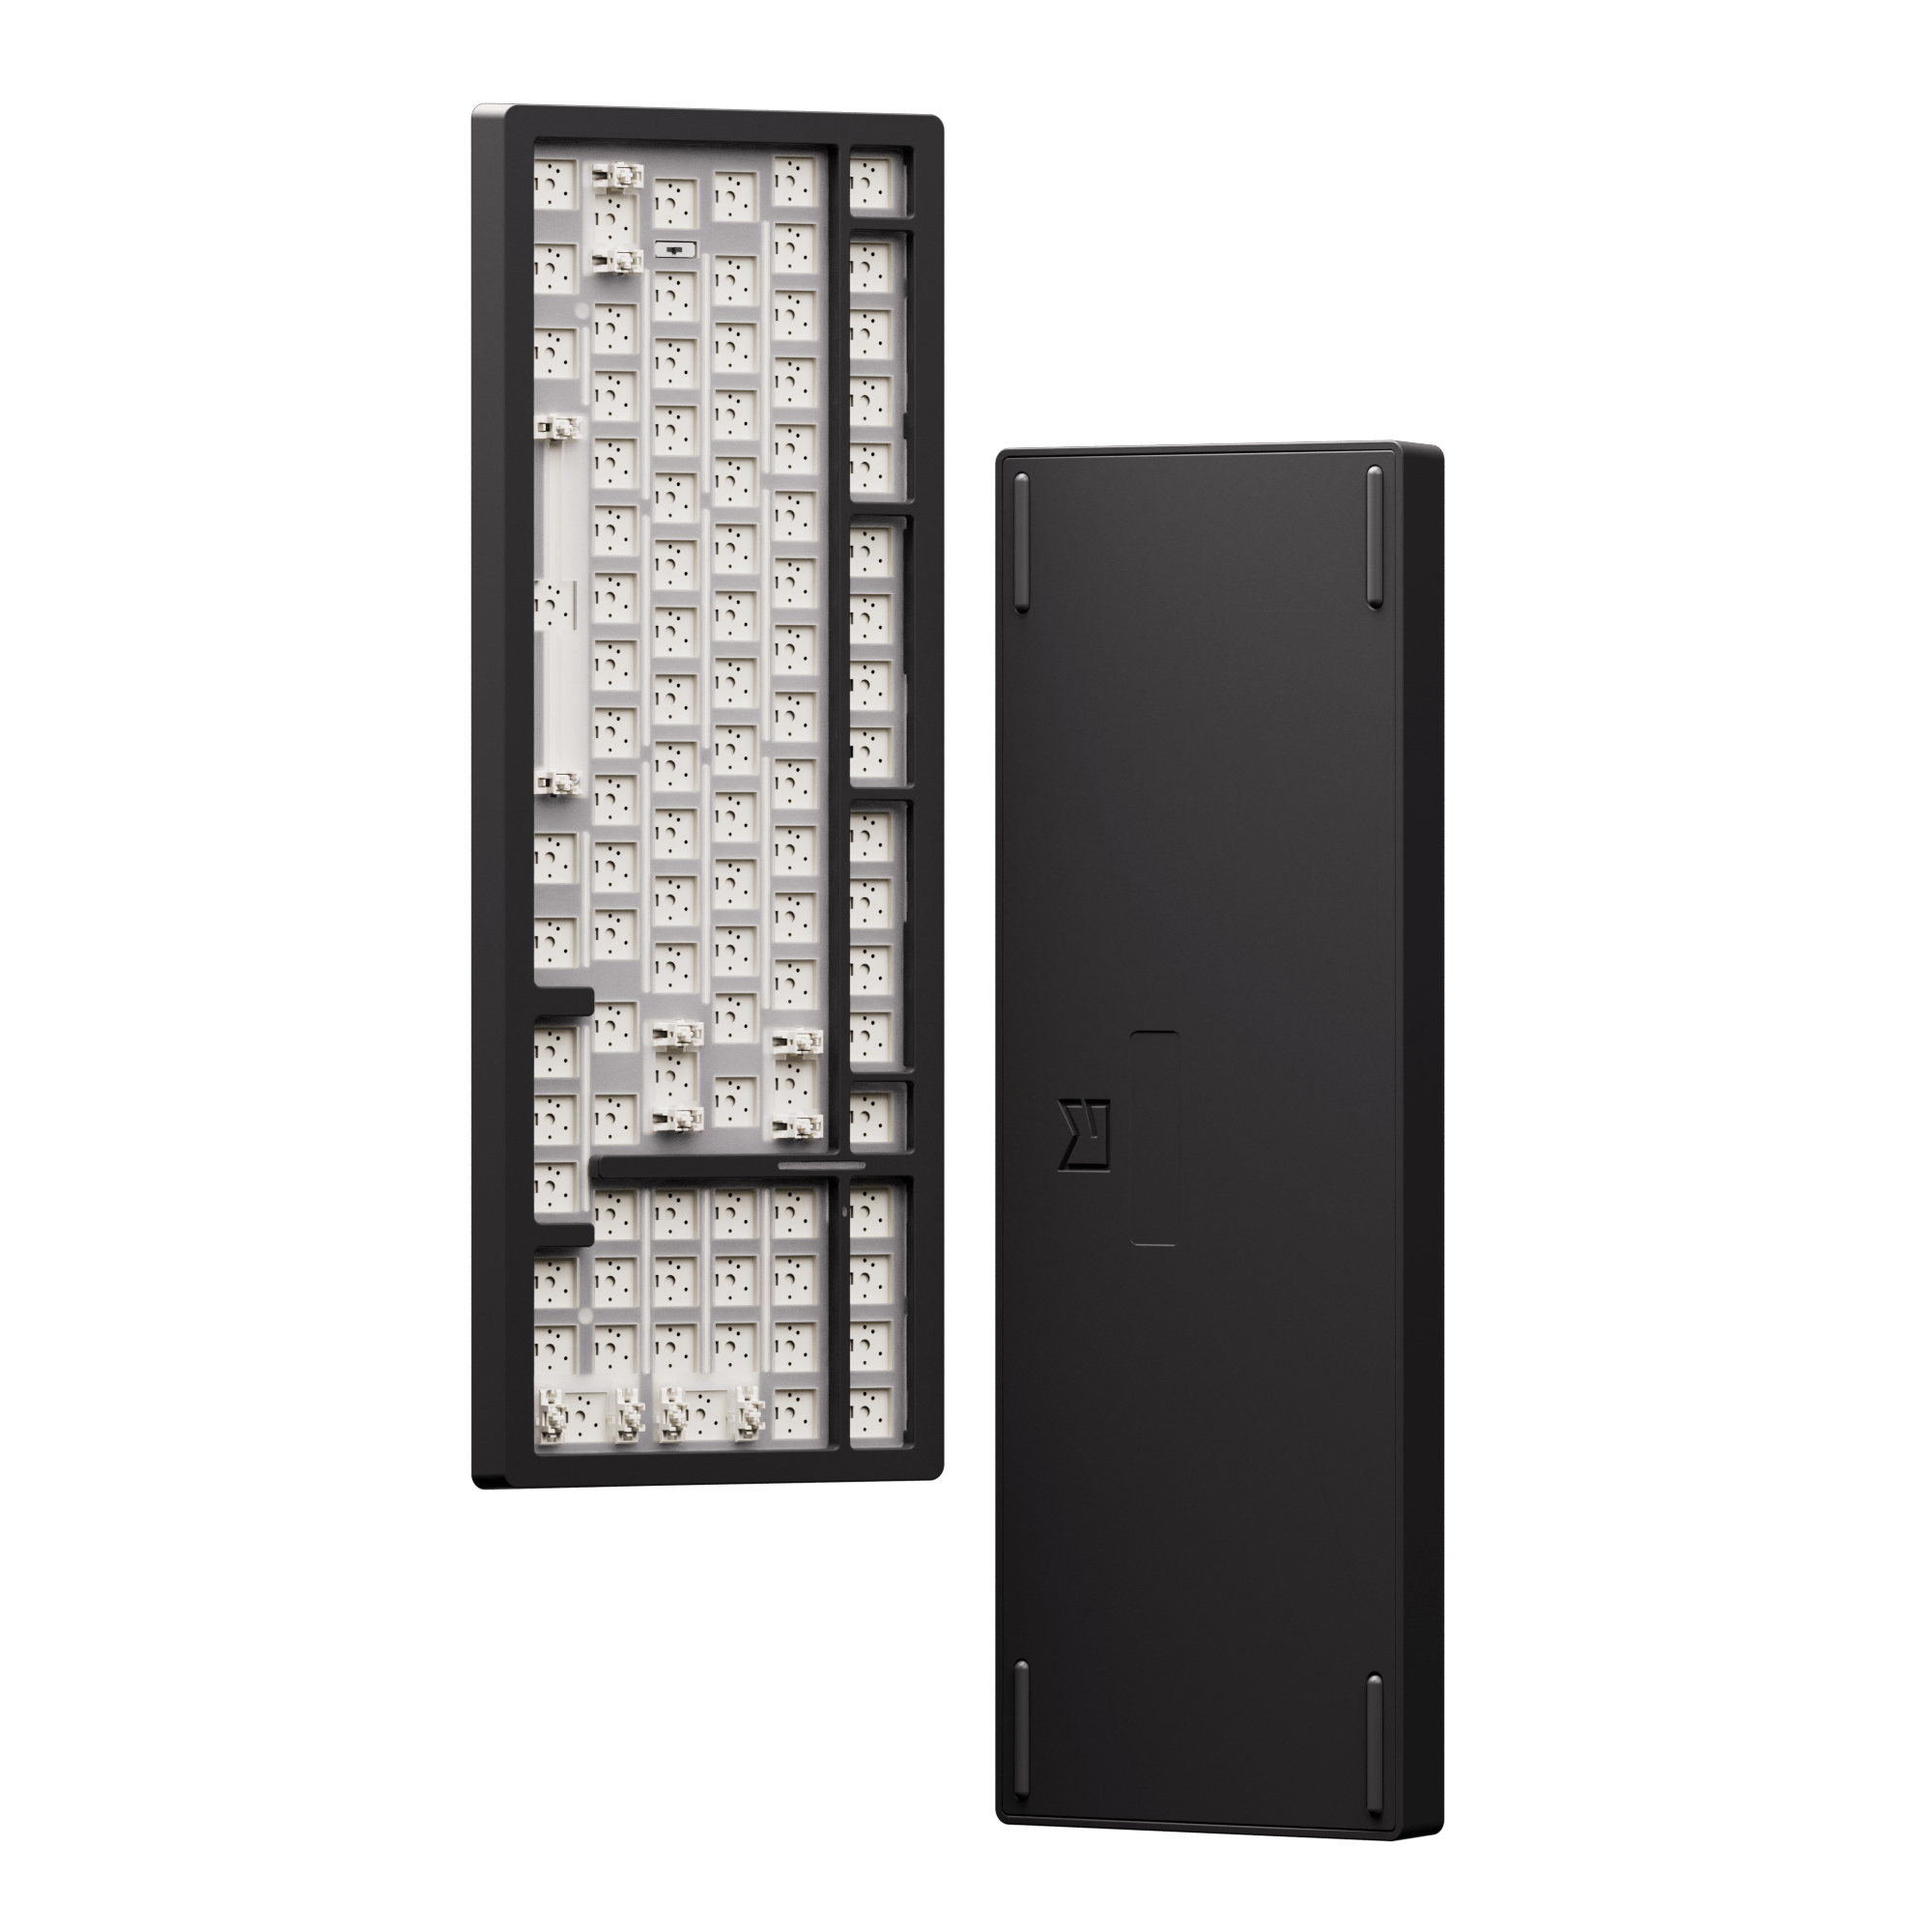
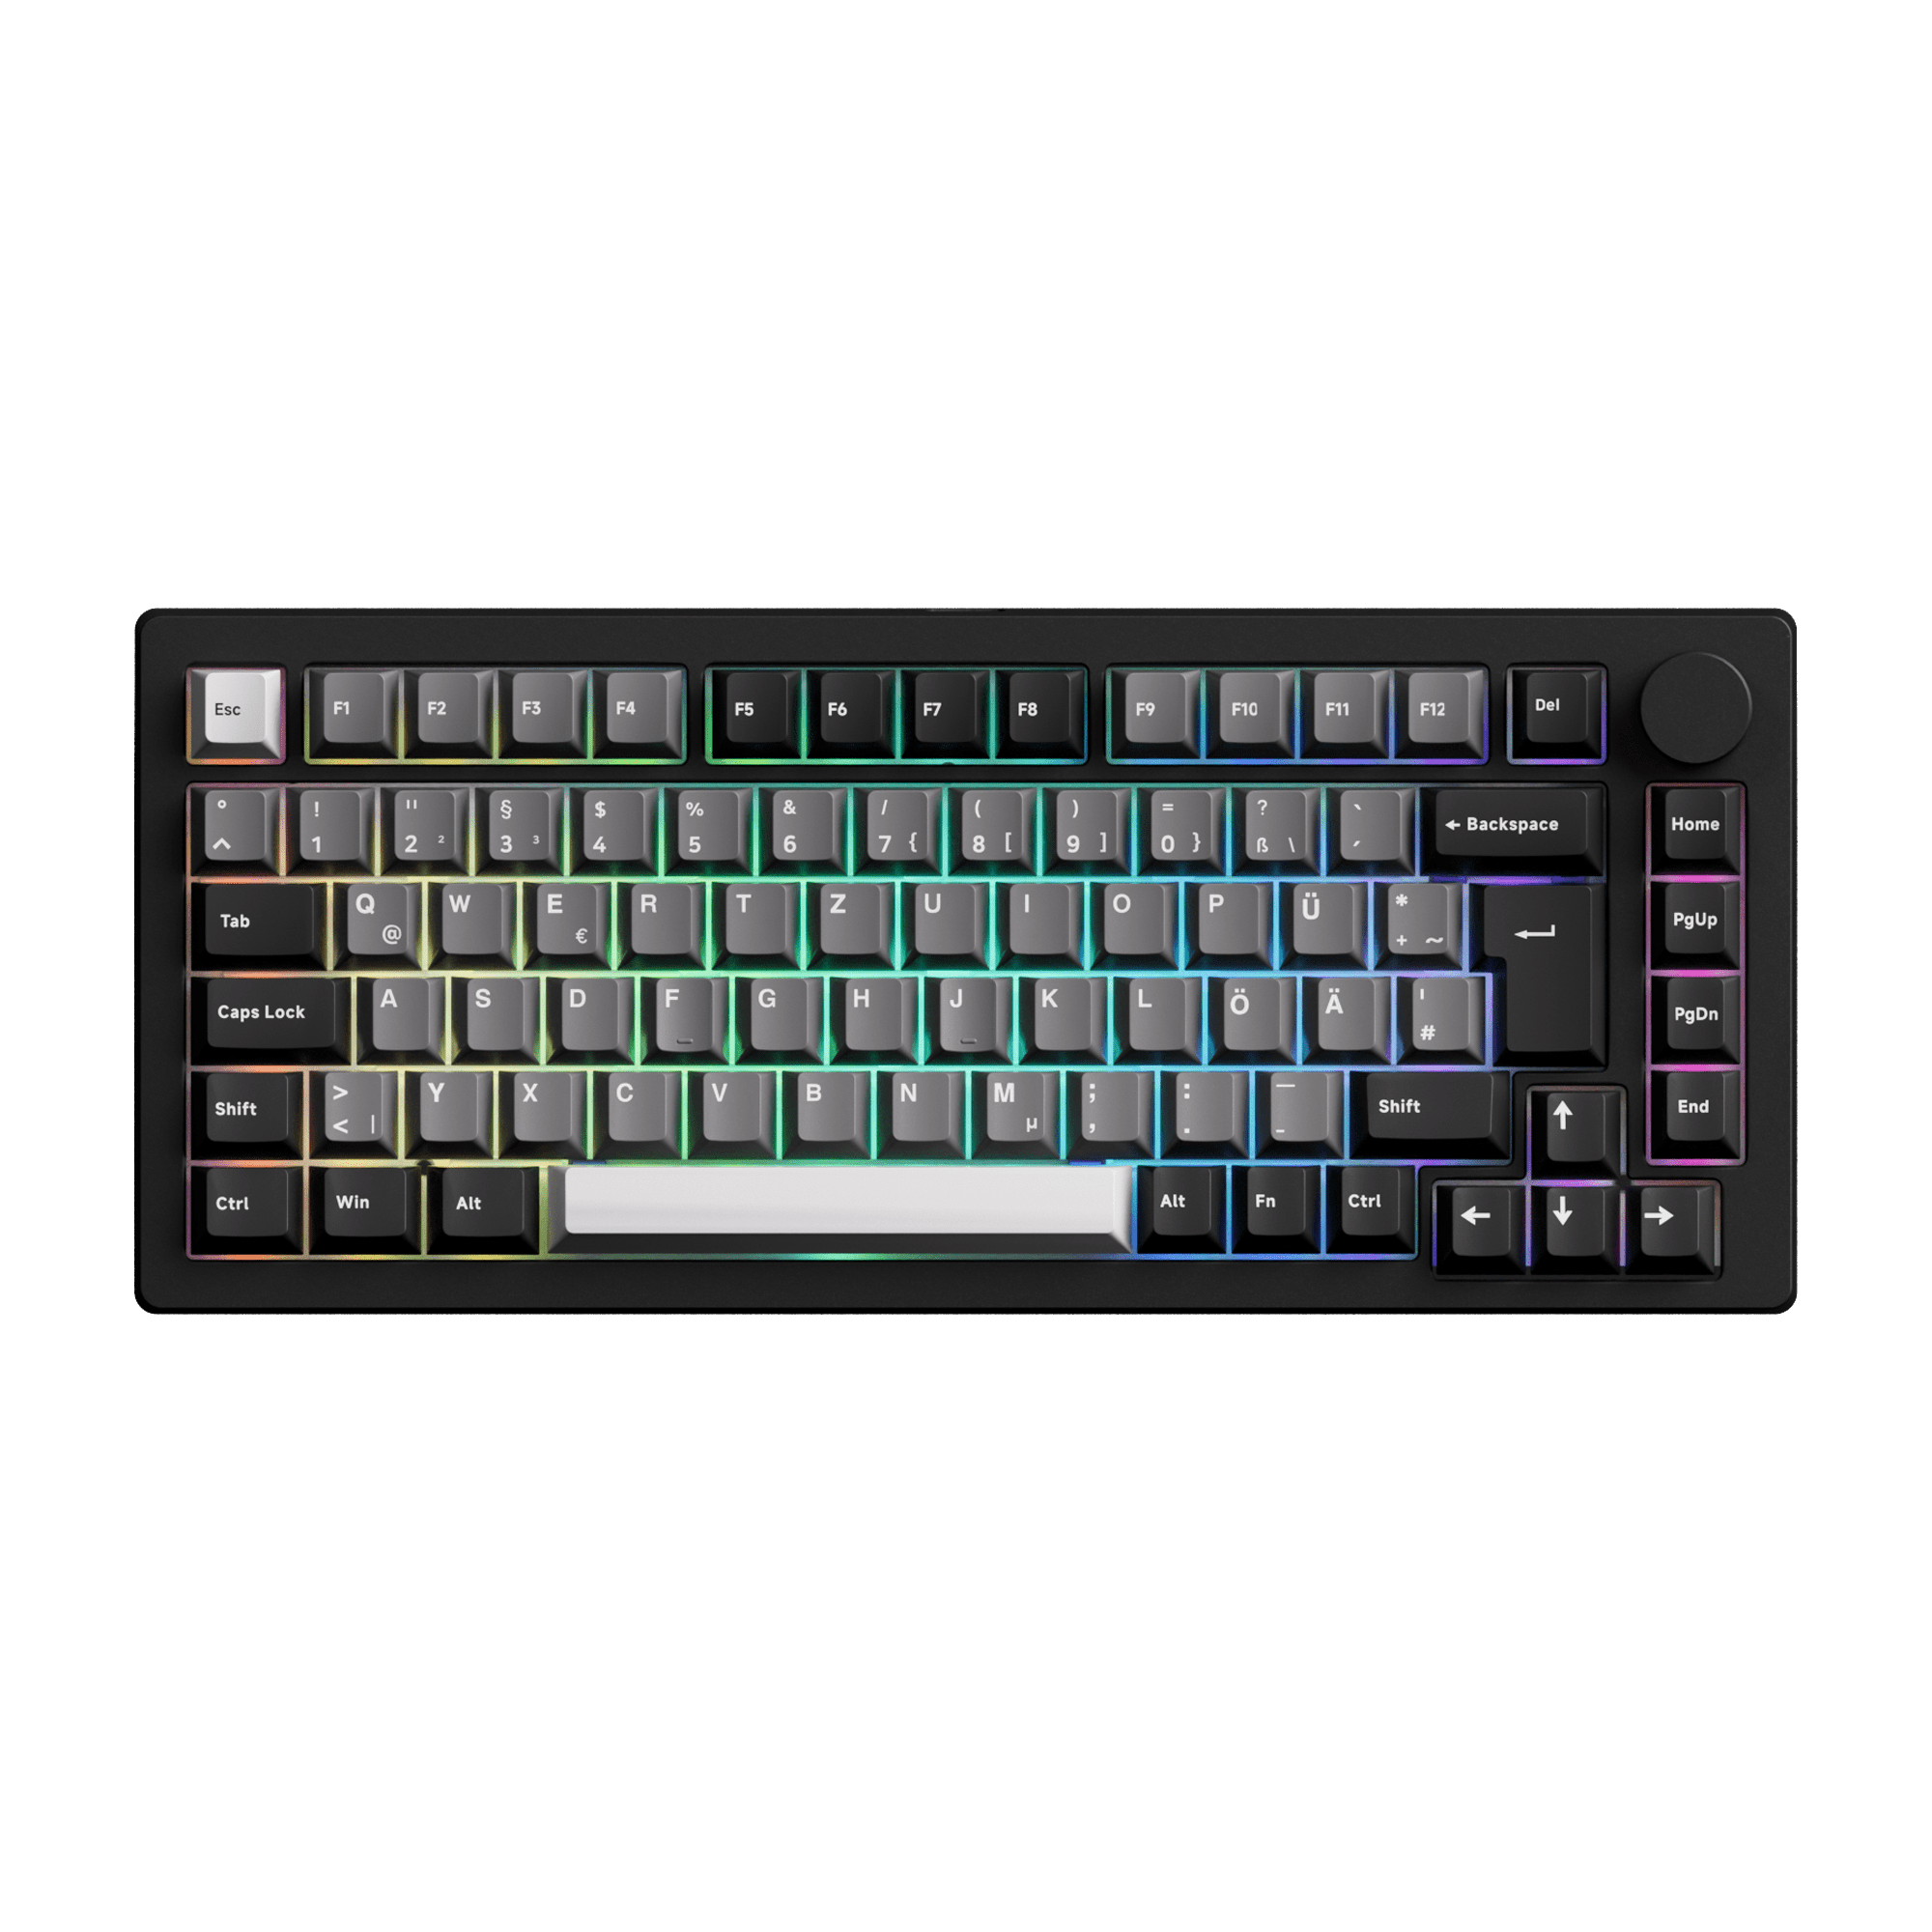
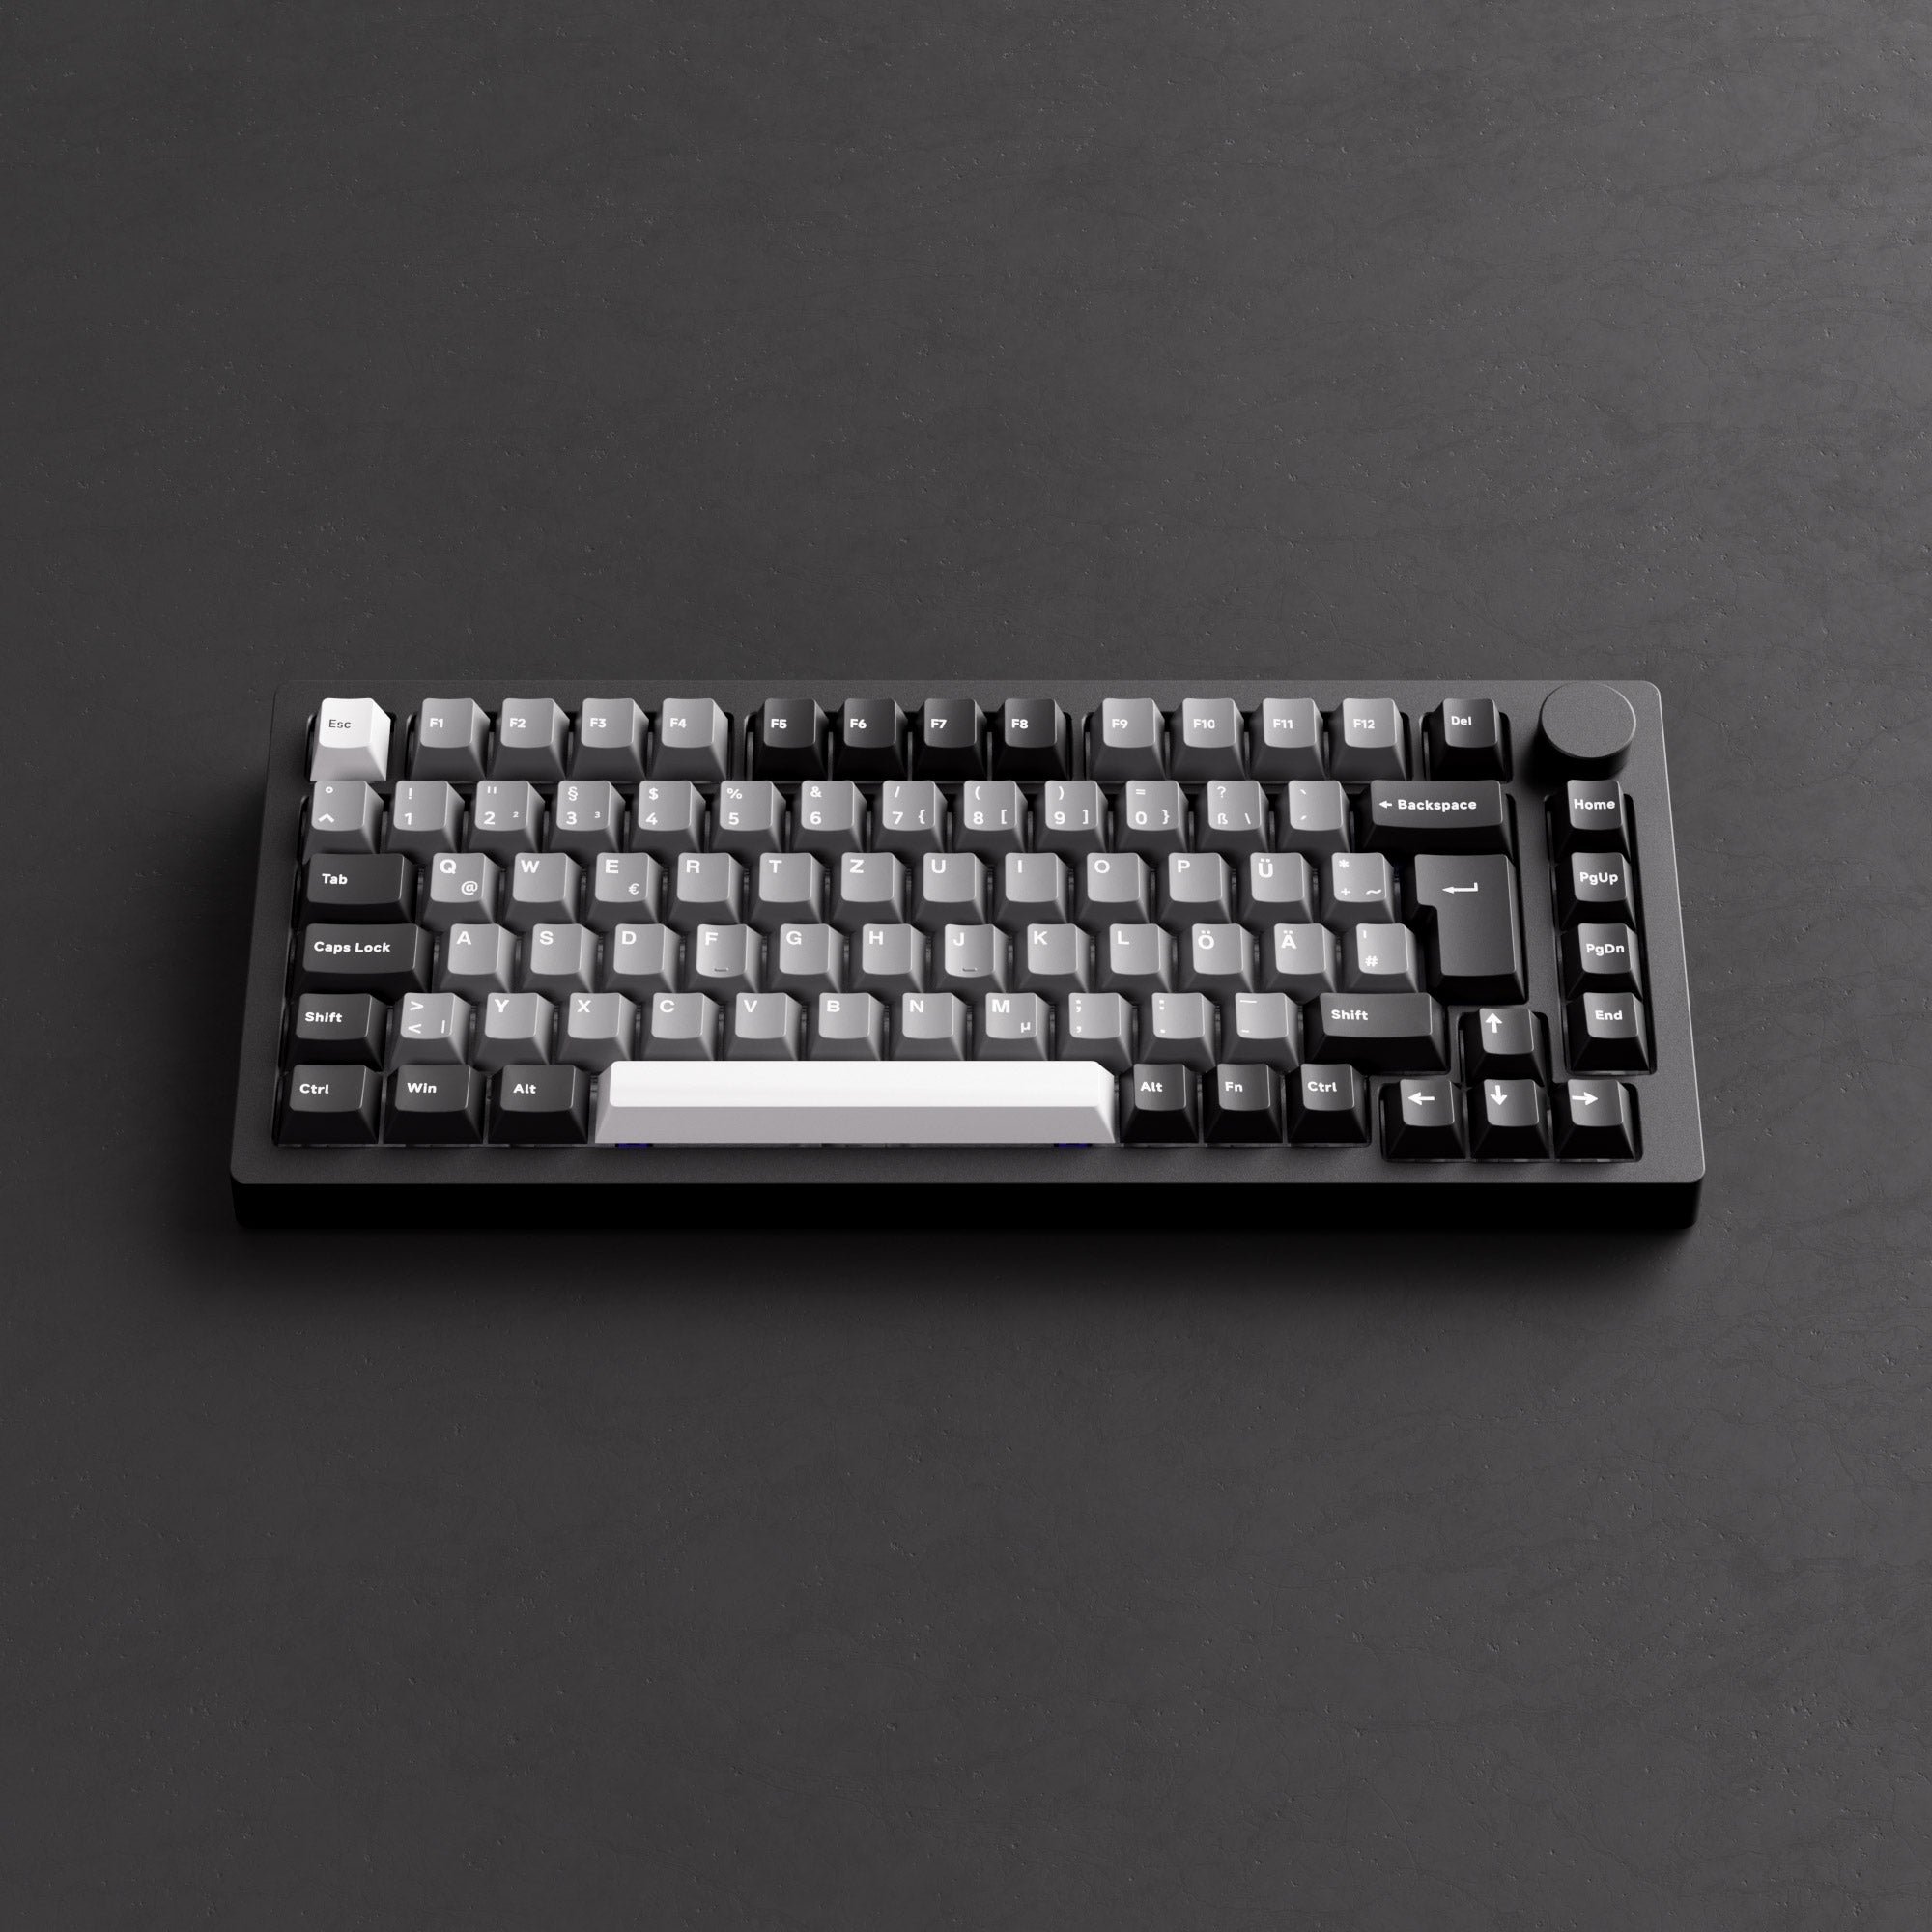
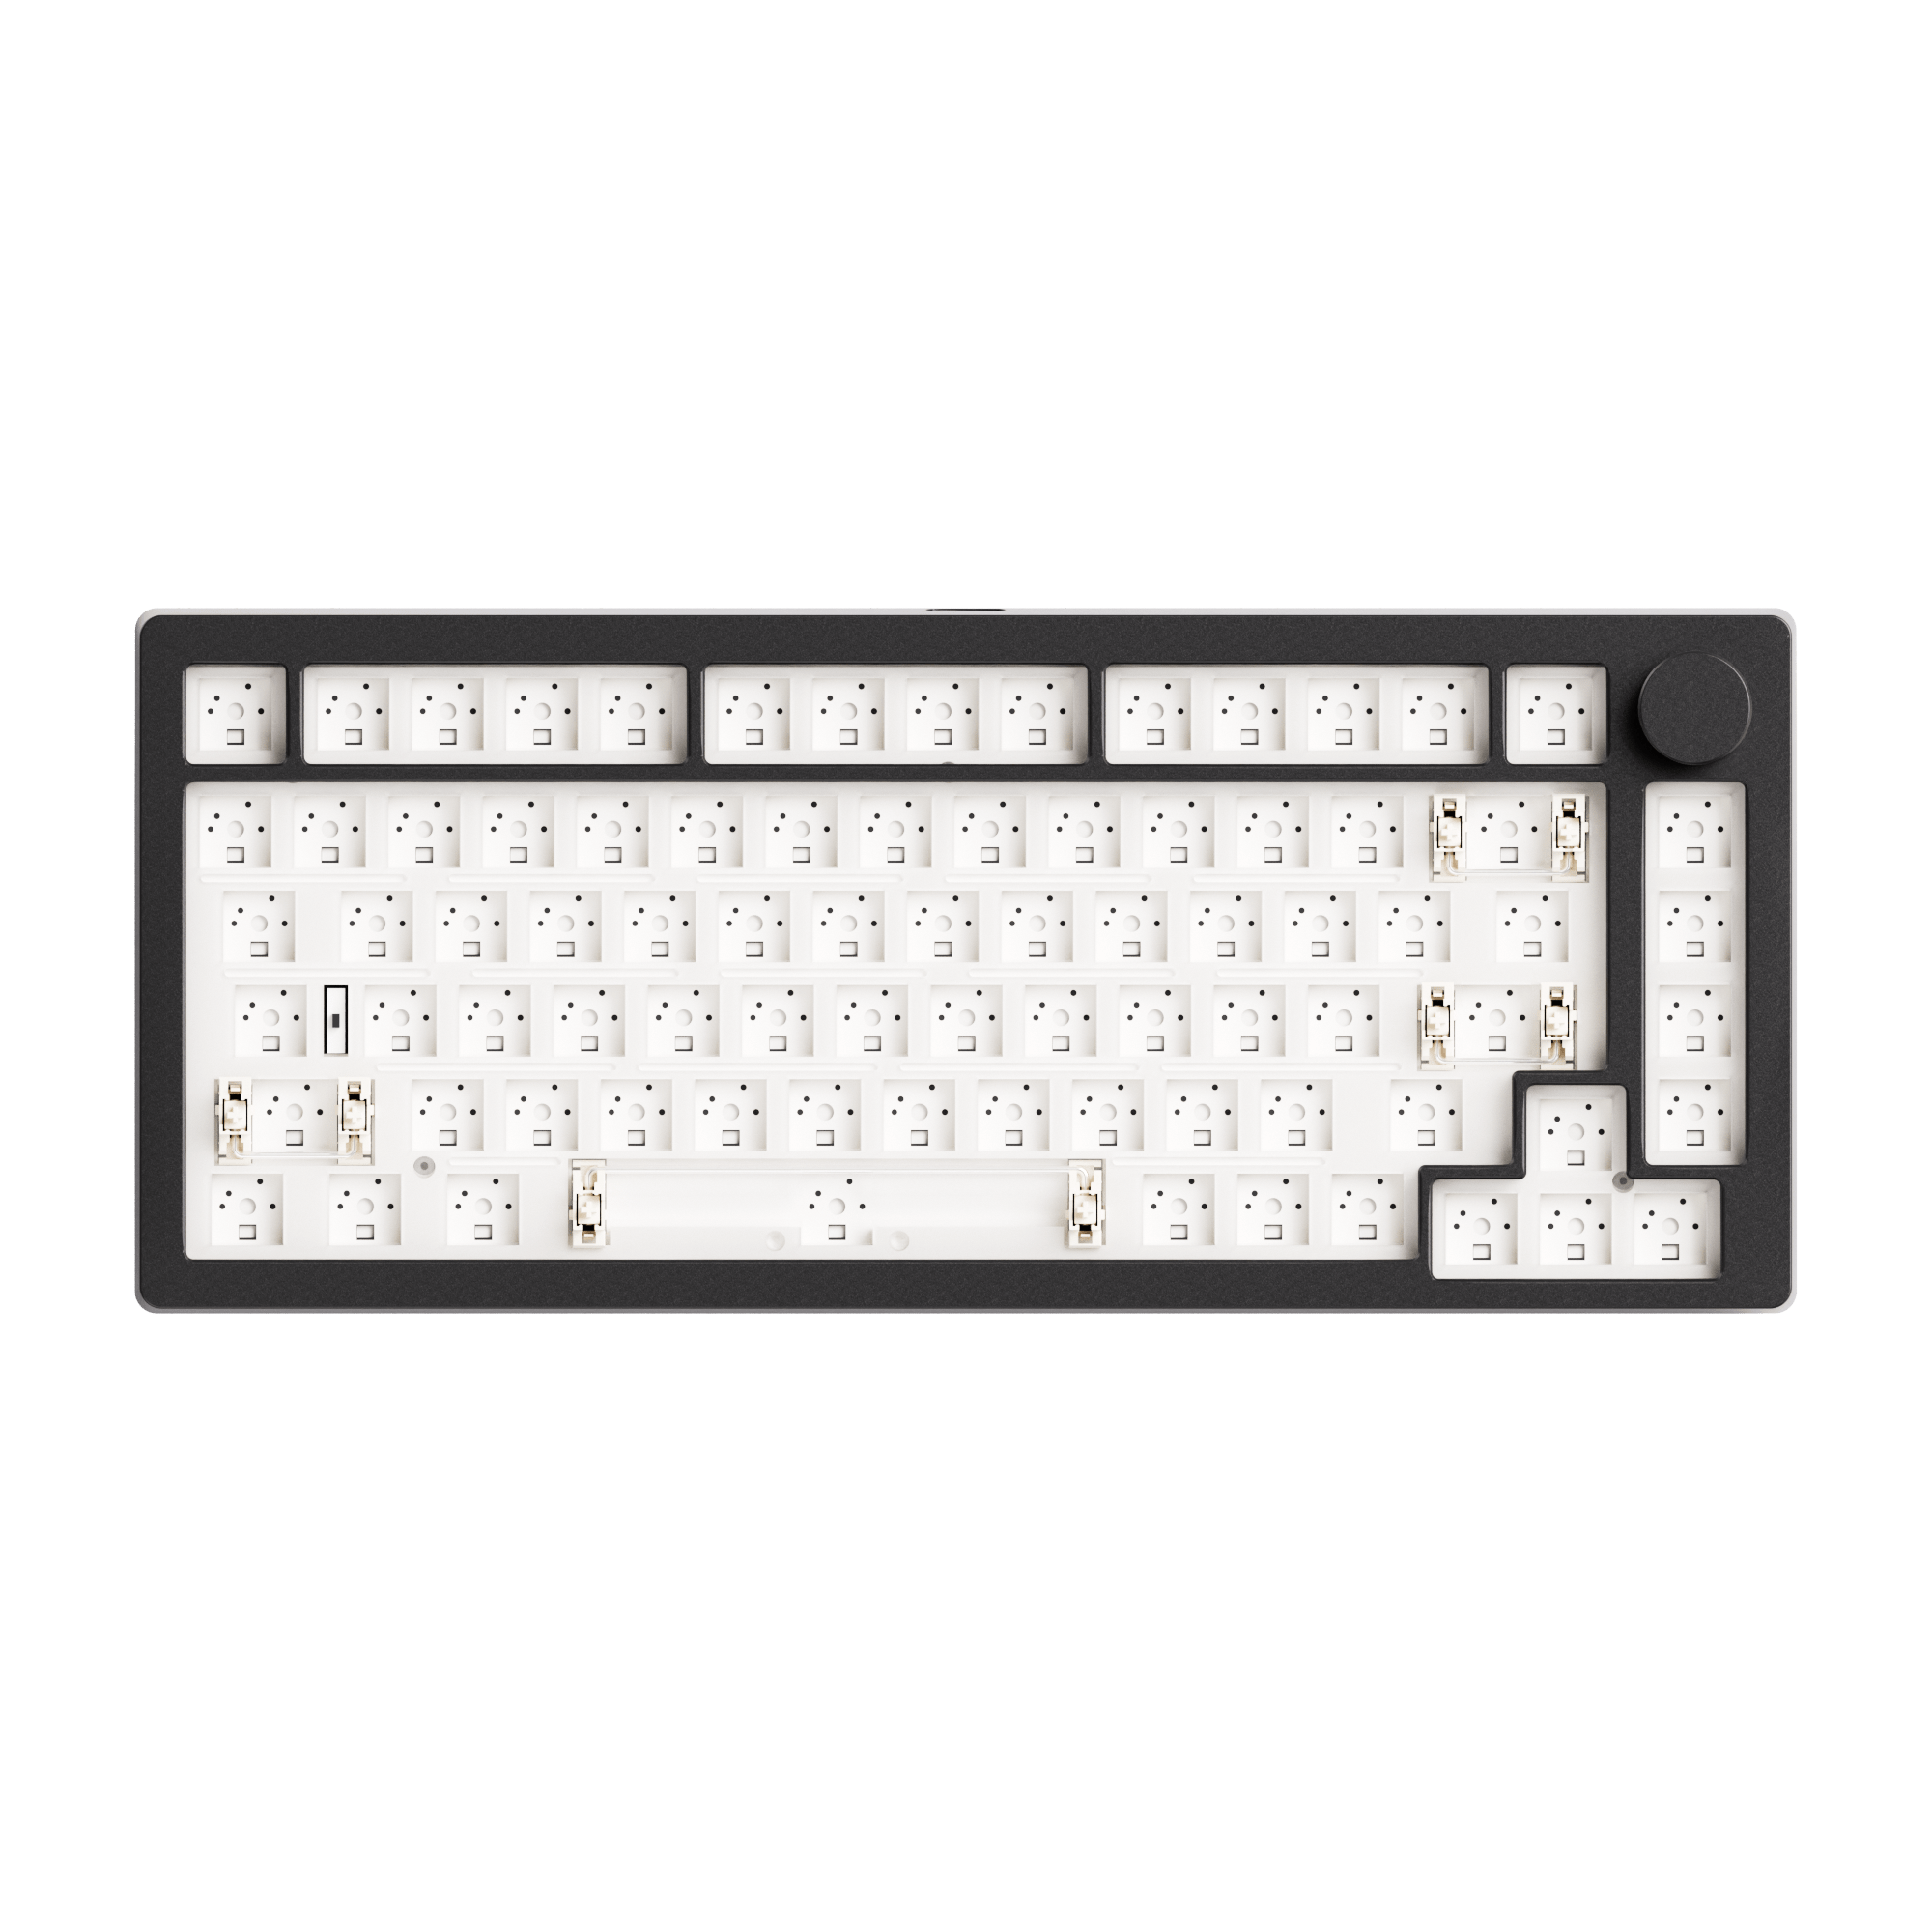
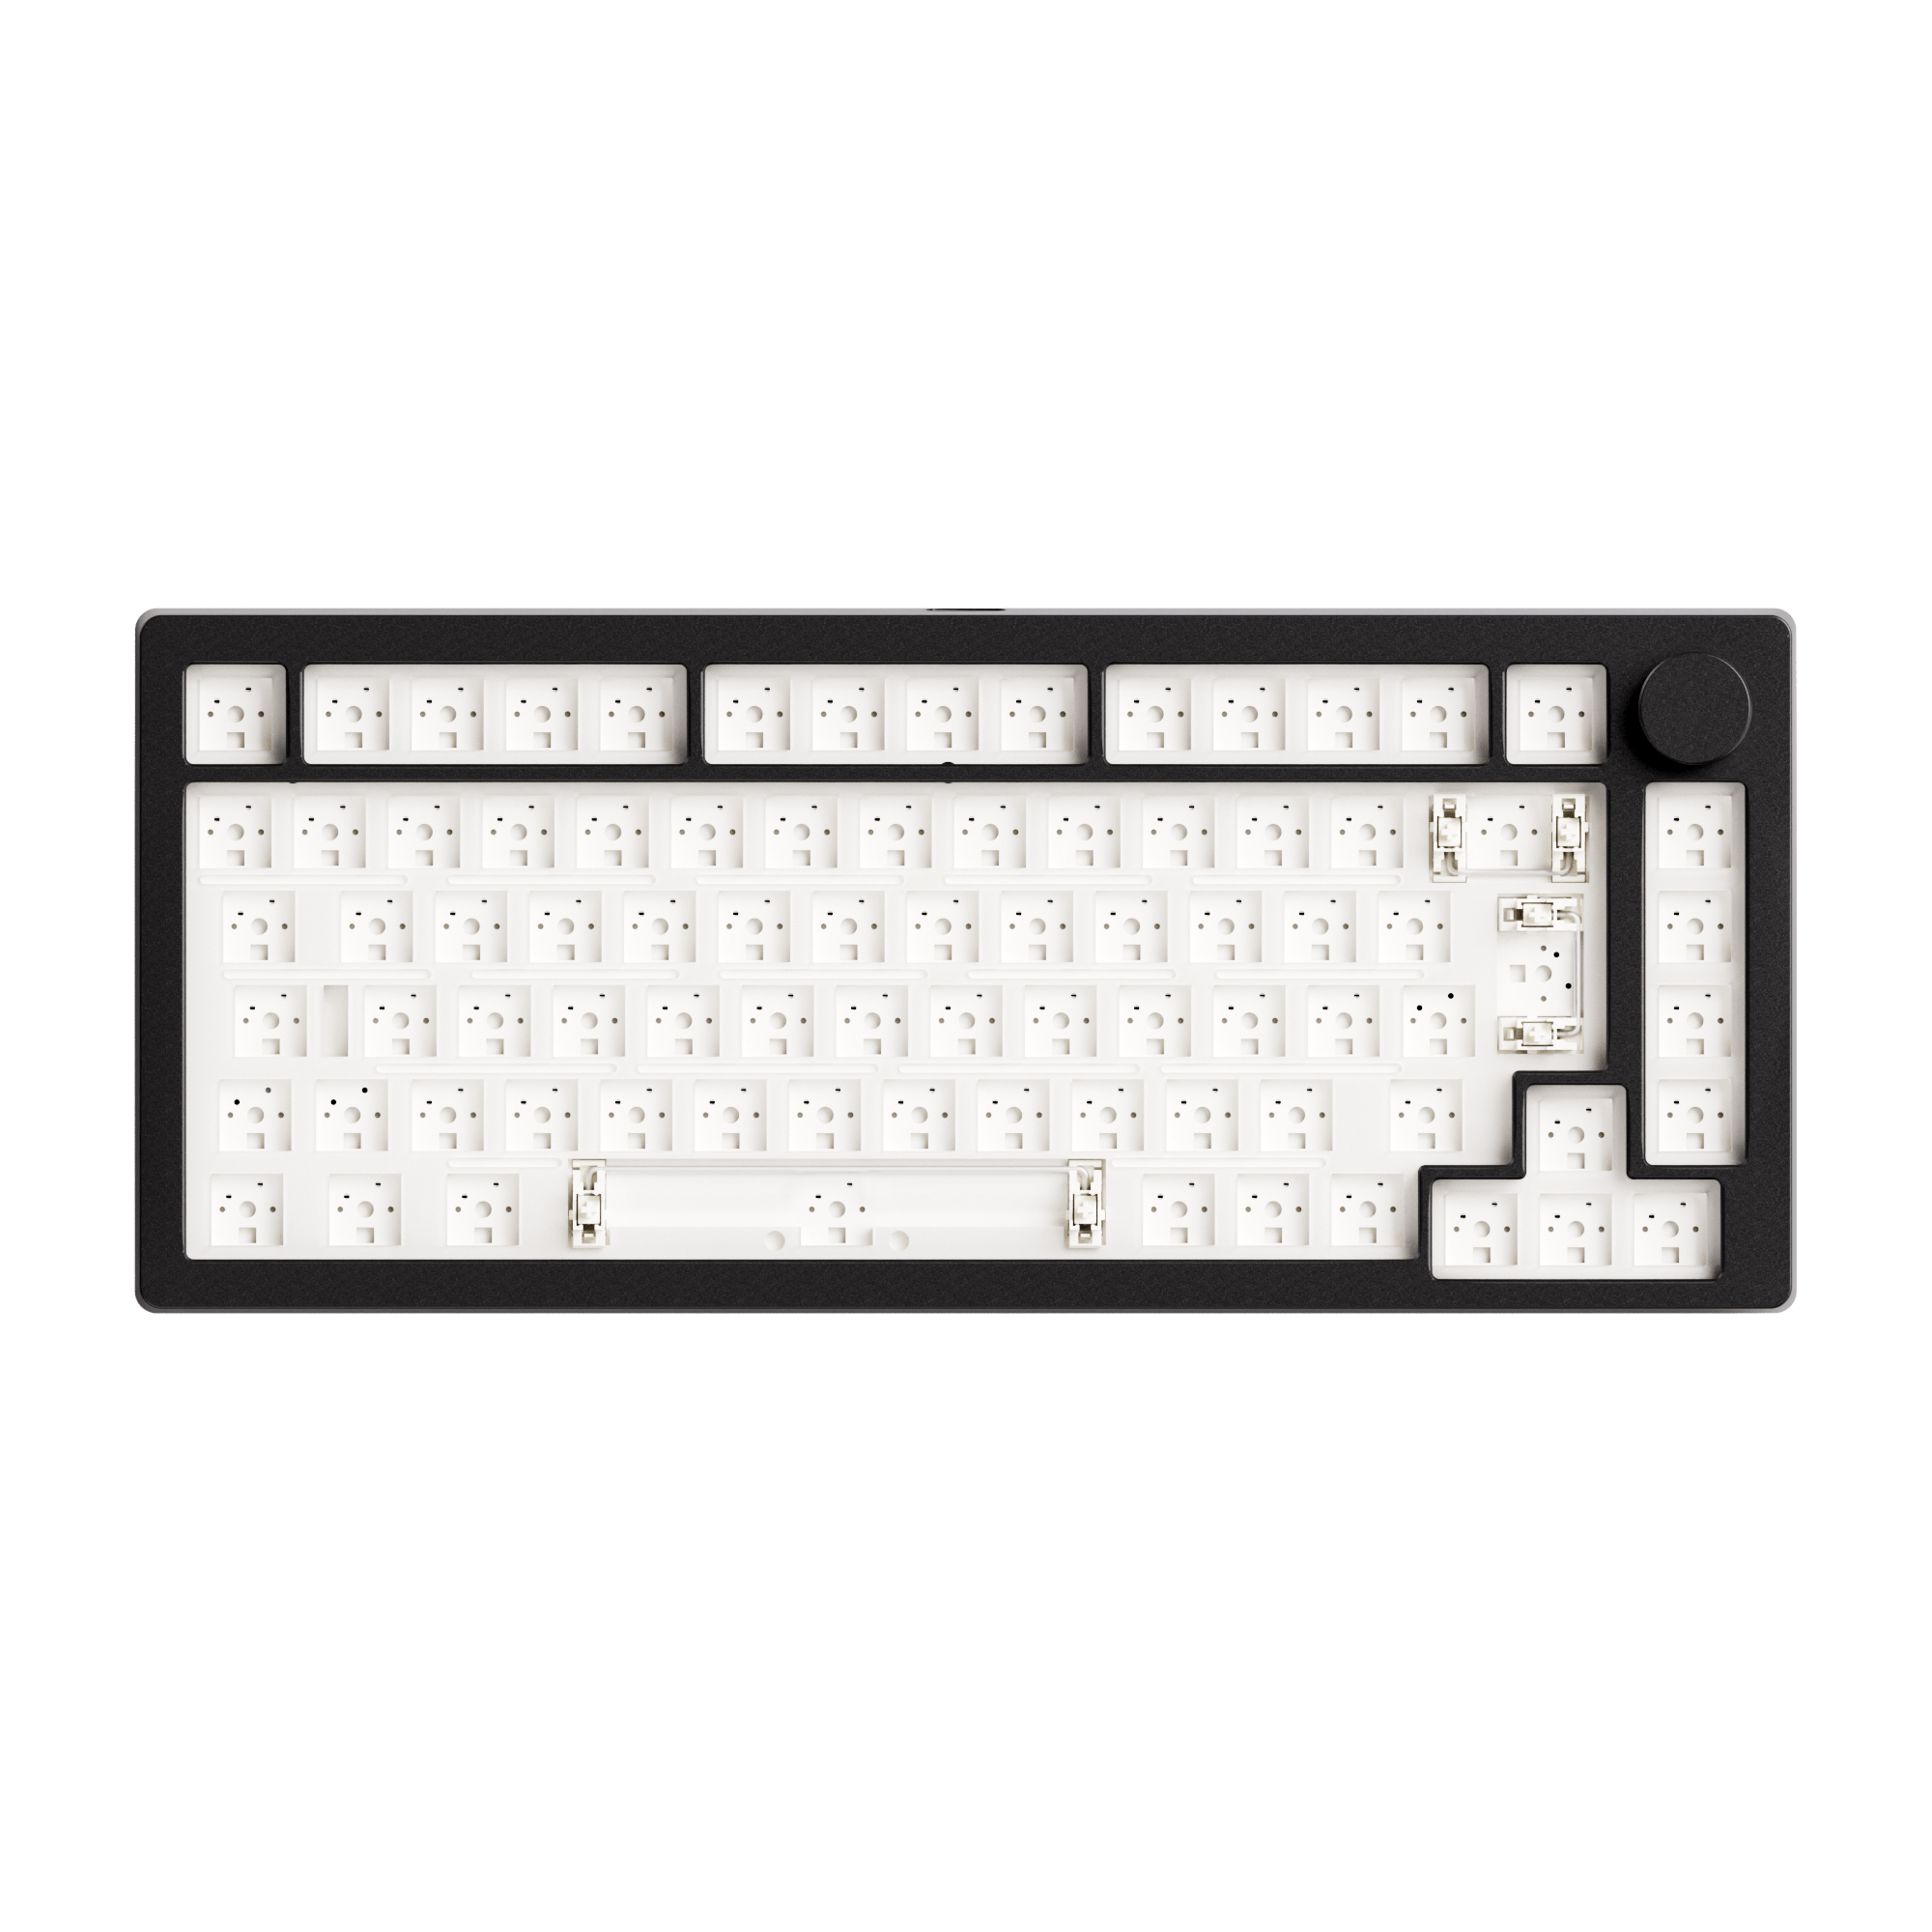
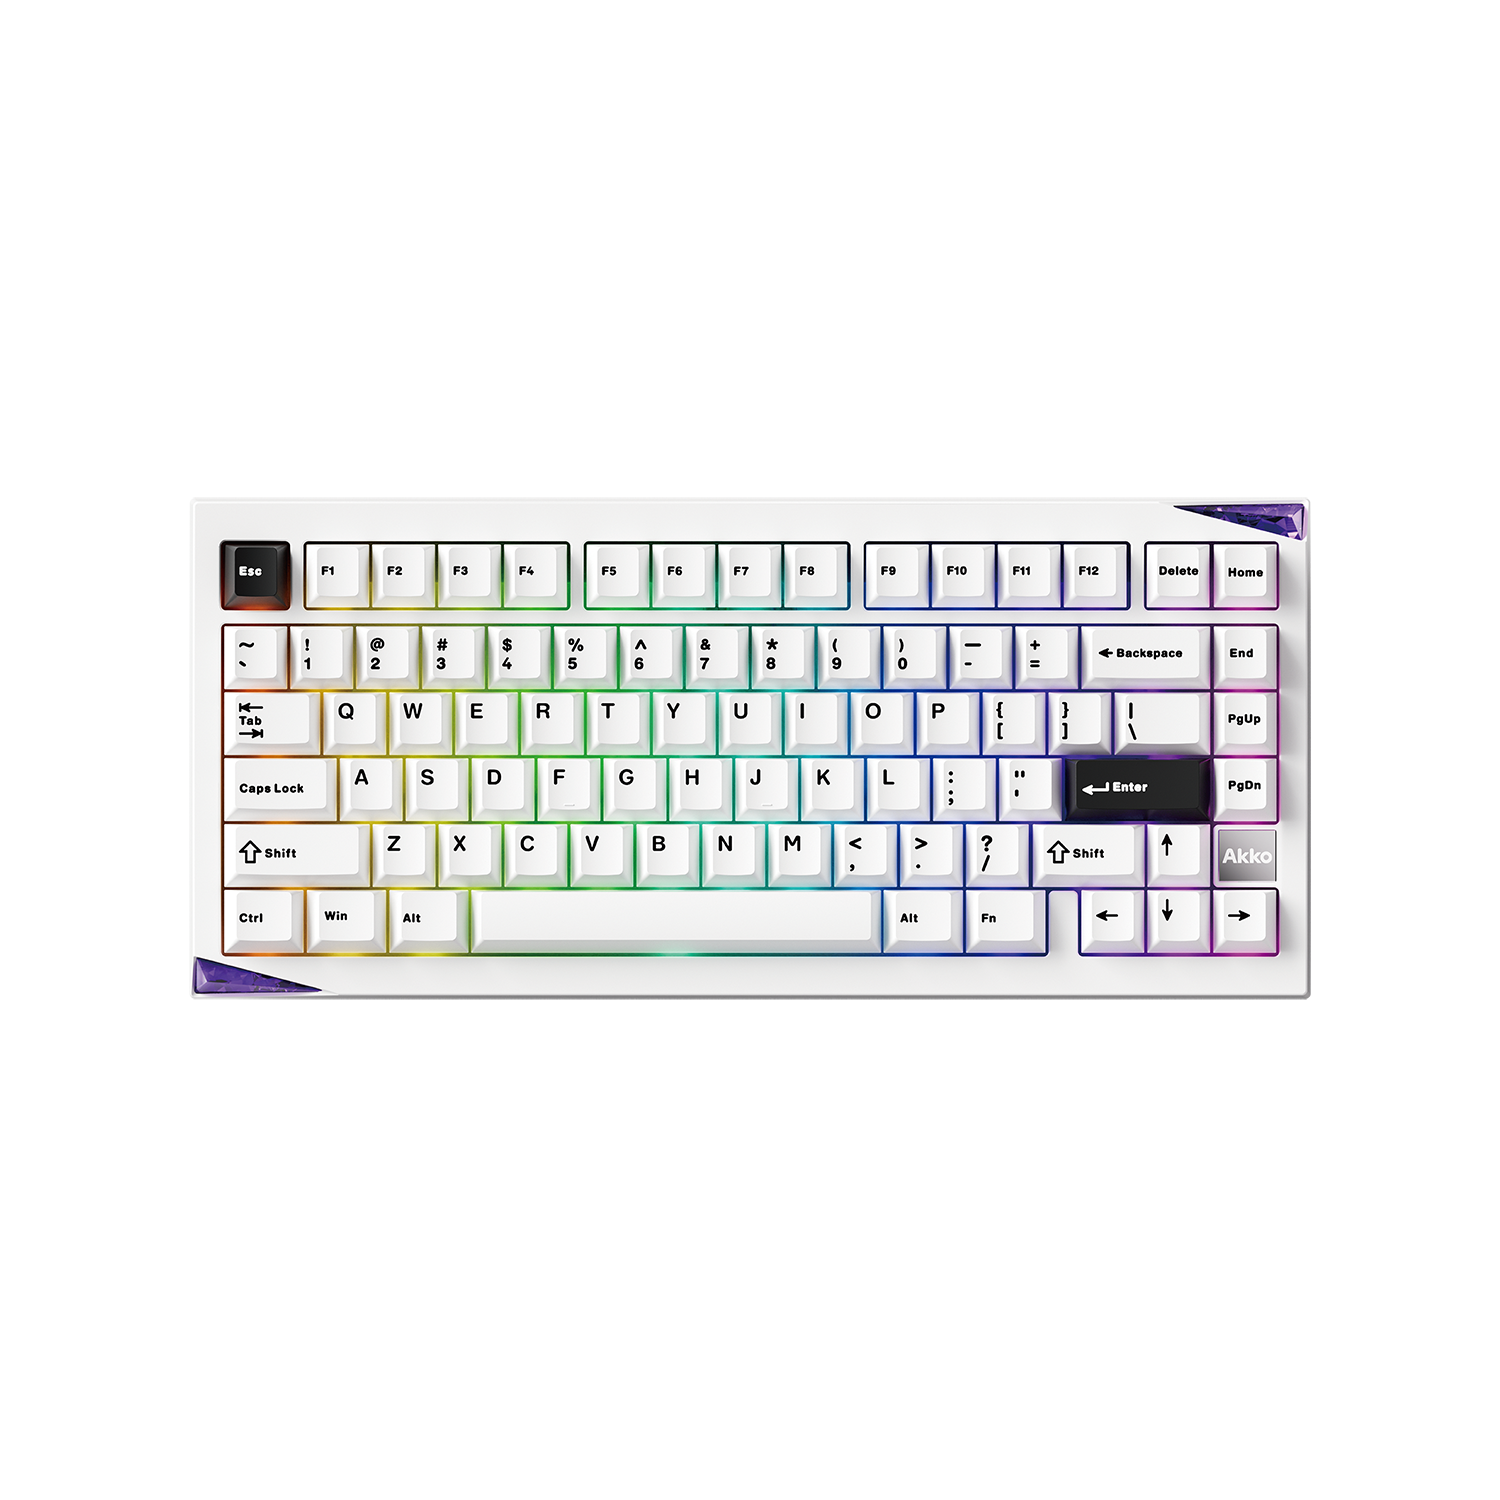
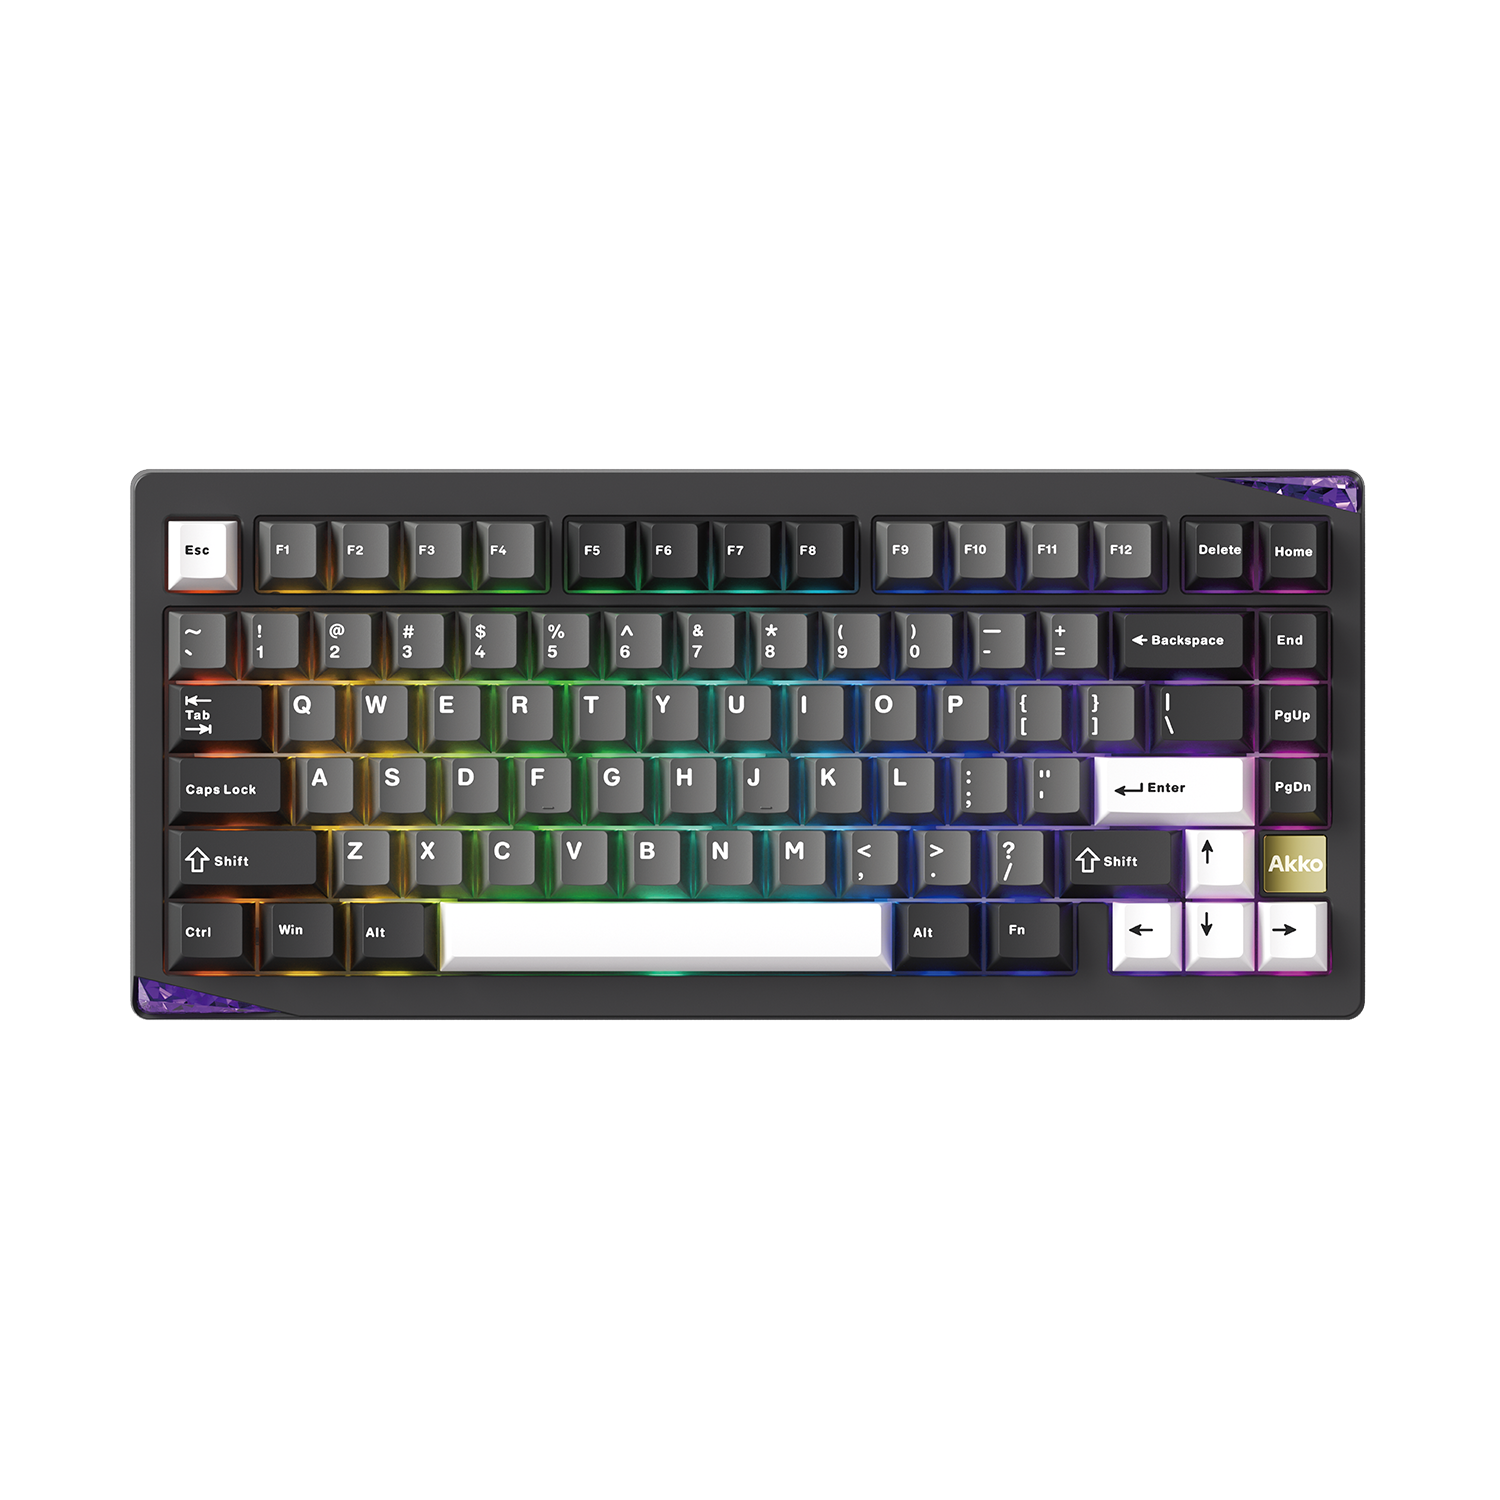
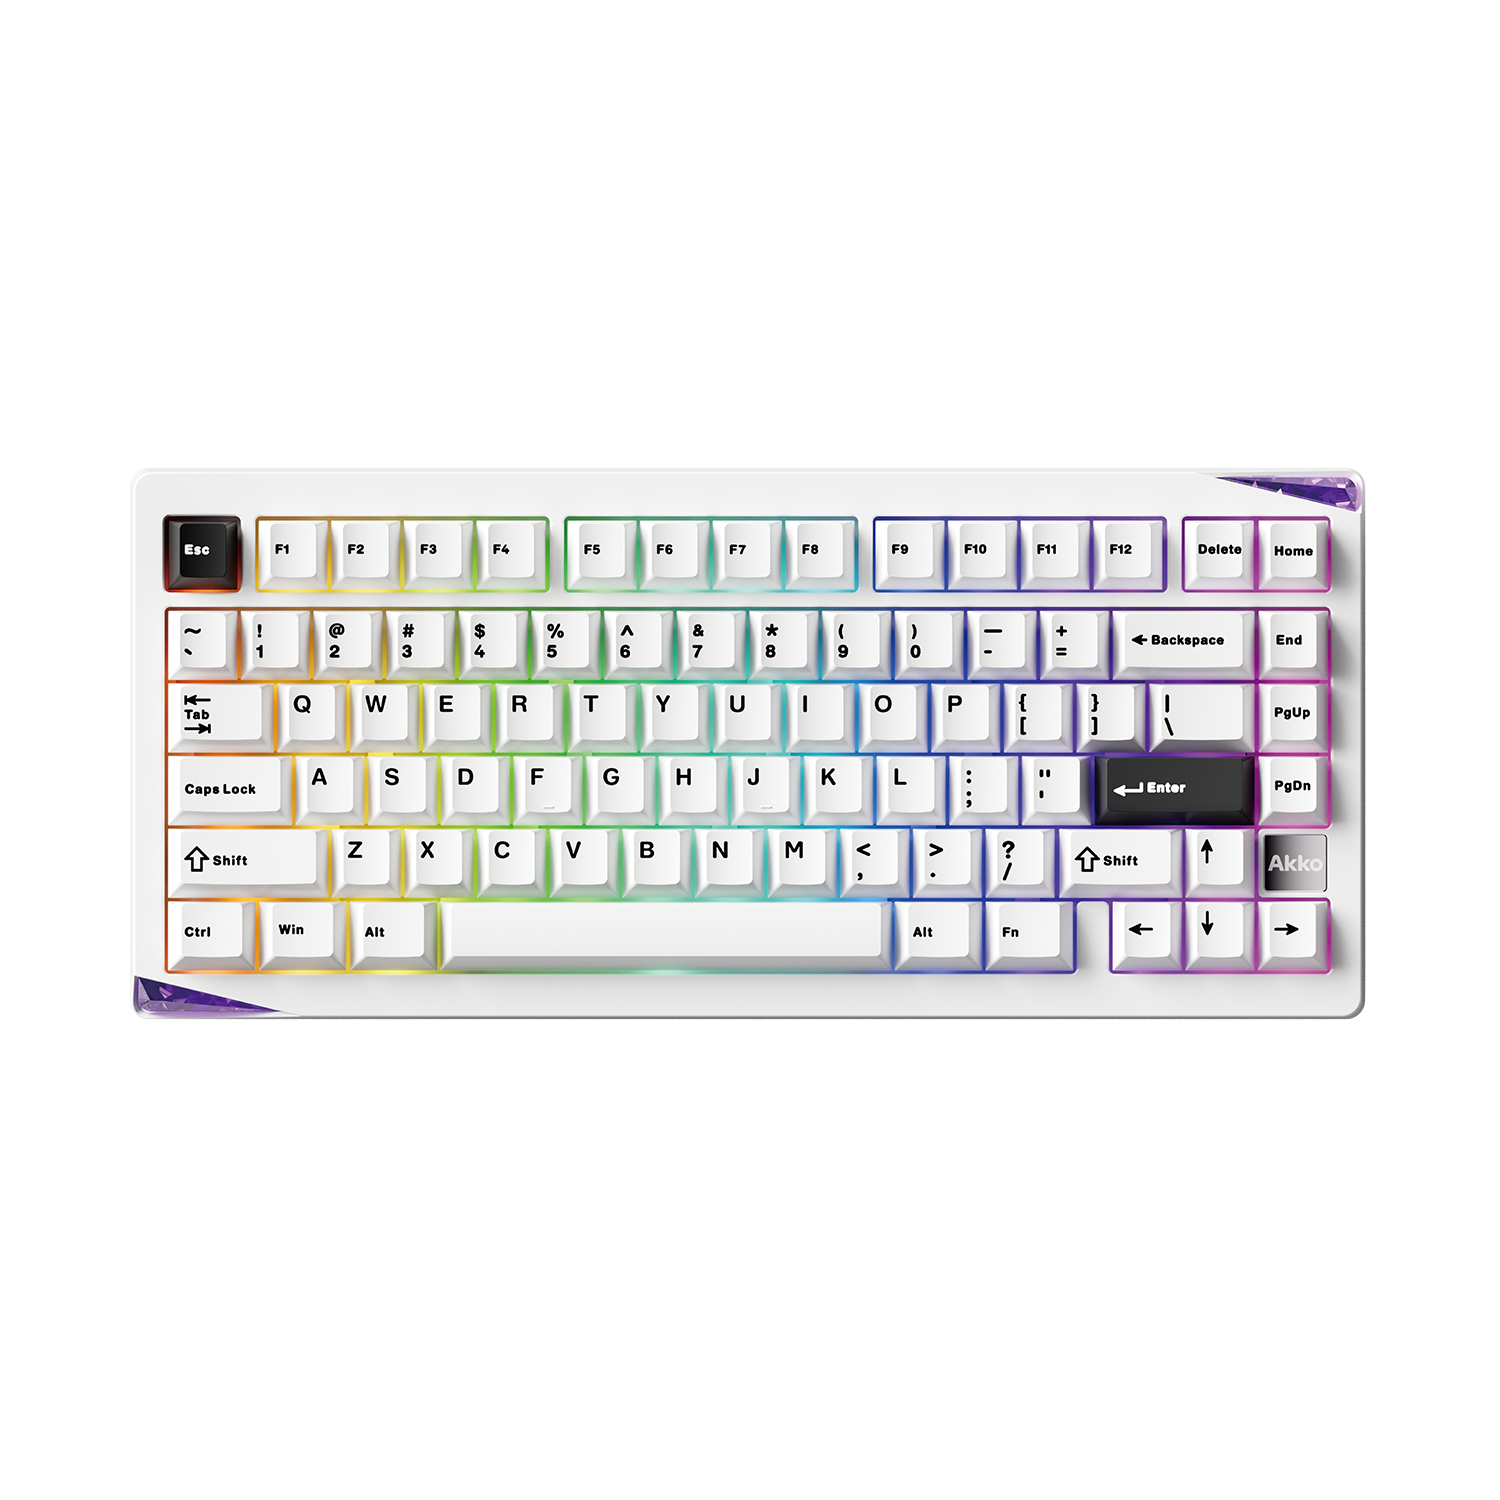
MonsGeek M1 V5 Custom Mechanical Keyboard
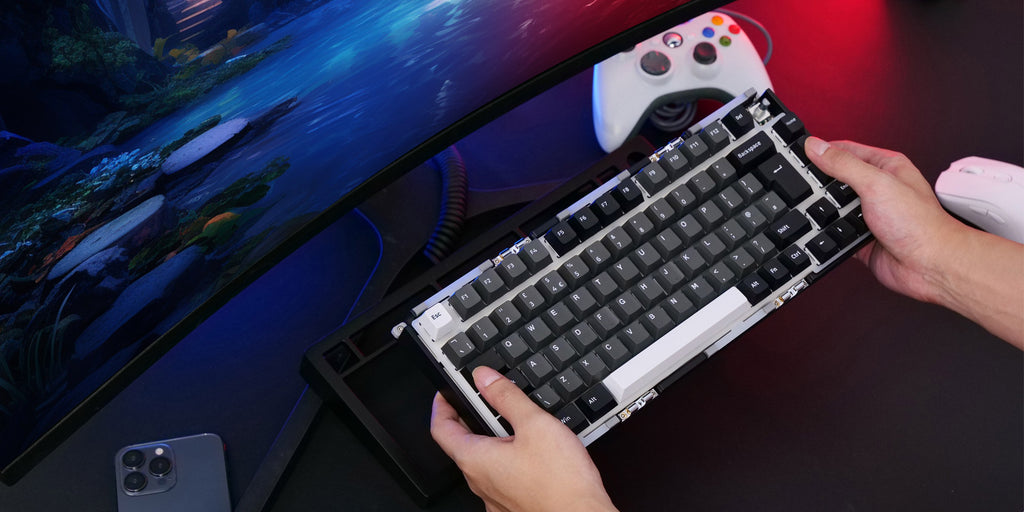
The MonsGeek M1 V5 custom mechanical keyboard is our latest model, blending style and functionality for both beginners and advanced users. Featuring an innovative ball-catch design for quick disassembly, it supports both ANSI and ISO layouts and offers VIA compatibility for effortless key customization. With a powerful 8000mAh battery, dual gasket mounting, and upgraded light-guide switches, this keyboard provides an exceptional typing feel and visual experience.
Yu01
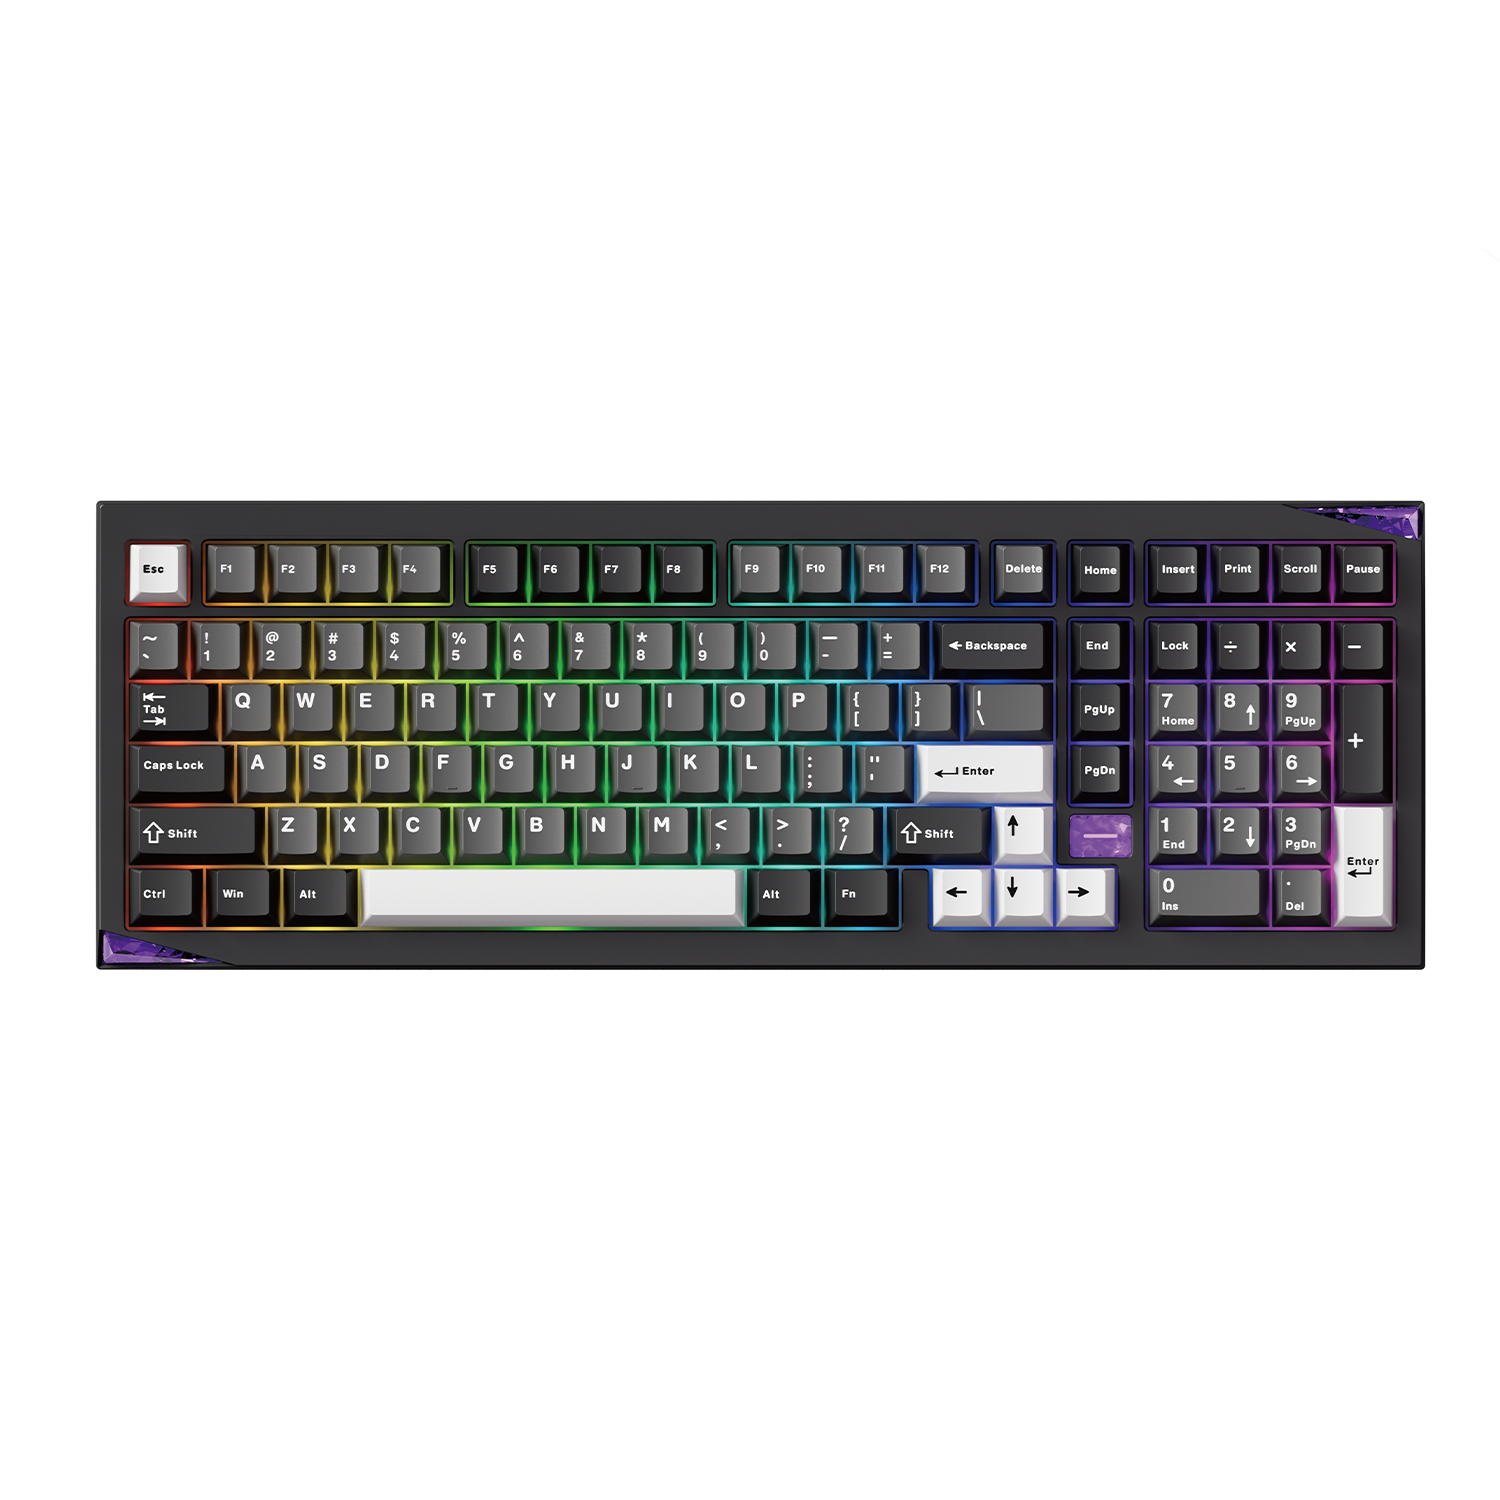
The YU01 Resin Keyboard delivers a unique typing experience with its retro look and premium resin material. It’s VIA-enabled, allowing seamless key remapping, making it ideal for those who value both customization and tactile feel. Its compact design and stunning transparent case make it a perfect addition for anyone looking to add a touch of artistry to their setup.

5075B Plus VIA ISO Mechanical Keyboard
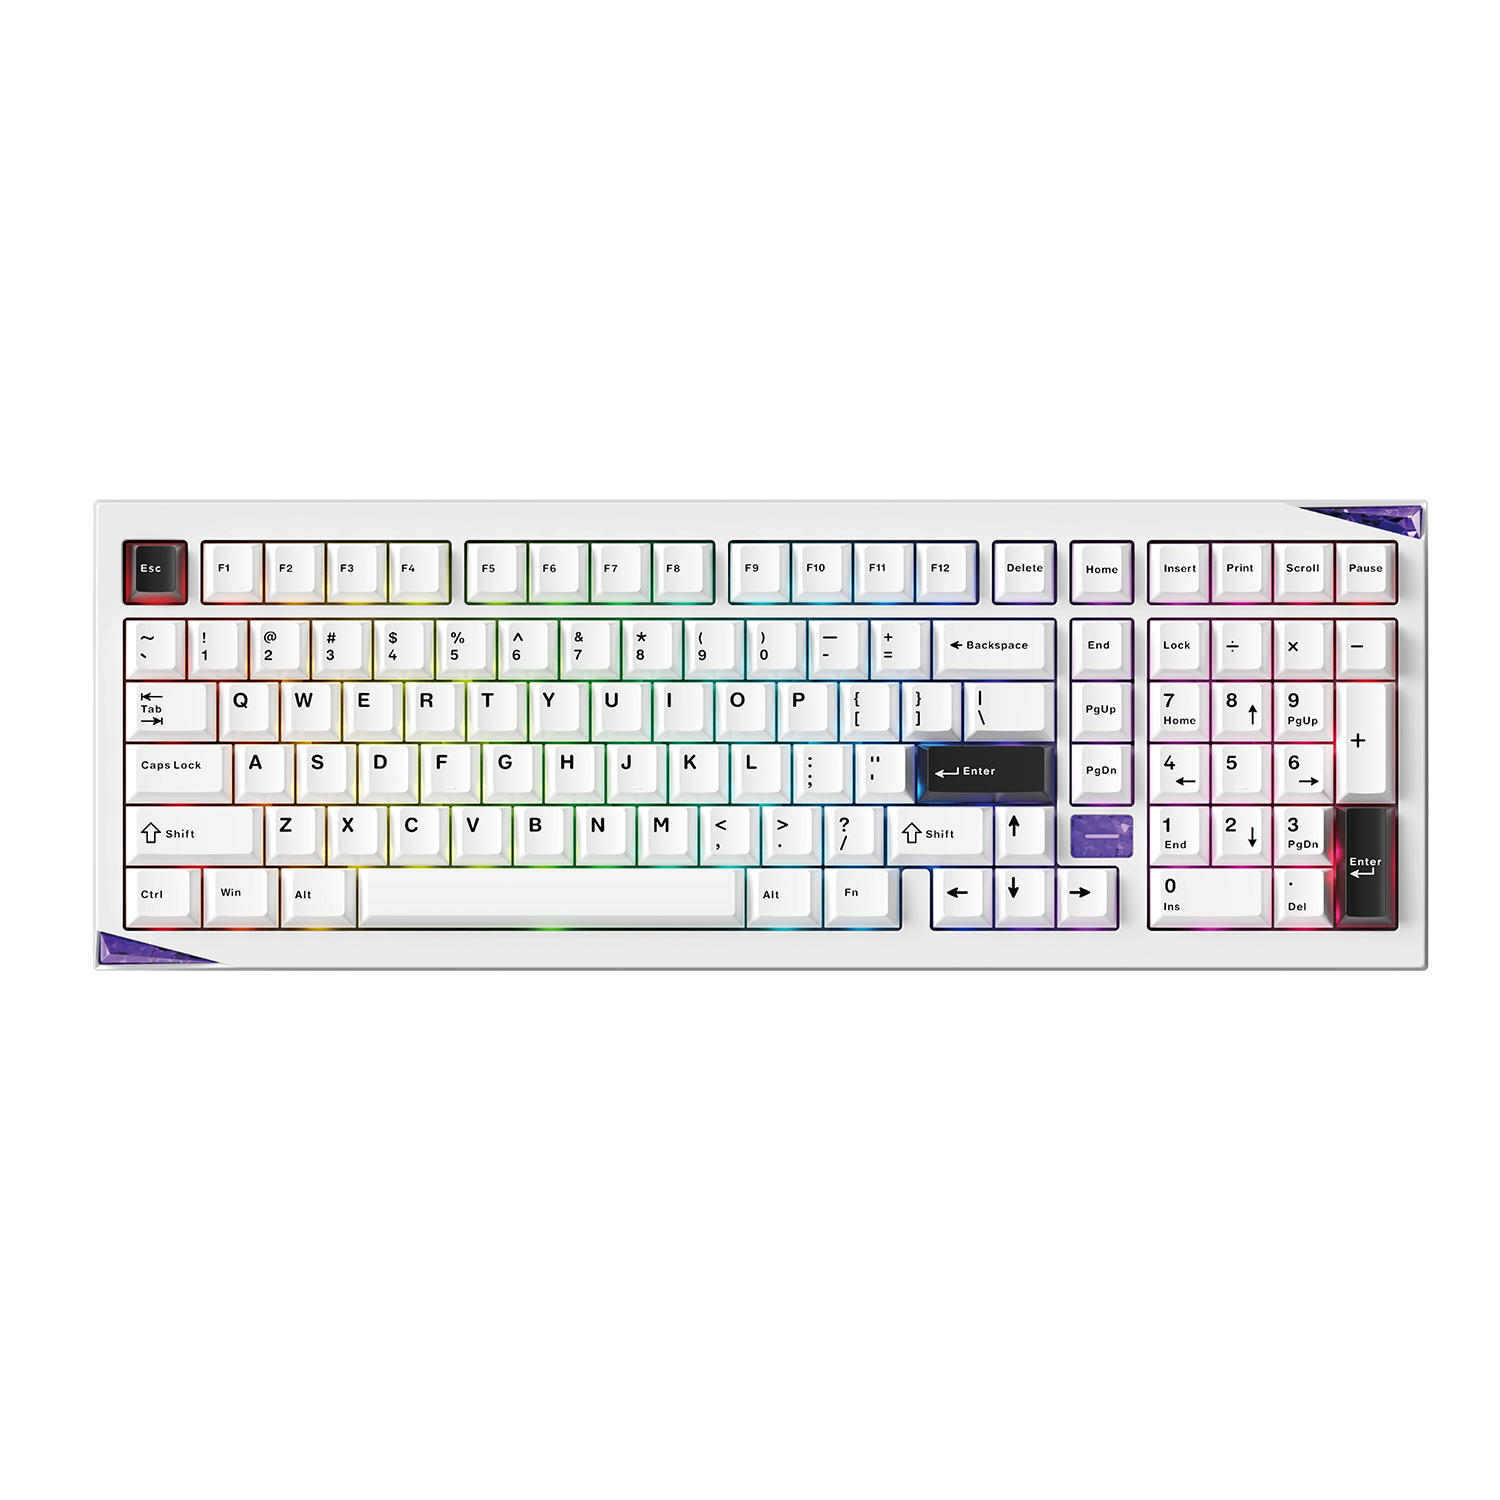
If you're seeking a versatile, feature-rich mechanical keyboard that balances performance, customization, and aesthetics, the Akko 5075B Plus VIA ISO Mechanical Keyboard is an excellent choice.
75% Layout with ISO Support: Offers a compact form factor while retaining essential keys, including dedicated arrow keys and function row, making it ideal for both productivity and gaming.
Tri-Mode Connectivity: Seamlessly switch between Bluetooth 5.0, 2.4GHz wireless, and USB-C wired connections, accommodating various devices and setups.

MonsGeek M1W V3
The MonsGeek M1W V3 is a mechanical keyboard that combines VIA programmability with tri-mode connectivity, offering both 2.4GHz and Bluetooth options. Its aluminum build ensures durability, and the 75% compact layout saves desk space while maintaining full functionality, making it a top choice for users who prioritize wireless flexibility and refined design.

5087S VIA Keyboard
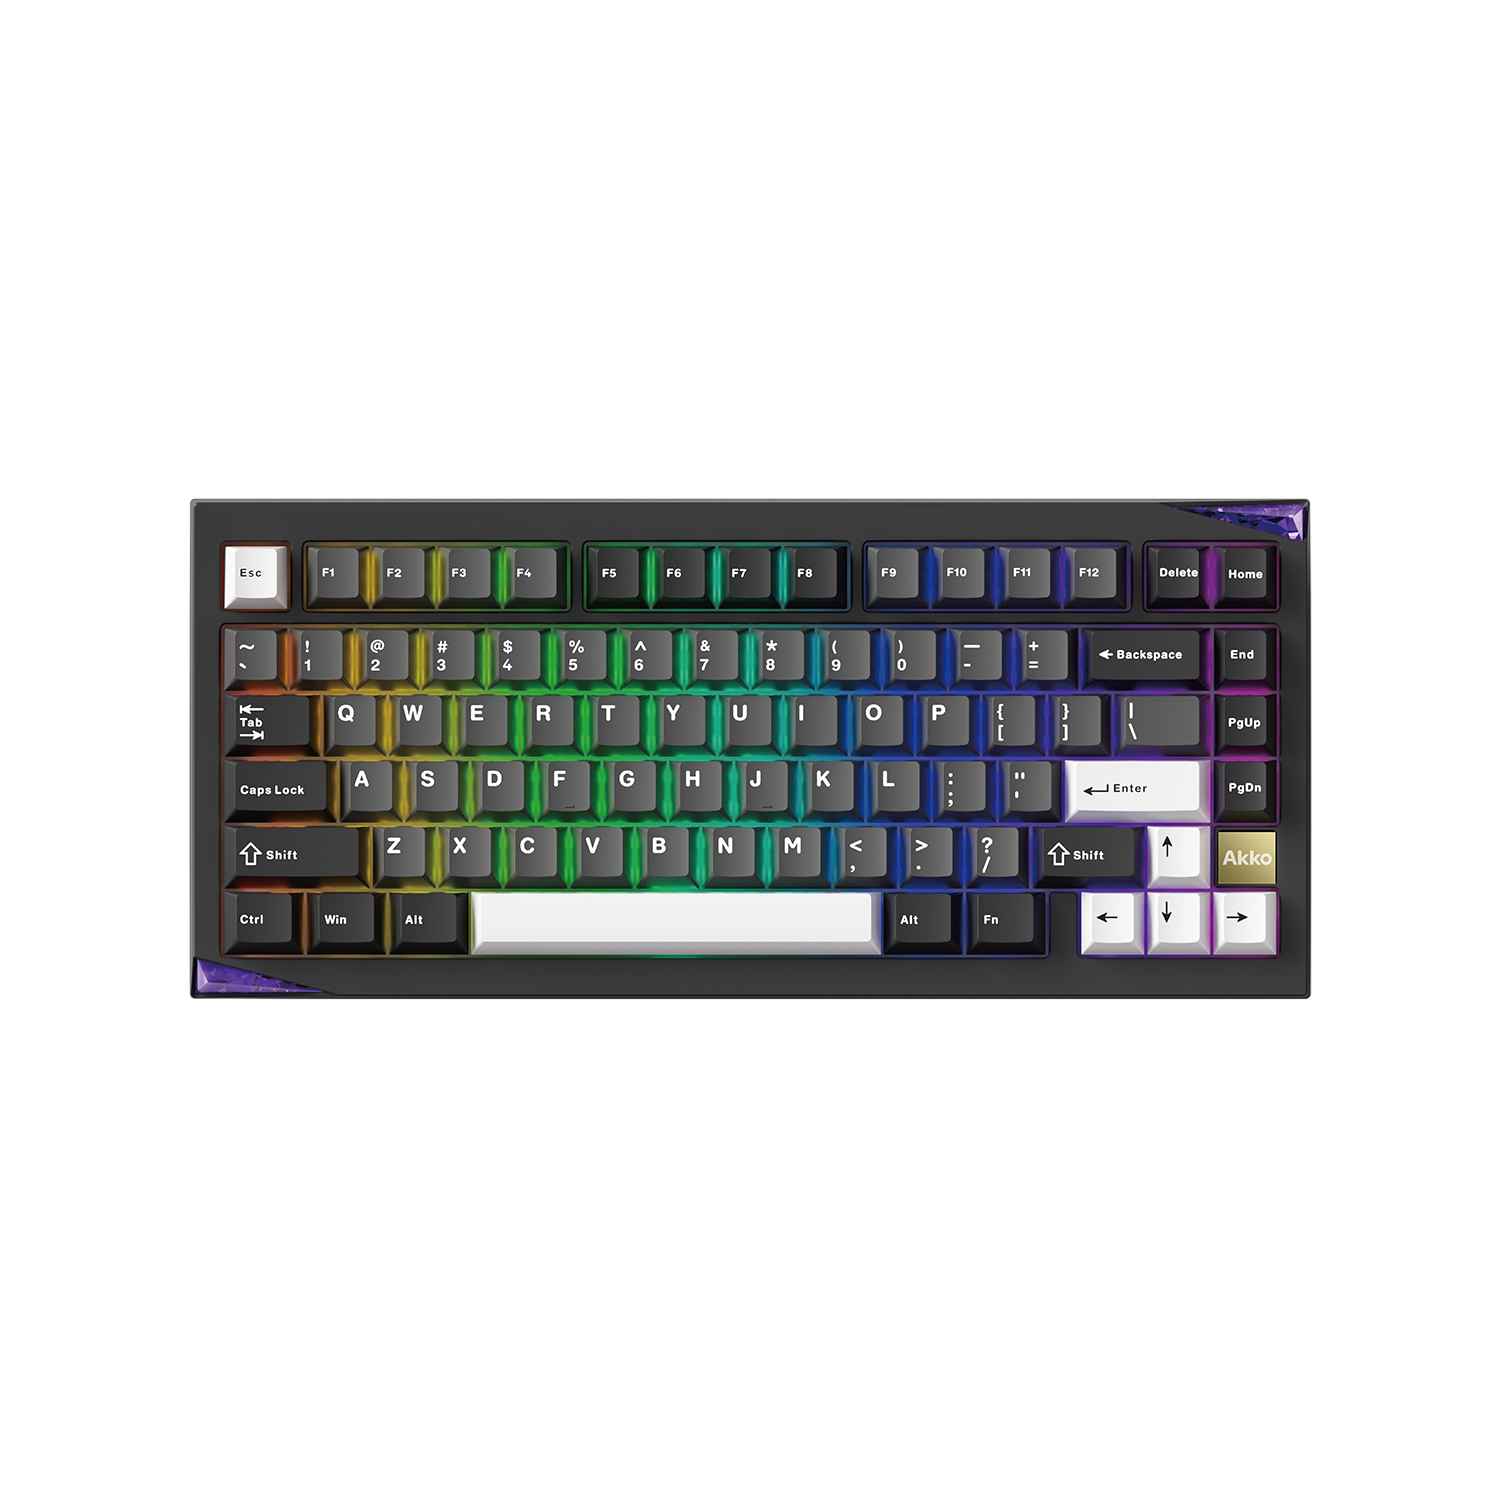
The Akko 5087S Keyboard is a versatile option designed for DIY enthusiasts, featuring VIA support for complete key remapping. With a classic 80% layout that balances compactness and functionality, this keyboard also includes high-performance switches and stabilizers for a smooth typing experience, making it an outstanding choice for those seeking a premium and customizable keyboard.

How to Get on VIA?
There are 2 methods for you to get the VIA.
Web App: https://usevia.app/
Because it updates automatically with new features and does not require manual updates, the web app is your best bet. Unfortunately. It only functions with Chrome-based browsers that support WebHID.
Desktop Program: https://github.com/the-via/releases/releases
The desktop application, which functions as a wrapper for the web version, needs an internet connection. It might provide more dependable keyboard recognition. Visit the VIA Releases page to download the VIA Configurator. It works with Linux, macOS, and Windows.
How to Connect to VIA?
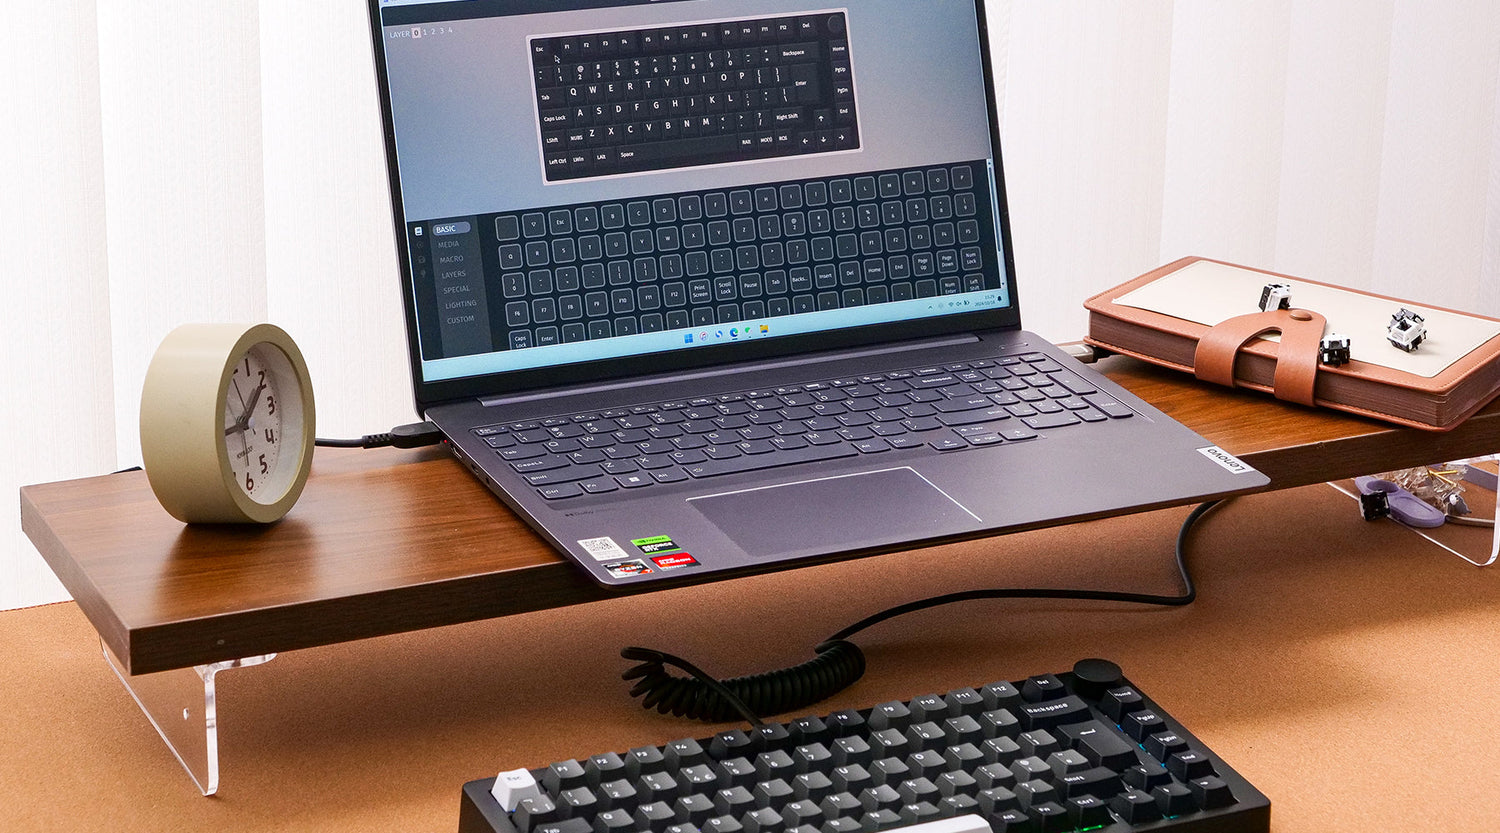
Make sure your keyboard supports VIA and connect your keyboard with our cable, and then you can open the VIA web app or VIA desktop program.
1. Get the JSON file corresponding to your keyboard.
Some keymap JSON files might not be instantly recognized at this time because Github takes time to review our VIA code submission.
Generally you can download the JSON file from the product detail page, or you can download the JSON file for other Akko VIA keyboards from Download Center page. Just like you can easily download the JSON file from the product detail page for MonsGeek M1 V5.

2. Cick the "SETTINGS" and turn on the "Show Design Tab".
If there are four button on the top, you can directly click the "DESIGN" button. Just ignore this step.

3. Click the "DESIGN" and Import the JSON file of your keyboard.
"Design" -> "Confirm" -> "Load" -> .

>Click ''Load''


4. Click''CONFIGURE'', you can find VIA has identified the keyboard.

You can find in the upper left corner of the page several layers, each of which can be assigned different keys.
And the top half of the page displays the active key layout, while the bottom half offers various customizable functions.
How to Remap Keys on VIA?
On the Configure tab, Click "KEYMAP", you will find there are BASIC/MEDIA/MACRO/LAYERS/SPECIAL/LIGHTING/CUSTOM sections.
- Basic: The Basic section allows you to assign standard keyboard functions, like letters, numbers, and special characters. It’s where you map regular keys, such as
A,B,Enter,Shift, etc. - Media: Media control keys are assigned in the Media section. These include muting, media playback (Play/Pause, Next Track, Previous Track), and volume control (Volume Up, Volume Down).
- Macro: You can designate a series of keystrokes or actions to a single key in the Macro area. This is helpful for automating tedious chores or setting up intricate shortcuts, such as inputting a text string or starting an application.
- Layers: You can control several important layers in the Layers area. Depending on the layer you're using, layers allow you to give the same key distinct functions. Pressing the Fn key, for instance, may move the keyboard to a new layer with keys that have distinct purposes.
- Special: The Special section includes unique key functions that aren't part of typical keyboard layouts, such as
Reset, which puts your keyboard into bootloader mode for flashing firmware, or keys that allow interaction with specific software. - Lighting: The Lighting section is for customizing the RGB lighting on your keyboard. You can assign keys to control brightness, color mode, or even specific RGB effects.
- Custom: The Custom section lets you define and assign your own custom key functions or commands that aren't covered by the basic categories. This can include scripts or specific actions unique to your preferences.
If you want to change ESC to A, just click ESC(the key will then flash slowly), and then click A in the BASIC section. Then you will find the VIA have change the ESC key to A key.

How to Create a Macro on VIA?
You would use the MACRO section in VIA when you want to automate repetitive tasks or execute complex commands with a single key press.
- If you often type the same phrases, addresses, or signatures, you can create a macro to insert them with one key press.
- In-game, you can create a macro to help you perform complex combos, item swaps, or quick commands with one button press.
- You can use macros to achieve automated tasks, just like typing phrases or filling forms with one key. You can also achieve automated software shortcuts and multi-step processes.
Create a custom key combination macro
1. Go to "MACROS" on the Configure tab.

2. Click the "FULLSCREEN".

3. Click "RECORD KEYSTROKES".
Press the key you want to record and then press the button to stop.

4. Press the "SAVE CHANGES" button.
The macro will be successfully recorded as a result.

Create a macro that outputs lengthy text strings
1. Go to "MACROS" on the Configure tab.

2. Click the angle brackets icon.

3. Type the text you want, and then click "Save".

After creating the macro, then Click ""KEYMAP"->"MACRO".

Just like remapping the key, you can change the key to the macro that you create.

How to Use Different Layers?


Fn you’ll instantly access your media control layer without disrupting your regular typing setup.Terms used in the layers section of VIA
To use multiple layers effectively, you’ll need to assign keys that let you toggle or momentarily activate different layers. Here are the different methods for you to activate the layer.
-
MO(n): Shorts for Momentary Layer, temporarily activates a specific layer while the key is held down (e.g.,
MO(2)switches to Layer 2 until released). - OSL(n): One Shot Layer, activates a designated layer for one keystroke and then automatically returns to the original layer.
-
FN1: Function Layer, designates a function layer that allows access to additional functions or shortcuts when the
Fnkey is pressed. - Space FN(n): Can be used to switch layers or perform other functions, depending on the custom settings.
- TT (n): Toggle Layer, switches to another layer and remains there until the same key is pressed again to toggle back.
- TG (n): Toggle Layer, similar to TT, this function allows for quick toggling between layers without needing to hold down the key.
- TO(n): Tap to Layer, switches to a designated layer upon tapping the key, while holding it down maintains the current layer.
- DF (n): Default Layer, sets a default layer that the keyboard switches to on startup or reset.

You can set and use these activation methods flexibly according to your usage habits.









Leave a comment
All comments are moderated before being published.
This site is protected by hCaptcha and the hCaptcha Privacy Policy and Terms of Service apply.