Table des matières
- Qu'est-ce qu'un clavier mécanique personnalisé ?
- Avantages de la personnalisation de votre clavier mécanique
- Comprendre les composants
- Le M1 V5 comme point de départ
- Outils dont vous aurez besoin
- Processus de personnalisation étape par étape
- 1. Démontage du M1 V5
- 2. Retrait des interrupteurs
- 3. Choix et installation de nouveaux commutateurs
- 4. Remplacement des touches
- 5. Configuration de VIA
- 6. Tests et ajustements finaux
- Conseils d'entretien
- Conclusion
Qu'est-ce qu'un clavier mécanique personnalisé ?
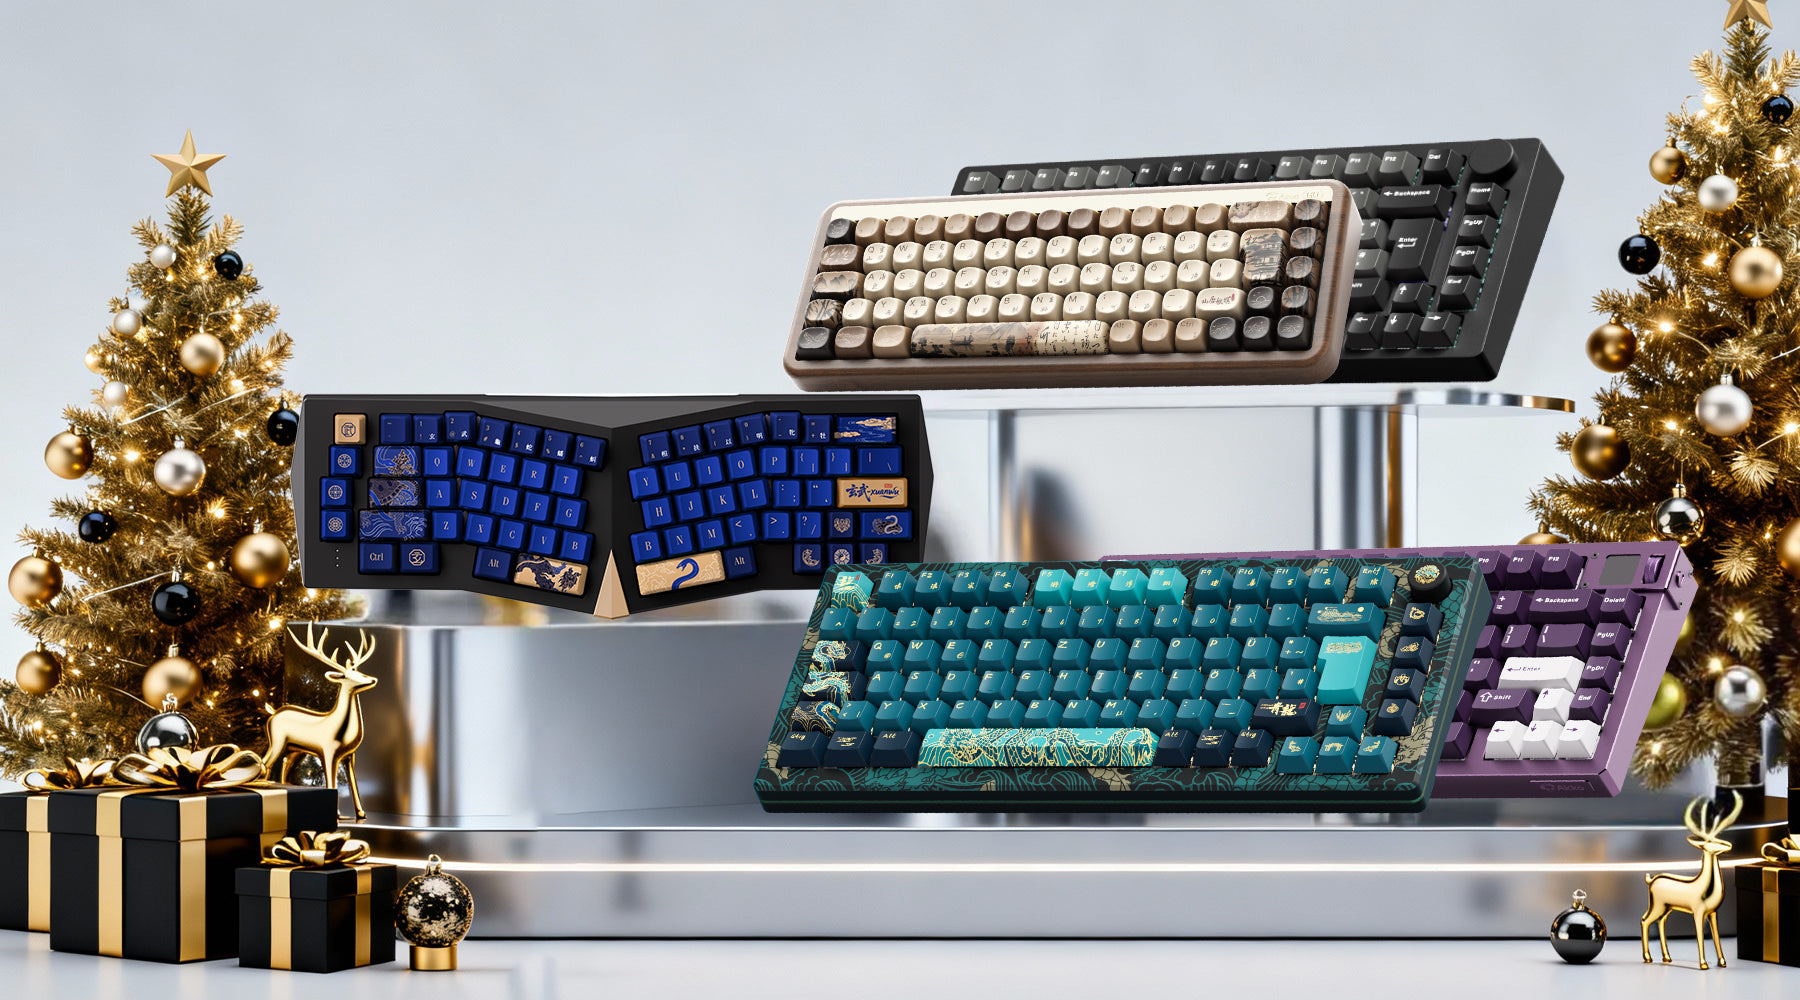
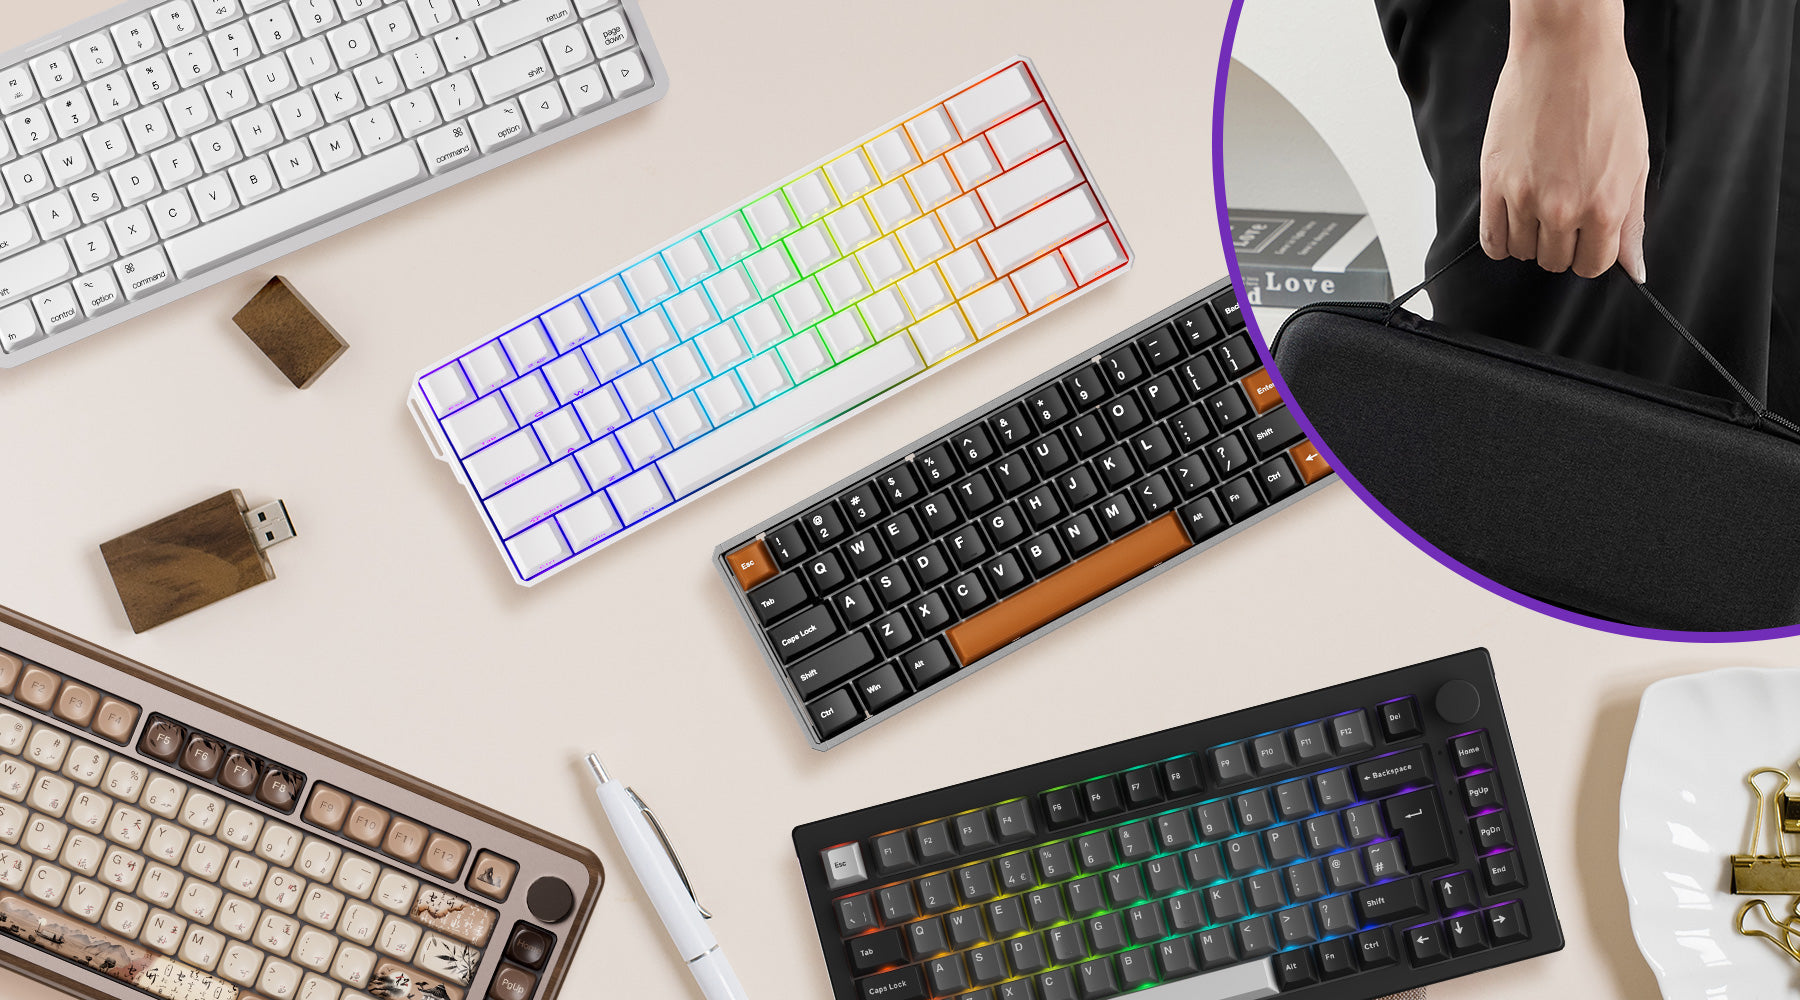
Un clavier mécanique personnalisé permet aux utilisateurs de configurer et de personnaliser librement .
Ce clavier peut être conçu entièrement selon les souhaits de l'utilisateur, y compris la disposition du clavier, le type de commutateur, le matériau des touches, l'effet de rétroéclairage et autres.
Les claviers personnalisés signifient en fait personnaliser votre propre clavier exclusif selon vos propres souhaits.
Avantages de la personnalisation de votre clavier mécanique
1. Personnalisation personnalisée
Un clavier personnalisé peut répondre à vos besoins d'utilisation et à vos besoins personnalisés. Vous pouvez choisir la disposition, les commutateurs, les touches et autres composants du clavier selon vos préférences et vos besoins pour créer un clavier unique.
2. Améliorer l'expérience de frappe
En changeant les commutateurs et les touches, vous pouvez ressentir différentes sensations de frappe et différents retours sonores et ainsi trouver l'expérience de frappe ou de jeu qui vous convient le mieux.
3. Fonctionnalités améliorées
Vous pouvez définir les fonctions des touches et la vitesse de réponse selon vos besoins grâce au clavier personnalisé. Cela offre plus de confort d'utilisation et de flexibilité aux joueurs et aux utilisateurs professionnels.
4. Durabilité et jouabilité améliorées
Comme nous l'avons vu, les composants du clavier personnalisé sont librement remplaçables et évolutifs ; il offre une grande jouabilité et une grande évolutivité. Les utilisateurs peuvent modifier et mettre à niveau le clavier à tout moment, selon leurs besoins et préférences.
Comprendre les composants de la mécanique personnalisée Claviers
1. Cas
Le boîtier est la première impression du clavier et joue également un rôle important dans son apparence. Il peut être fabriqué dans différents matériaux, comme le plastique, le métal ou le bois. Il existe différentes tailles selon la disposition du clavier : un clavier pleine taille, un clavier TkL et un clavier 75 %.
2. PCB
Le circuit imprimé est un composant essentiel d'un clavier mécanique personnalisé. Il est lié au circuit de l'ensemble du clavier. Un bon circuit imprimé garantit la stabilité de votre clavier.
3. Plaque
La plaque de positionnement est située au-dessus du circuit imprimé et sert à fixer le commutateur et à renforcer la structure. Le matériau et l'épaisseur de la plaque de positionnement influencent le toucher et le retour sonore du clavier.
4. Interrupteur
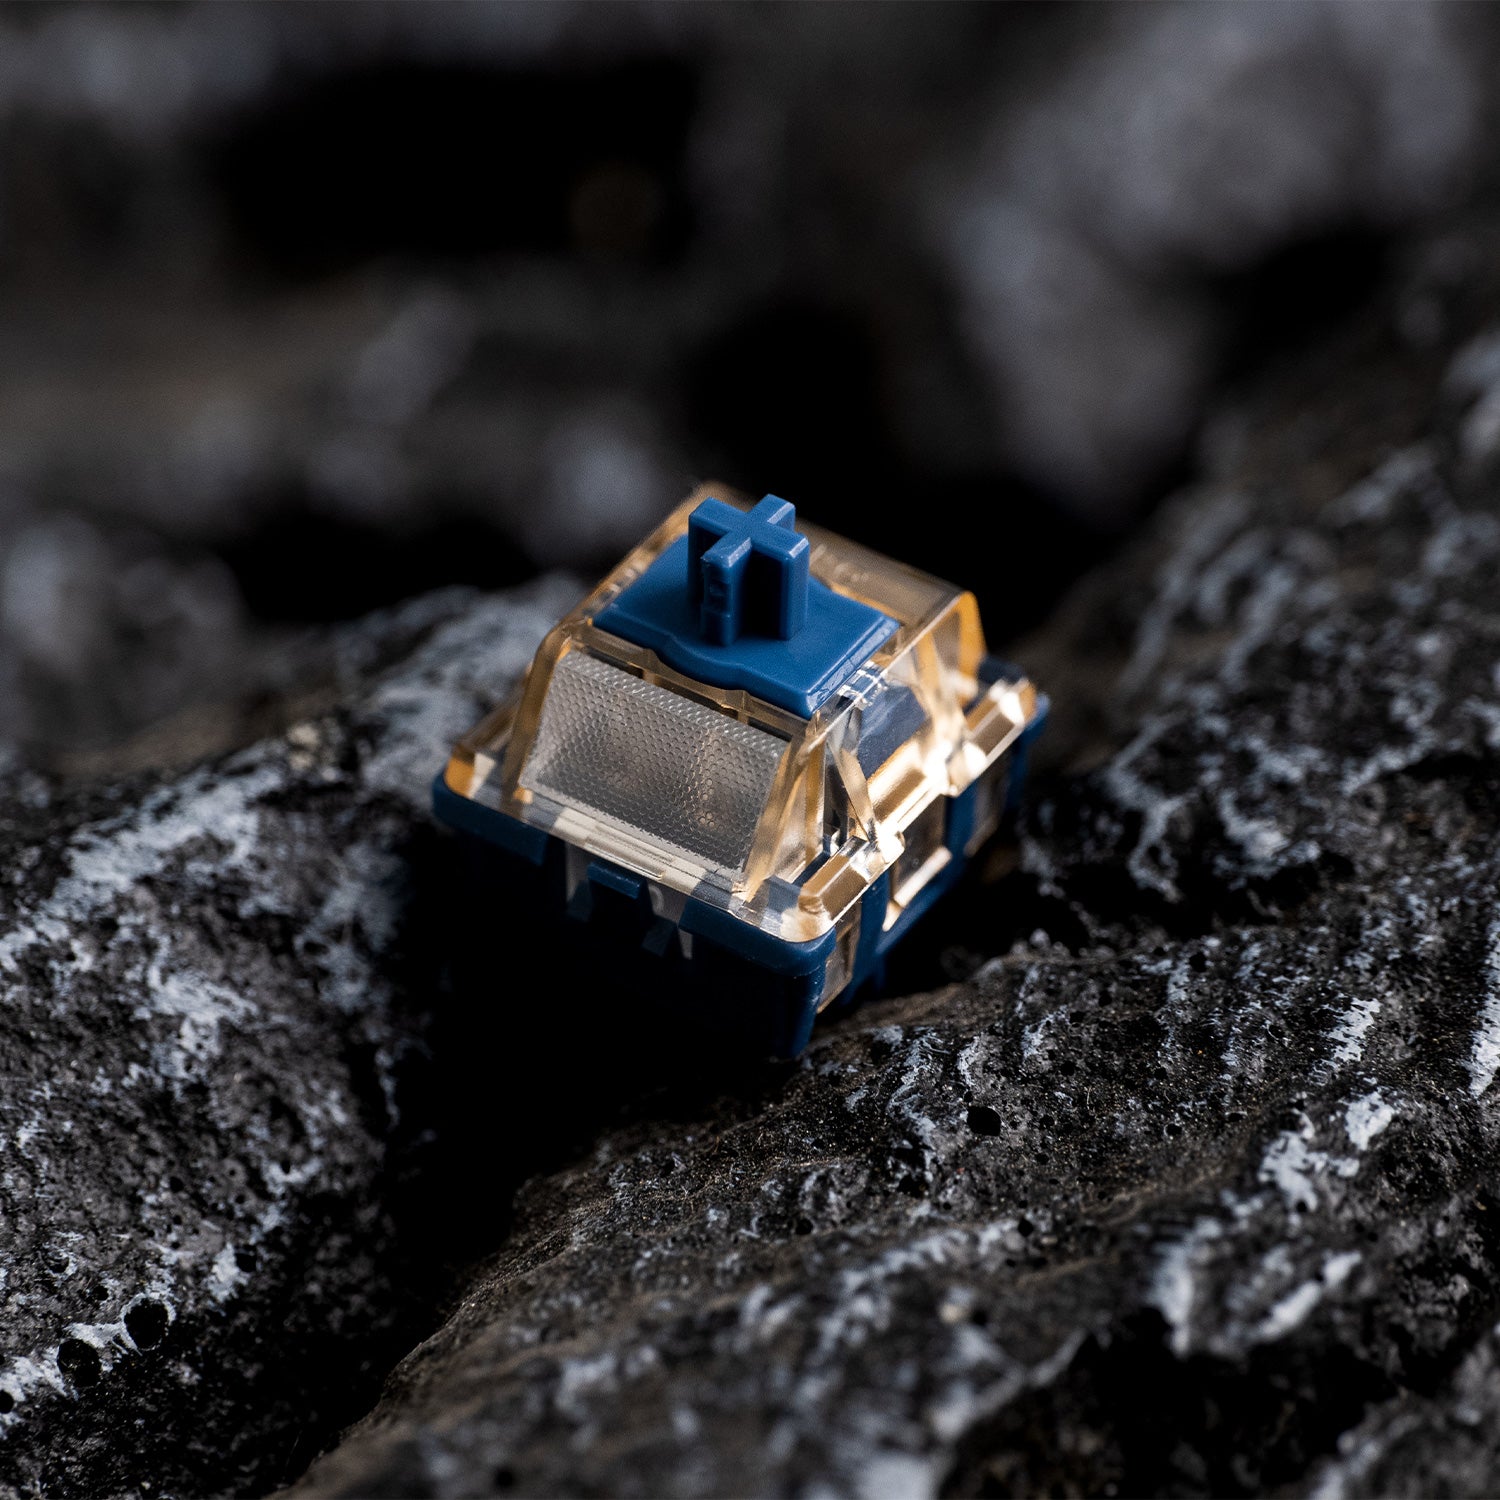
Les commutateurs sont au cœur du clavier et déterminent la sensation et le son. Il existe de nombreux commutateurs différents ; on les divise généralement en trois types : linéaires, tactiles et cliquables.
Les commutateurs linéaires offrent une sensation de frappe fluide, comparable à celle du beurre, sans effet tactile, ce qui les rend idéaux pour des frappes rapides et ininterrompues. Les commutateurs tactiles offrent un effet perceptible lors de l'actionnement, offrant un retour d'information satisfaisant pour la précision de frappe. Les commutateurs à clic, quant à eux, produisent un clic audible en même temps que l'effet tactile, offrant une expérience de frappe prononcée et classique, à la fois tactile et auditive.
5. Stabilisateur
Bien que le stabilisateur ne soit pas très esthétique, il contribue à la sensation de frappe de votre clavier. Les stabilisateurs sont couramment utilisés pour la stabilité et l'équilibre des grandes touches (comme la barre d'espace, la touche Entrée, etc.). Ils réduisent le tremblement des touches et améliorent leur régularité en ajoutant des points d'appui supplémentaires.
6. Touche
Le capuchon de touche est la partie qui recouvre le dessus du commutateur et est en contact direct avec les doigts de l'utilisateur. Le matériau, la forme et la couleur du capuchon influencent l'apparence et le toucher du clavier.
Les touches sont disponibles en ABS, PBT et POM selon le matériau. Il existe différents profils de touches, comme les profils OEM, Cherry, SA, etc.
7. RVB
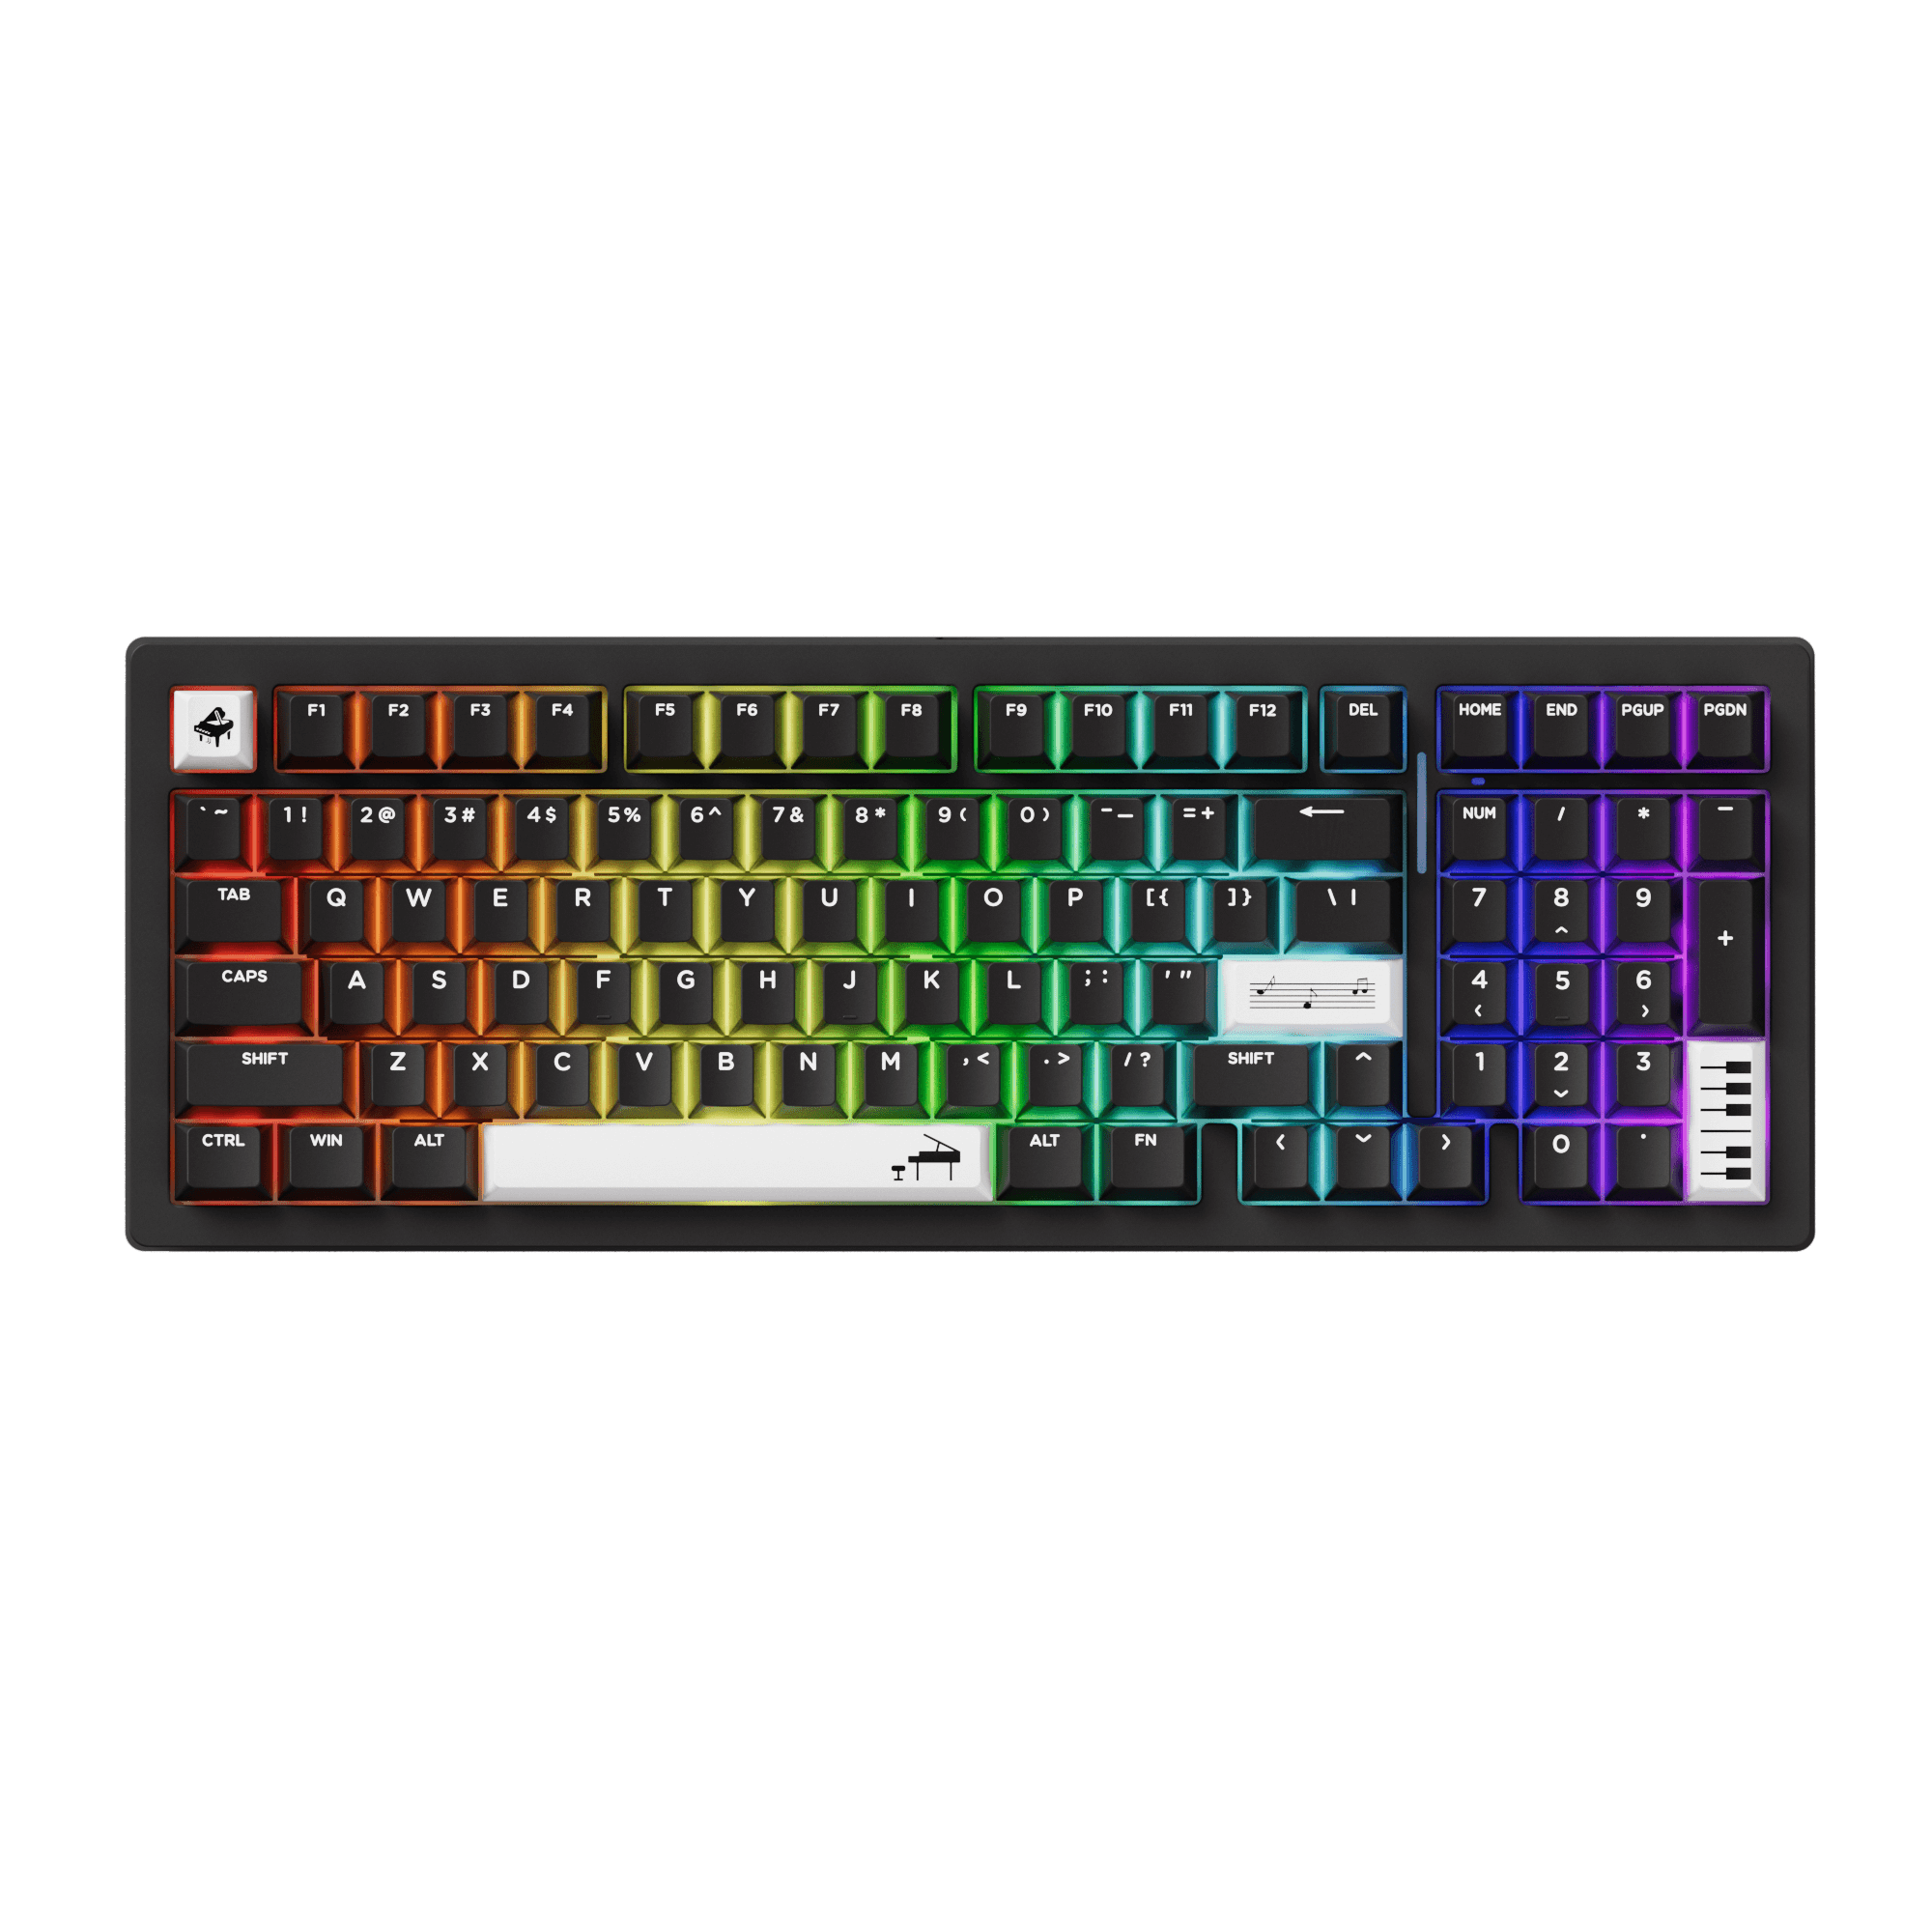
De nombreux claviers mécaniques personnalisés sont équipés d'un rétroéclairage RVB, permettant d'obtenir une variété de couleurs et d'effets dynamiques grâce à un contrôle logiciel. Cela améliore non seulement l'esthétique du clavier, mais aussi l'expérience utilisateur.

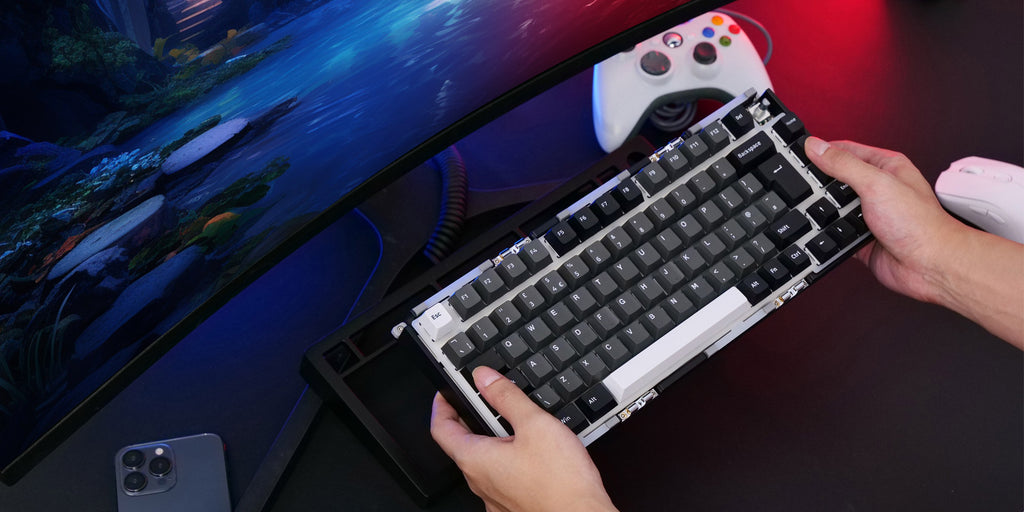
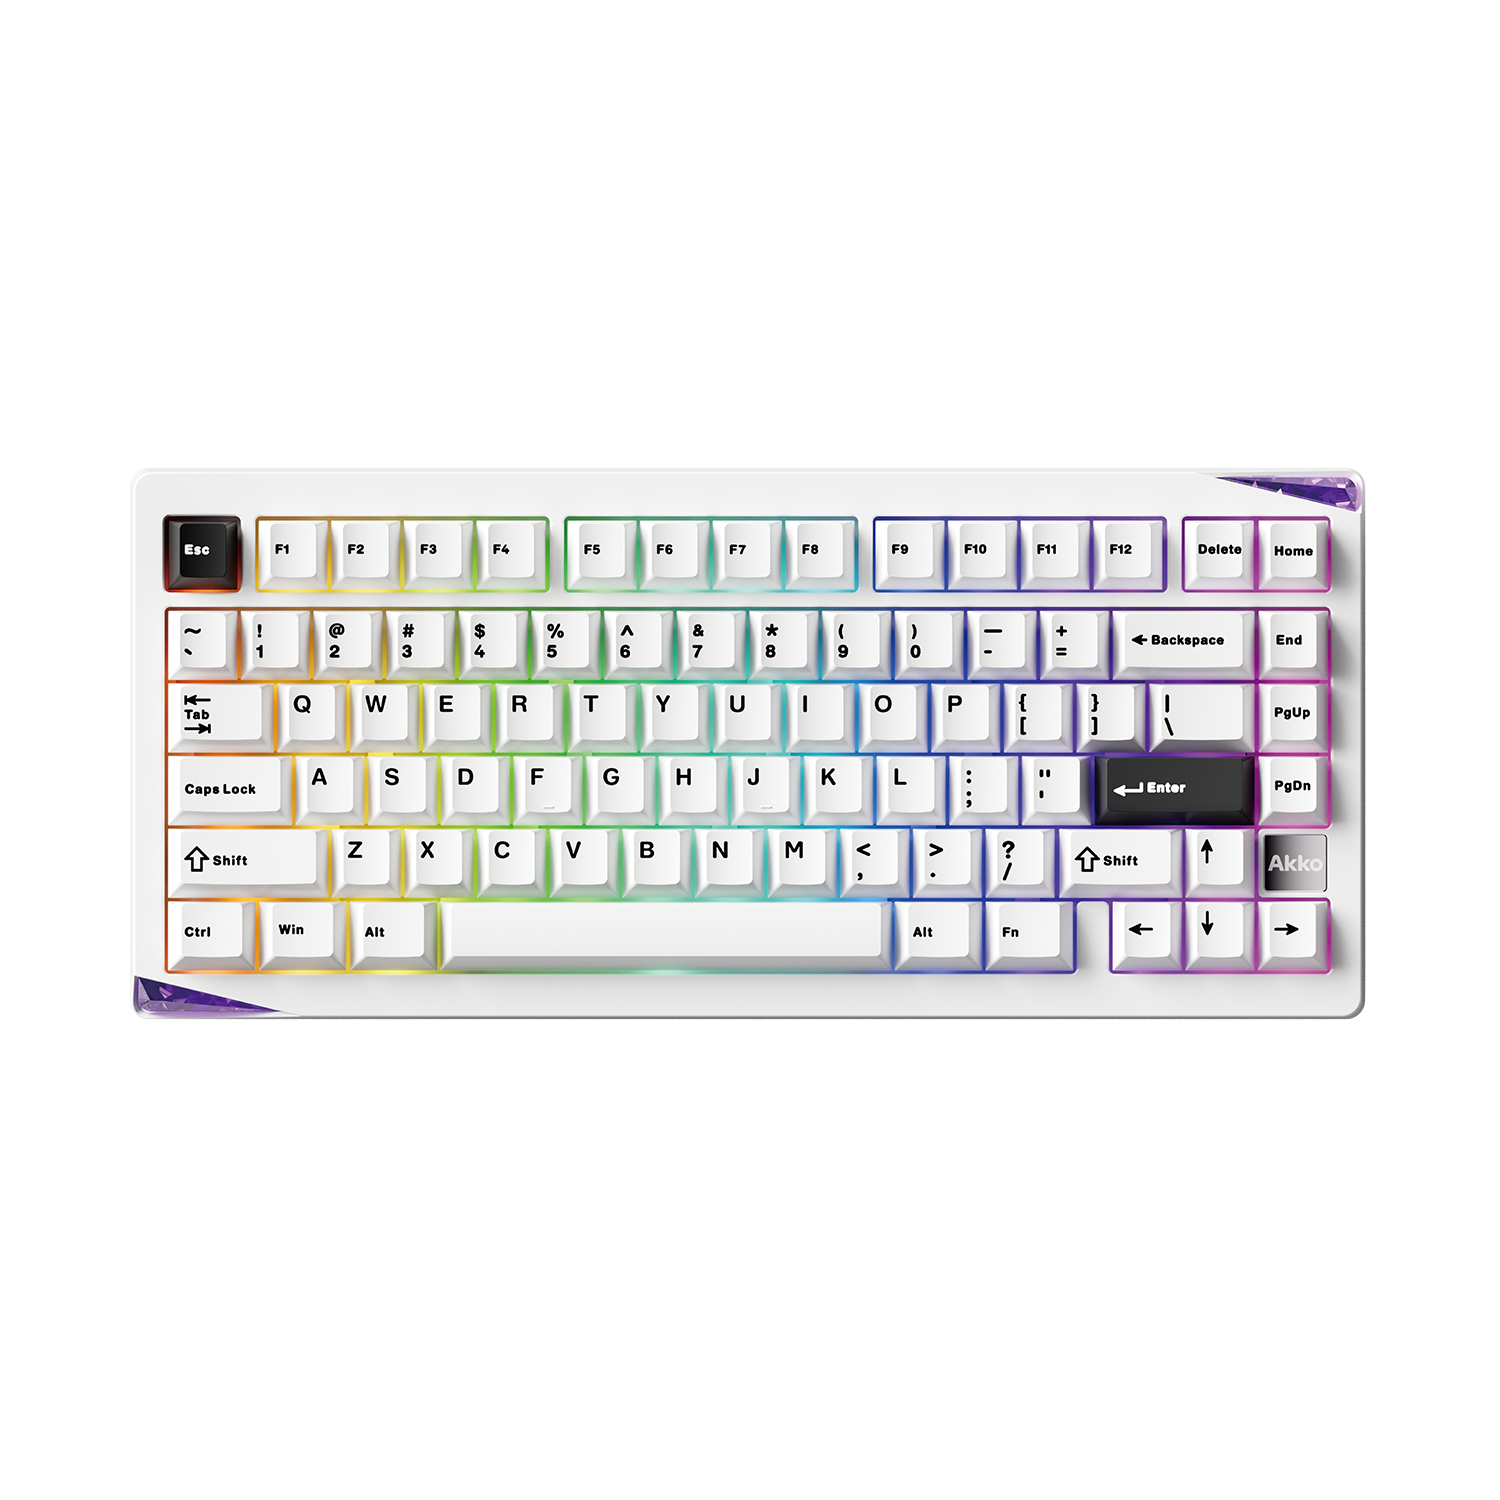
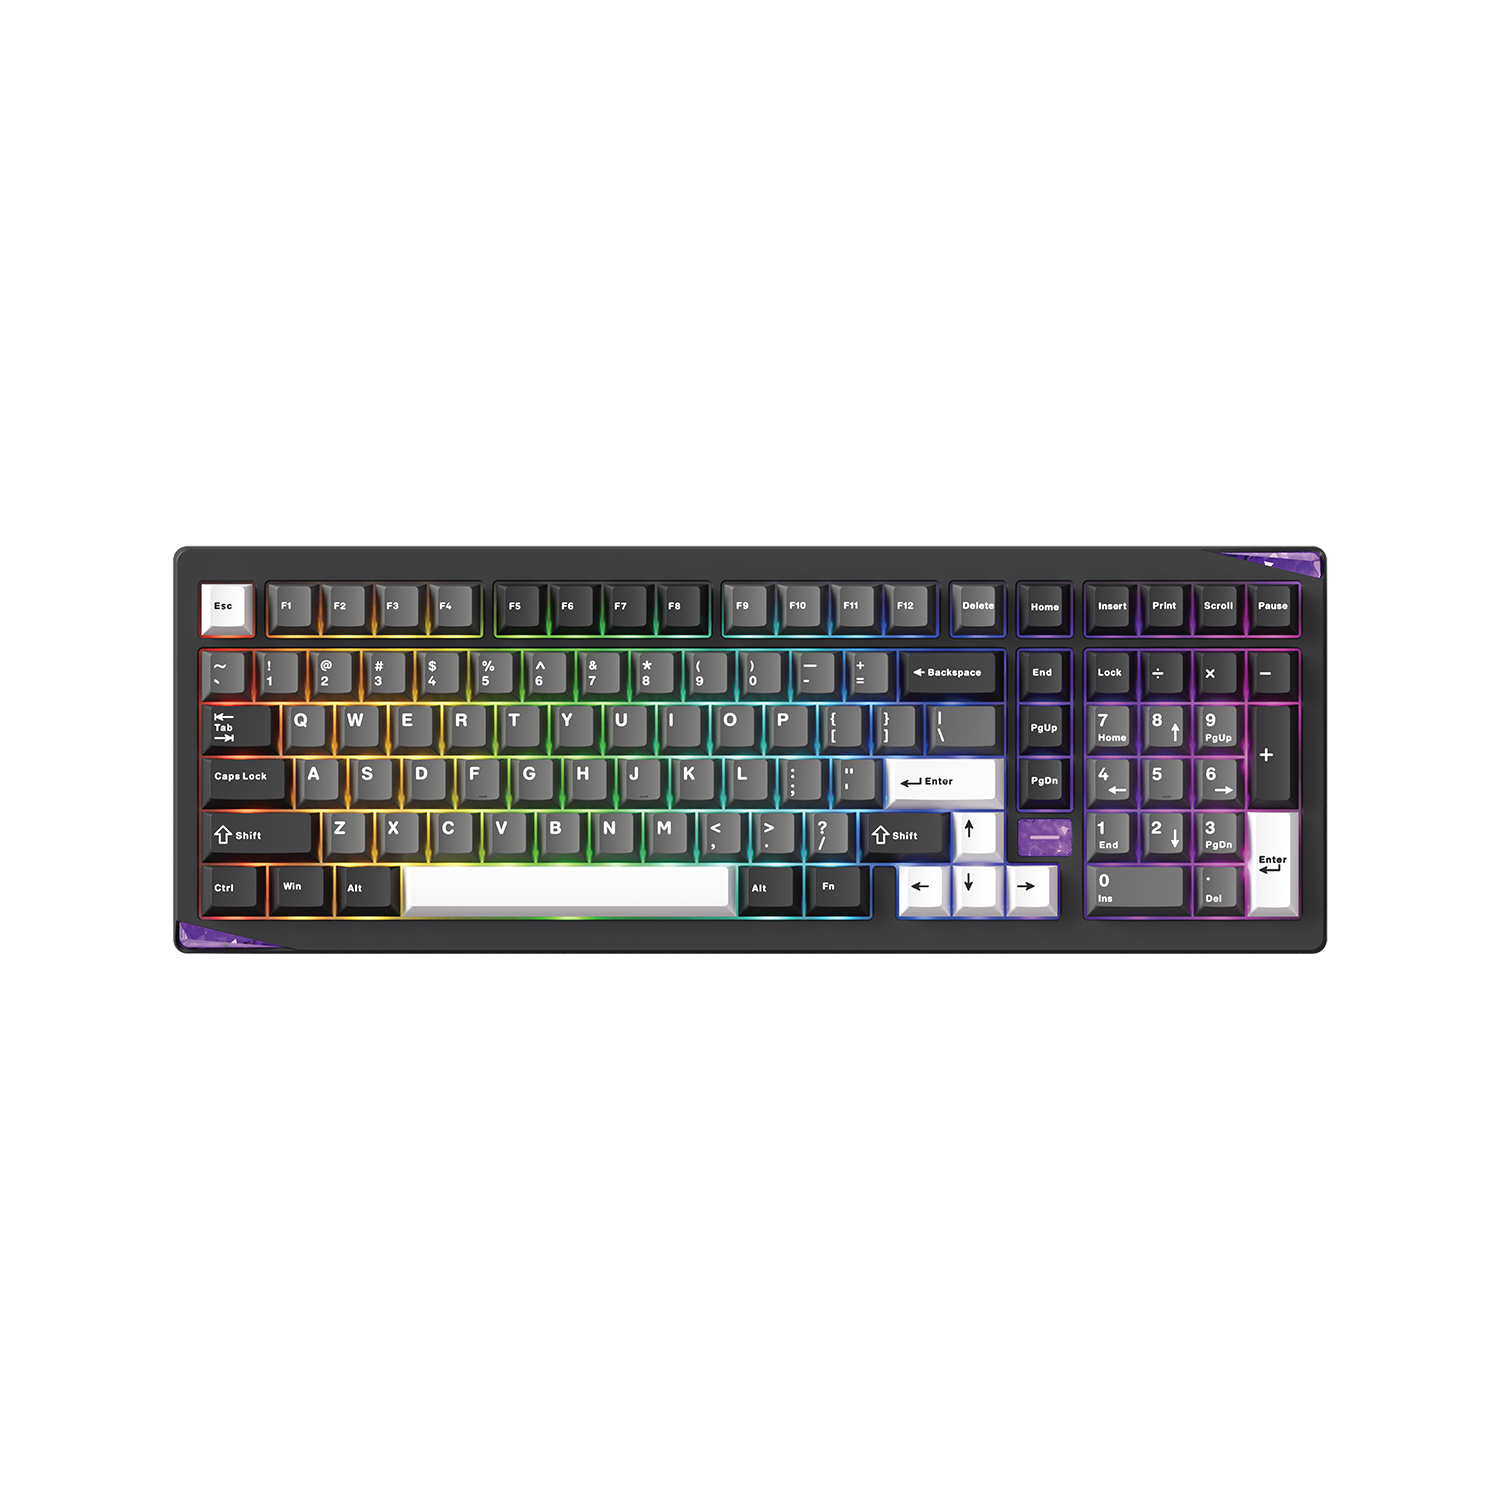
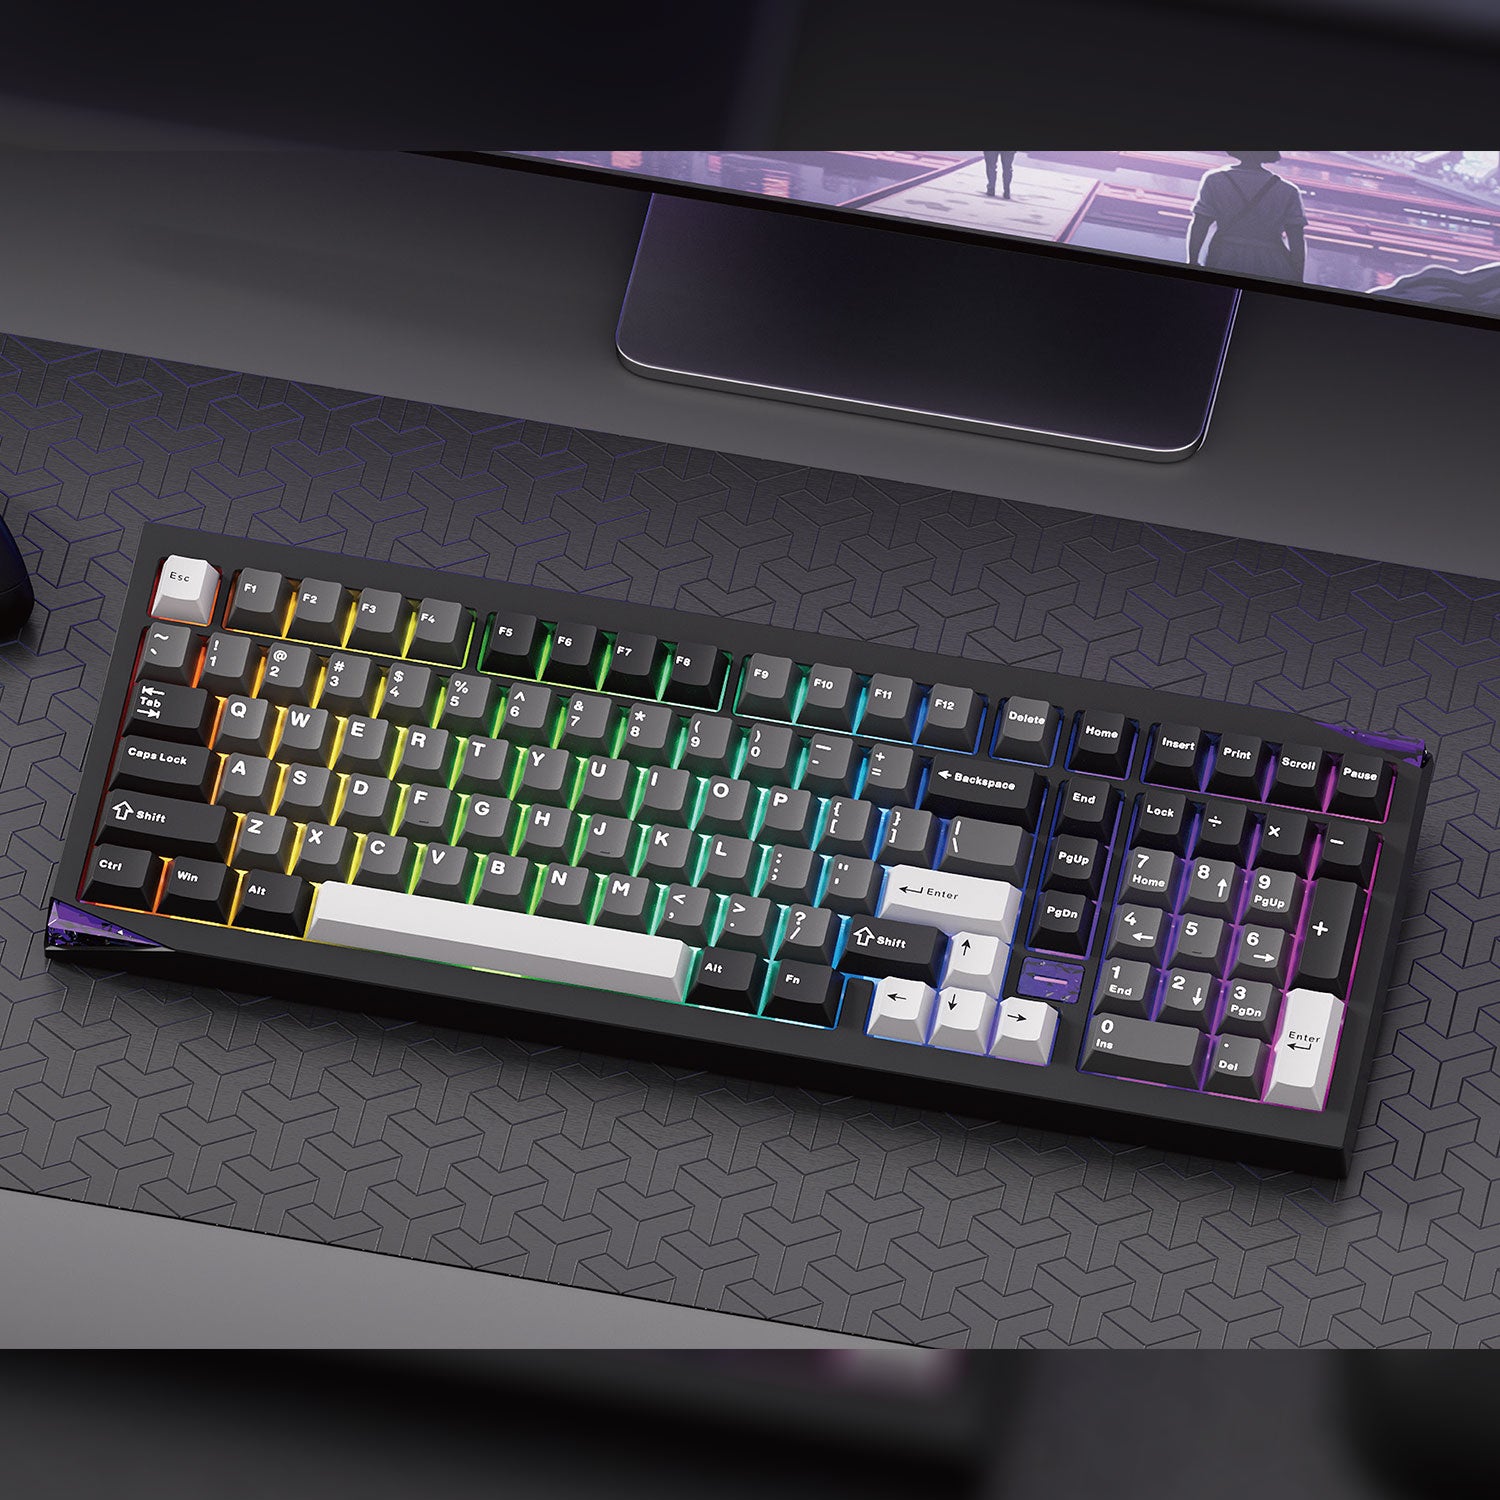
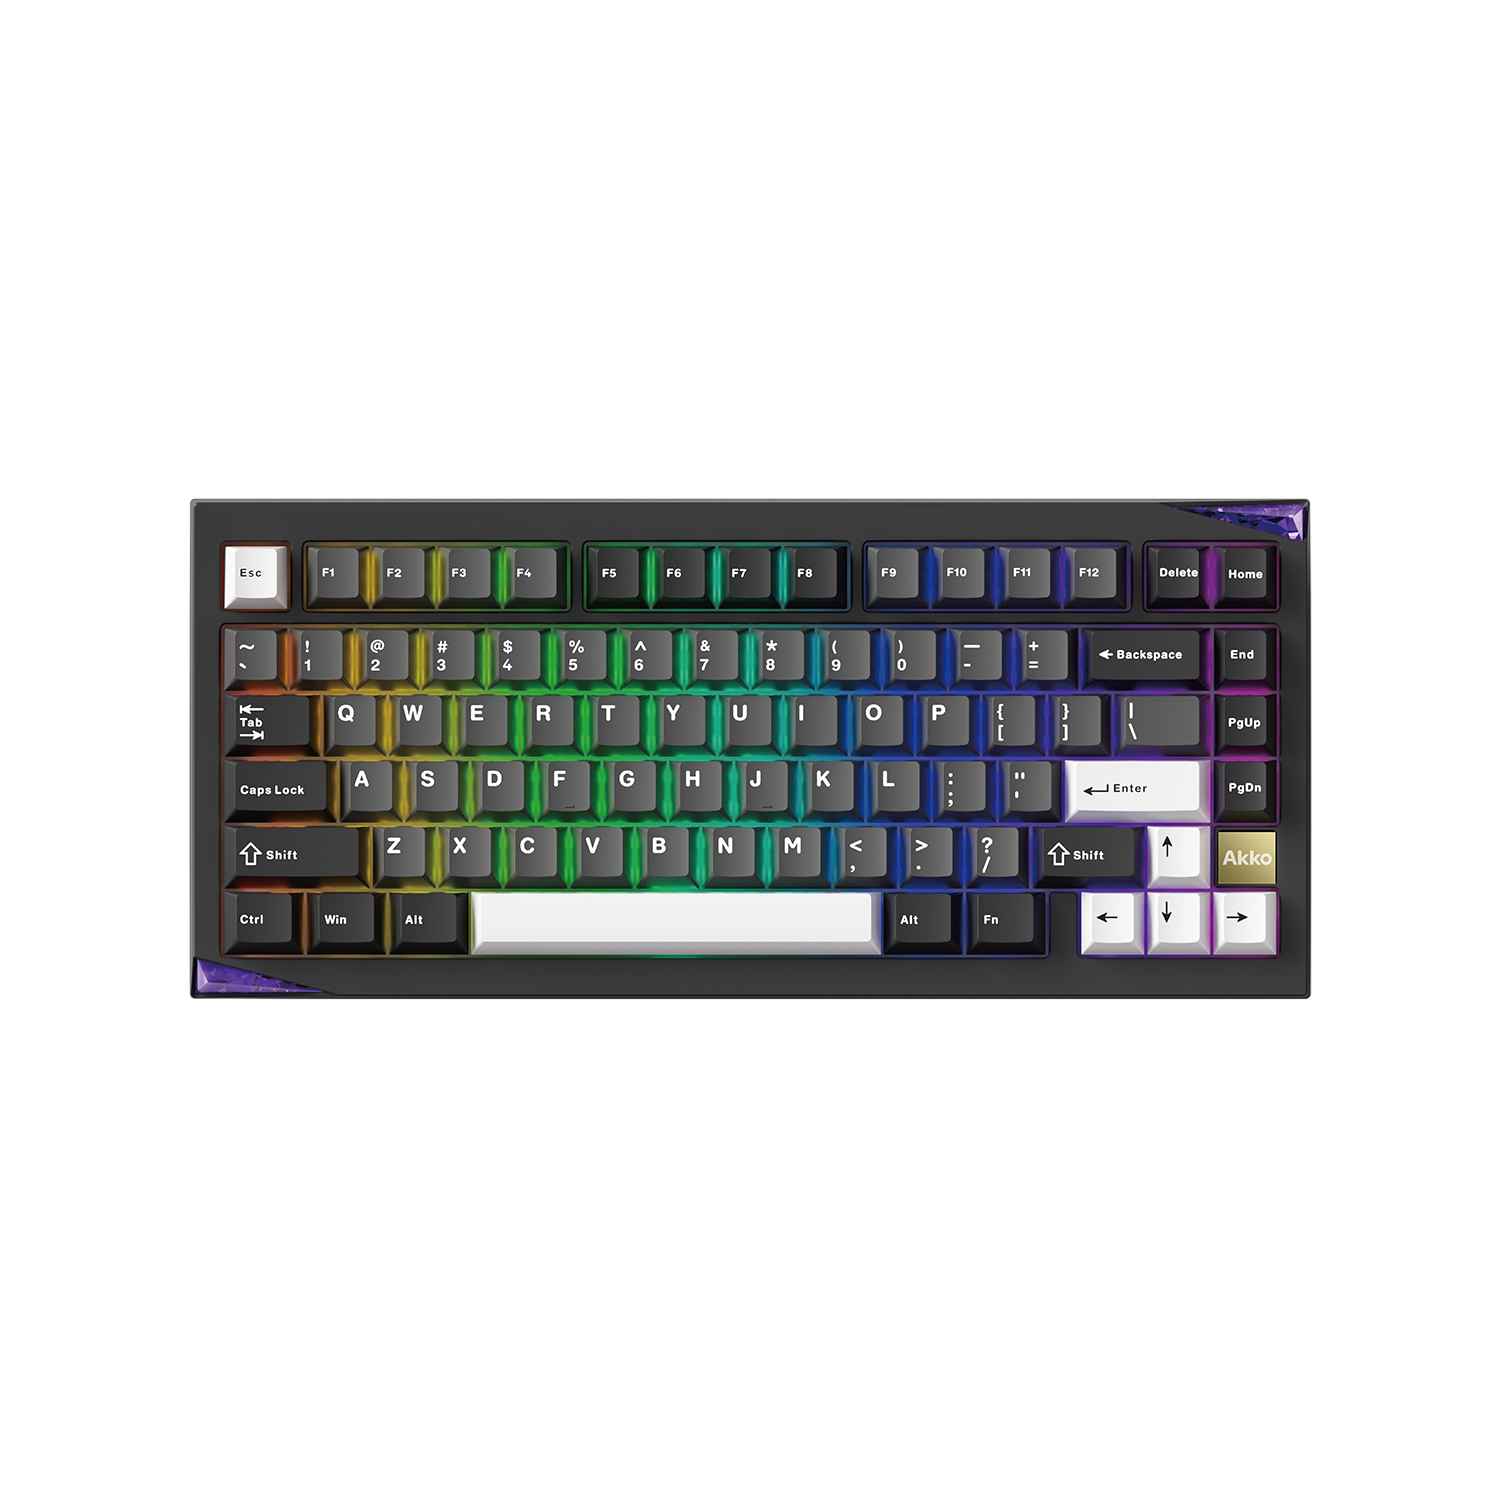
Démonter le clavier mécanique personnalisé pour en comprendre la structure vous aidera à mieux comprendre ses composants. Le clavier mécanique personnalisé M1 V5 est le meilleur choix. Sa conception à attrape-billes permet un démontage rapide et un entretien aisé.
Le M1 V5 comme point de départ
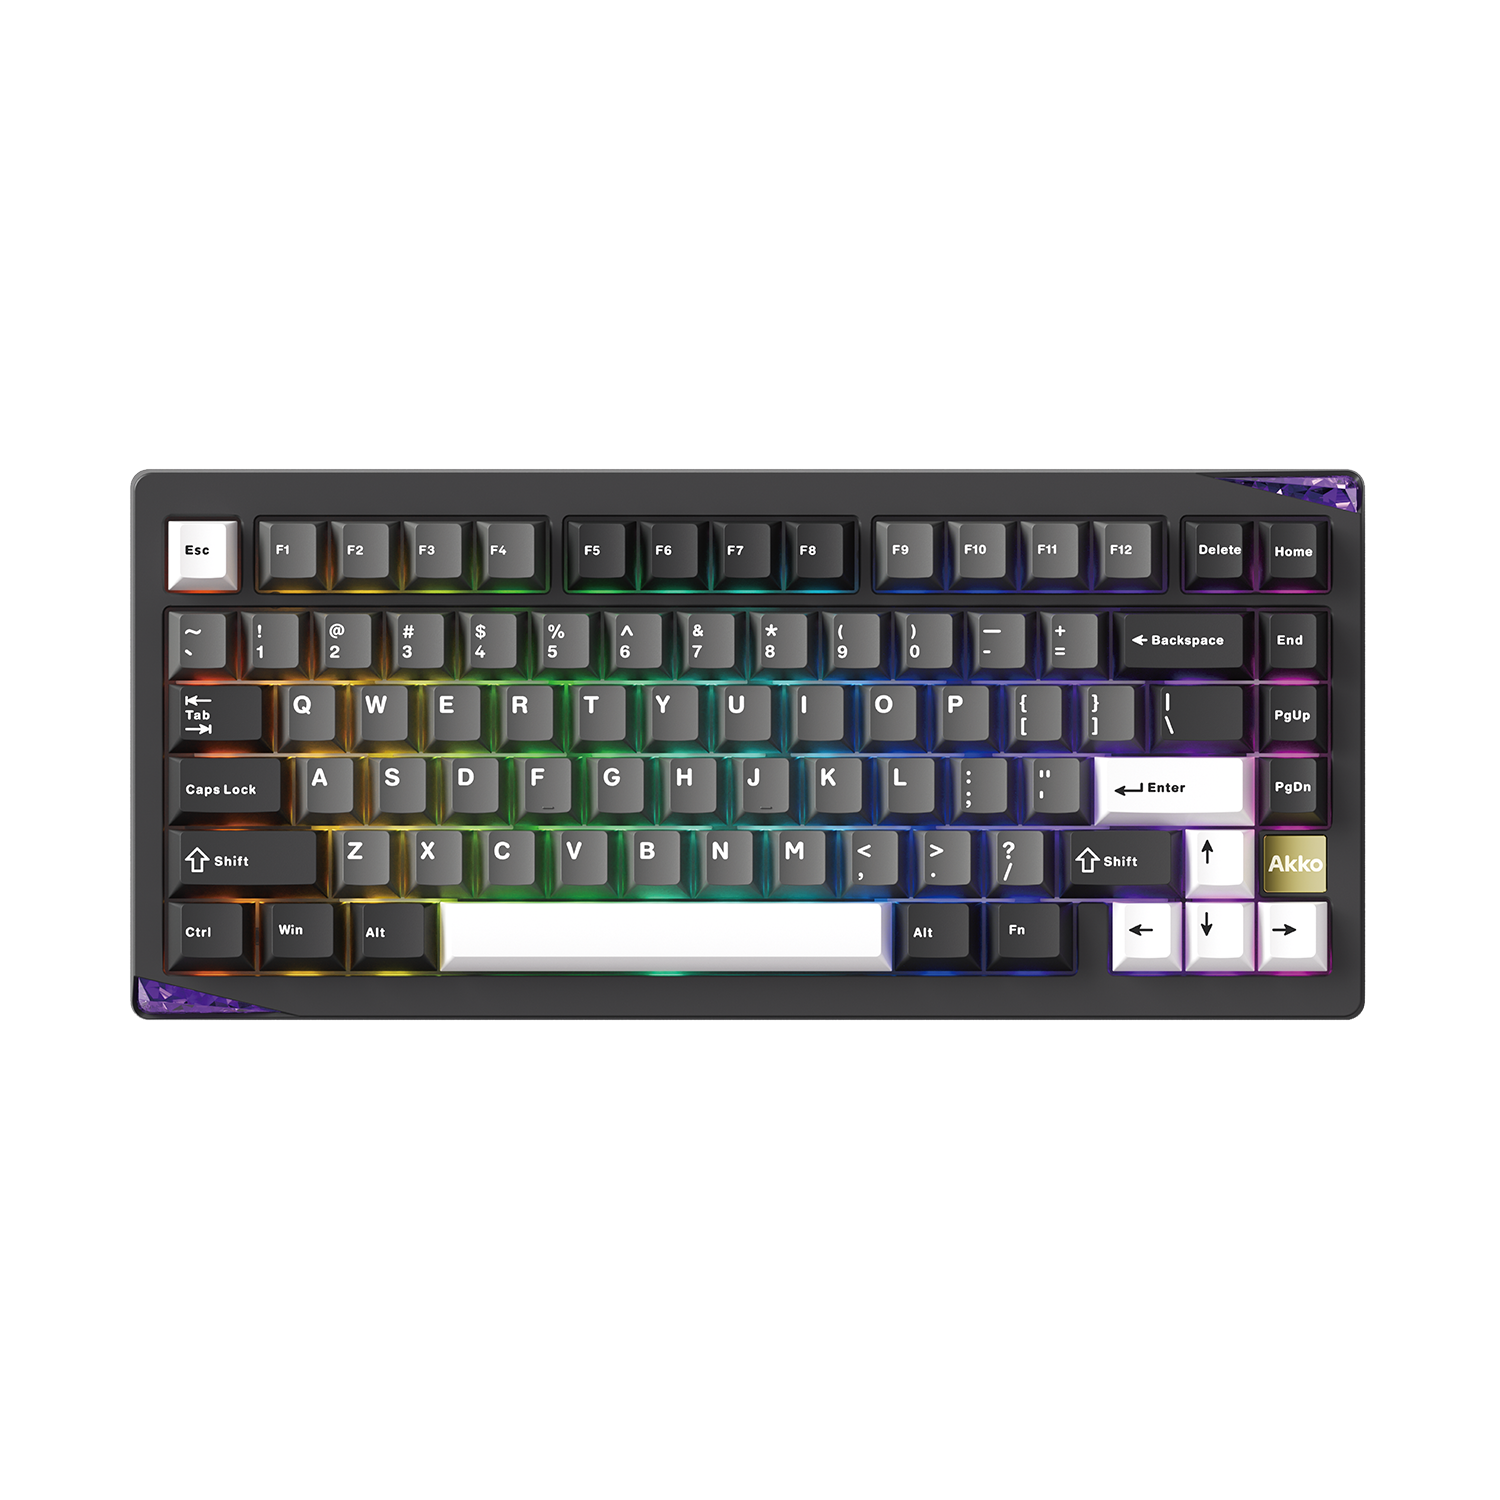
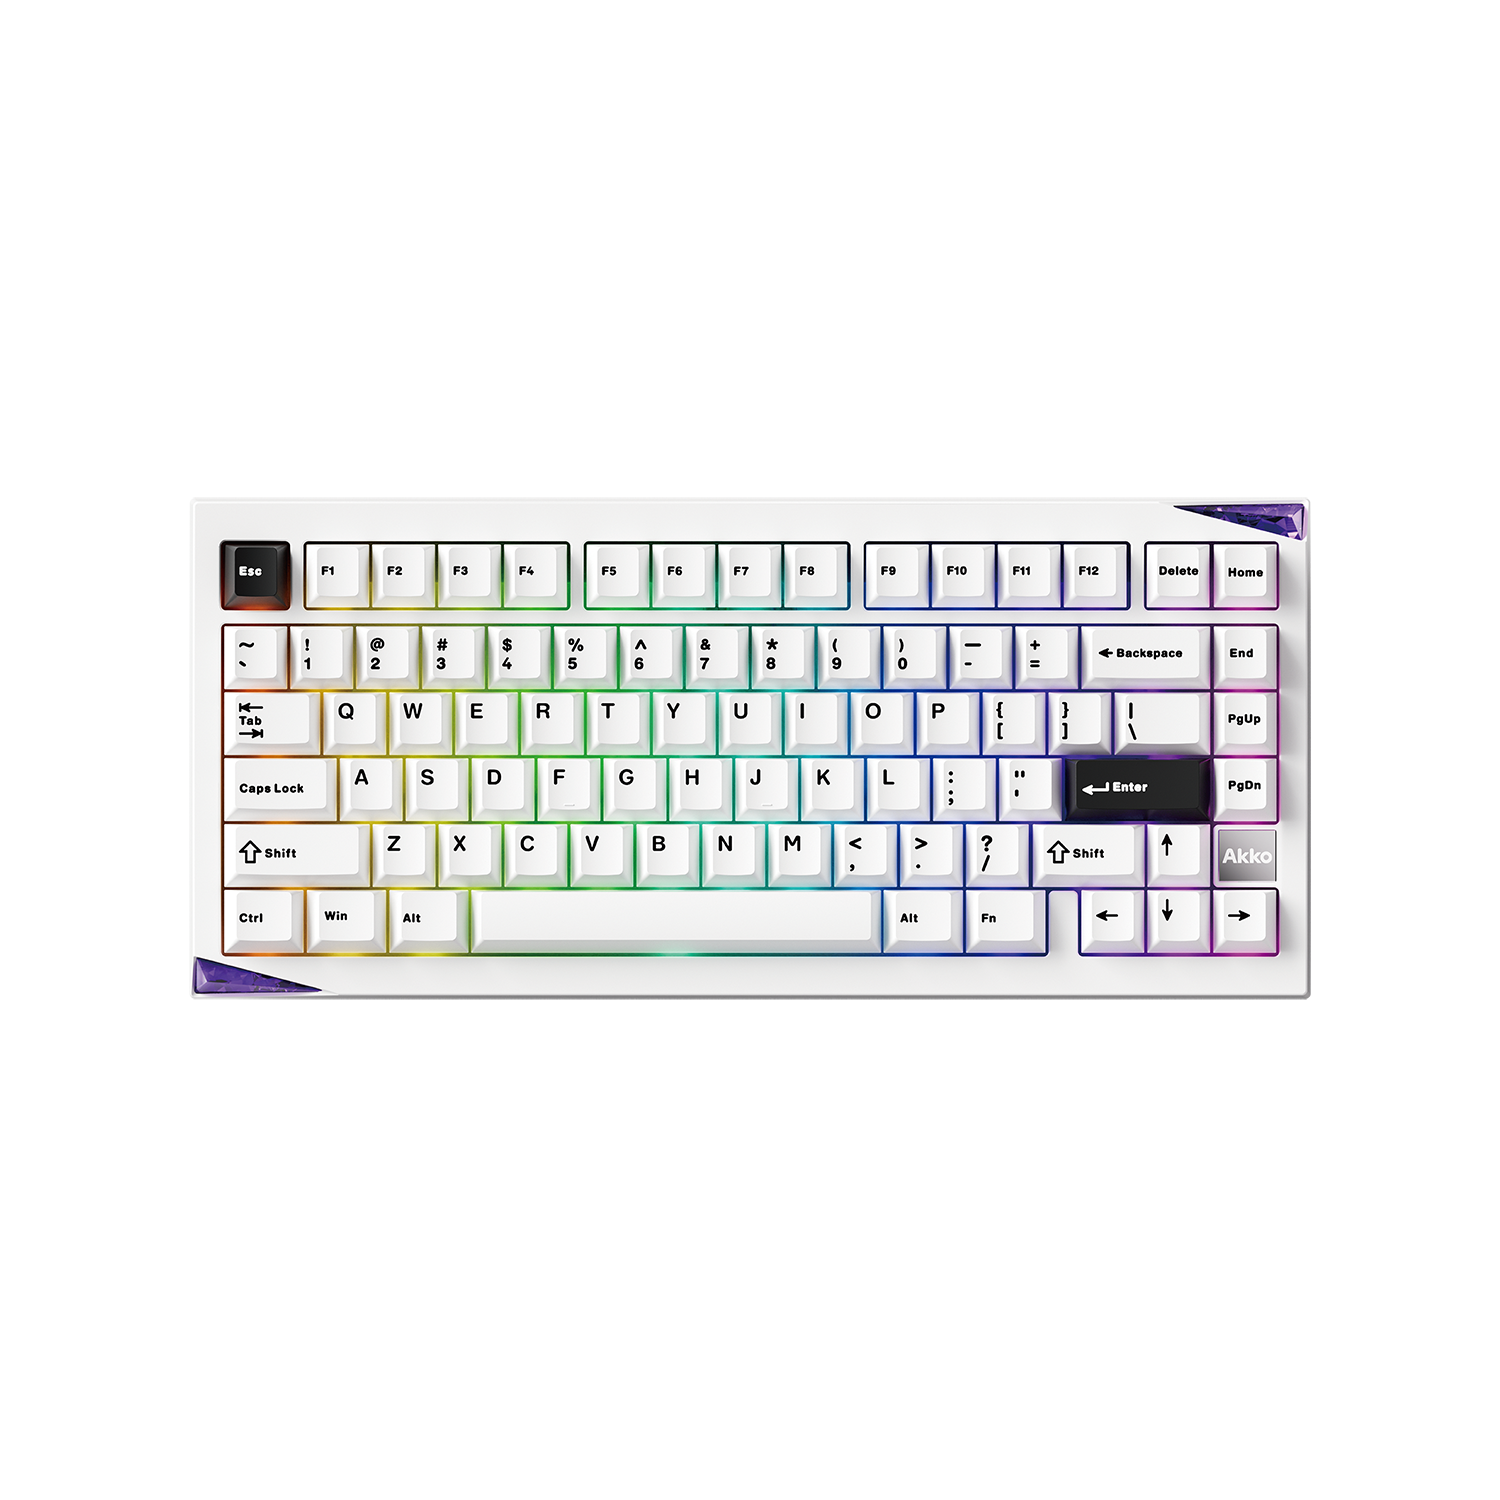
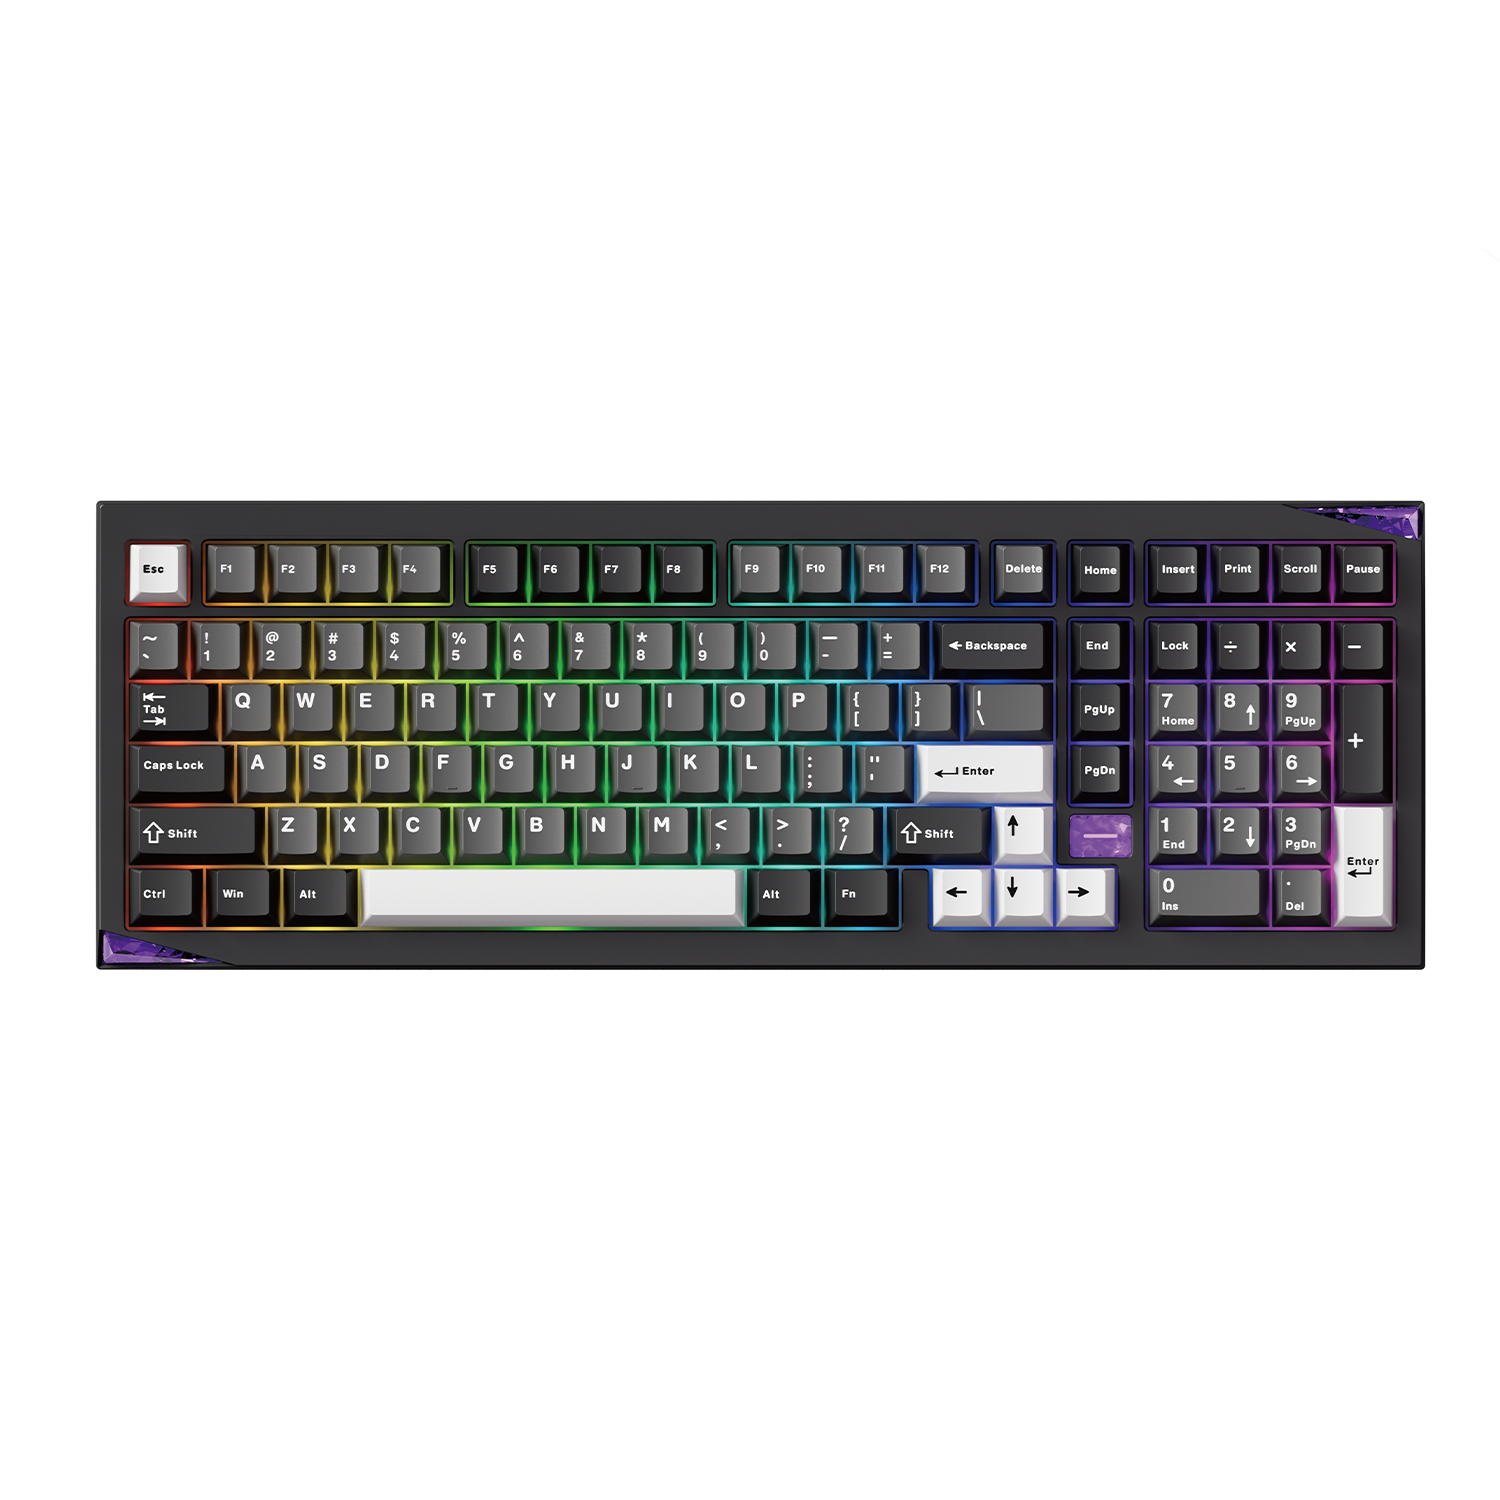
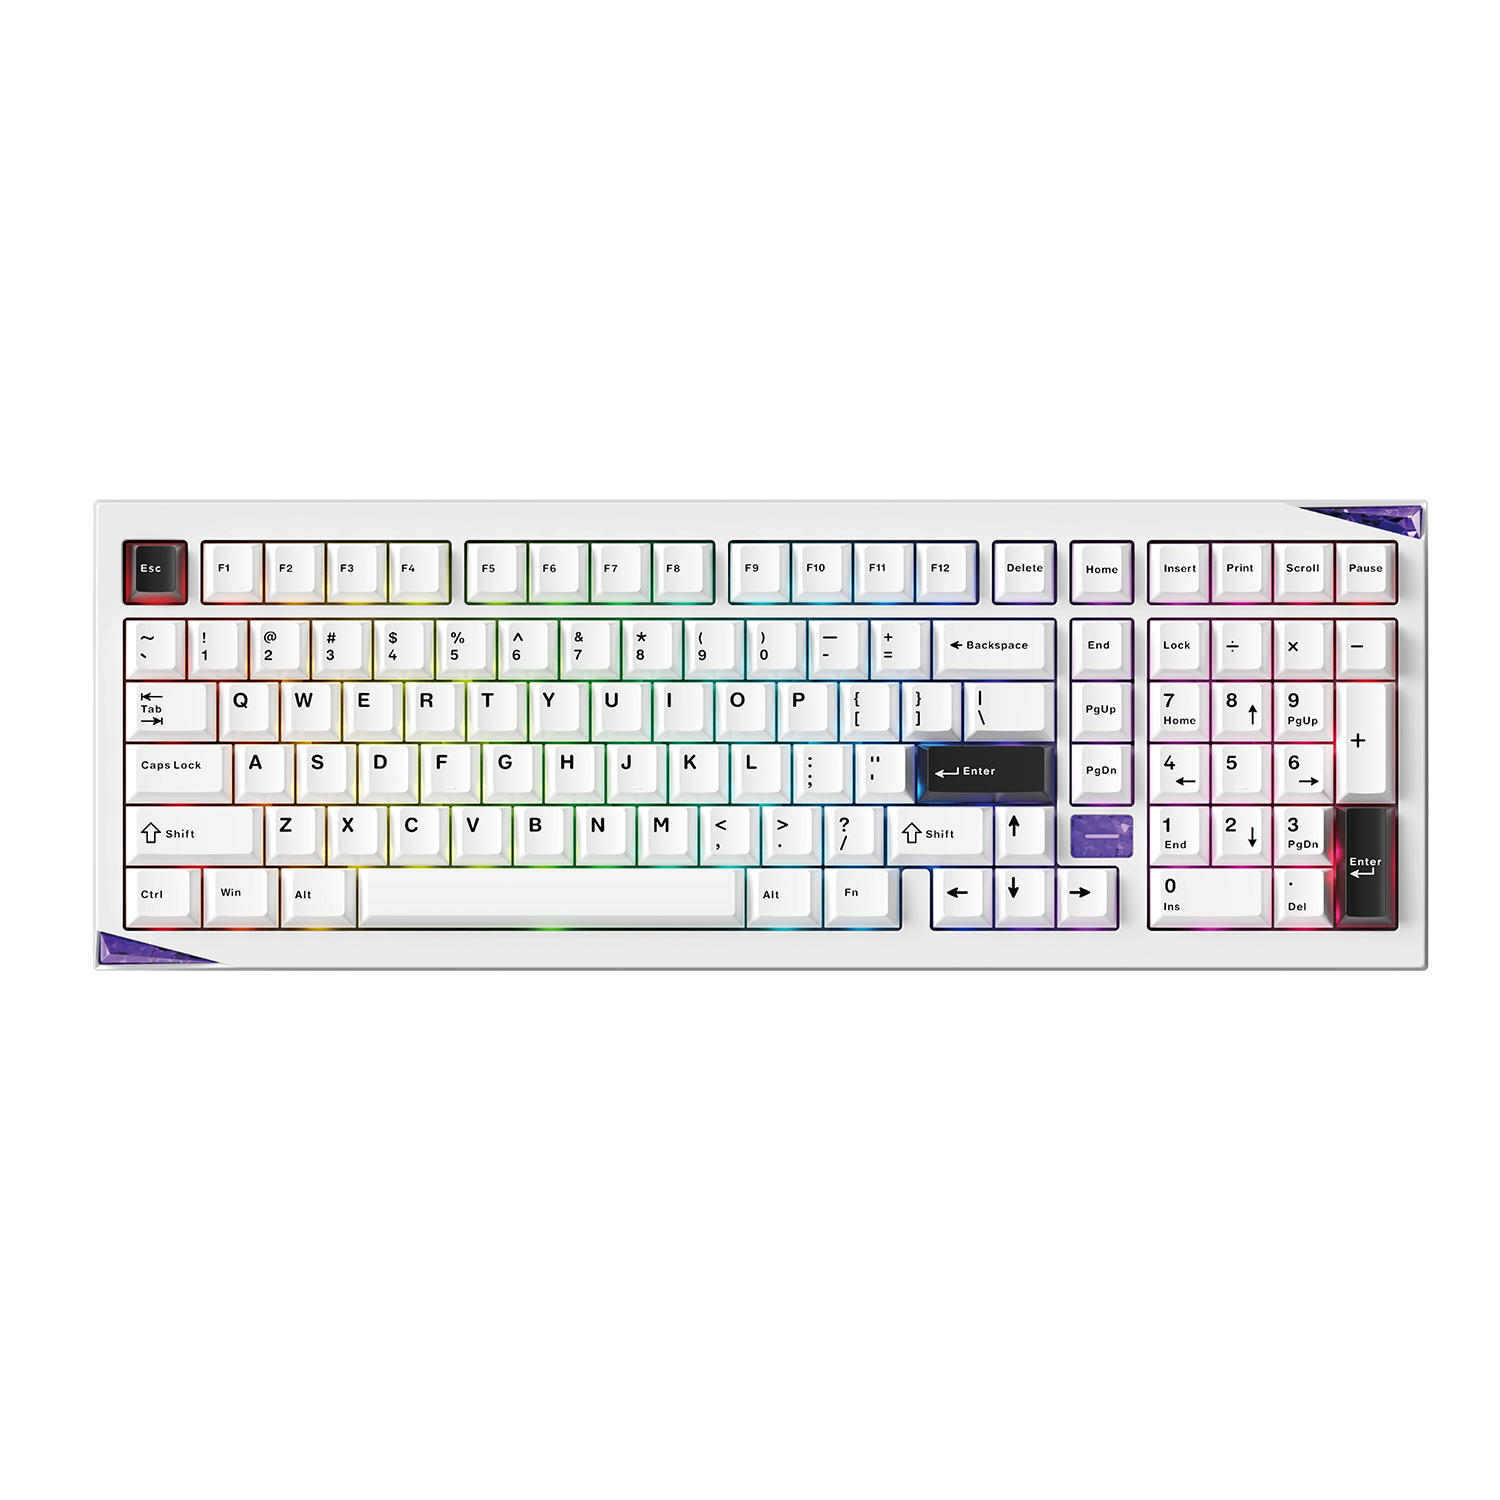
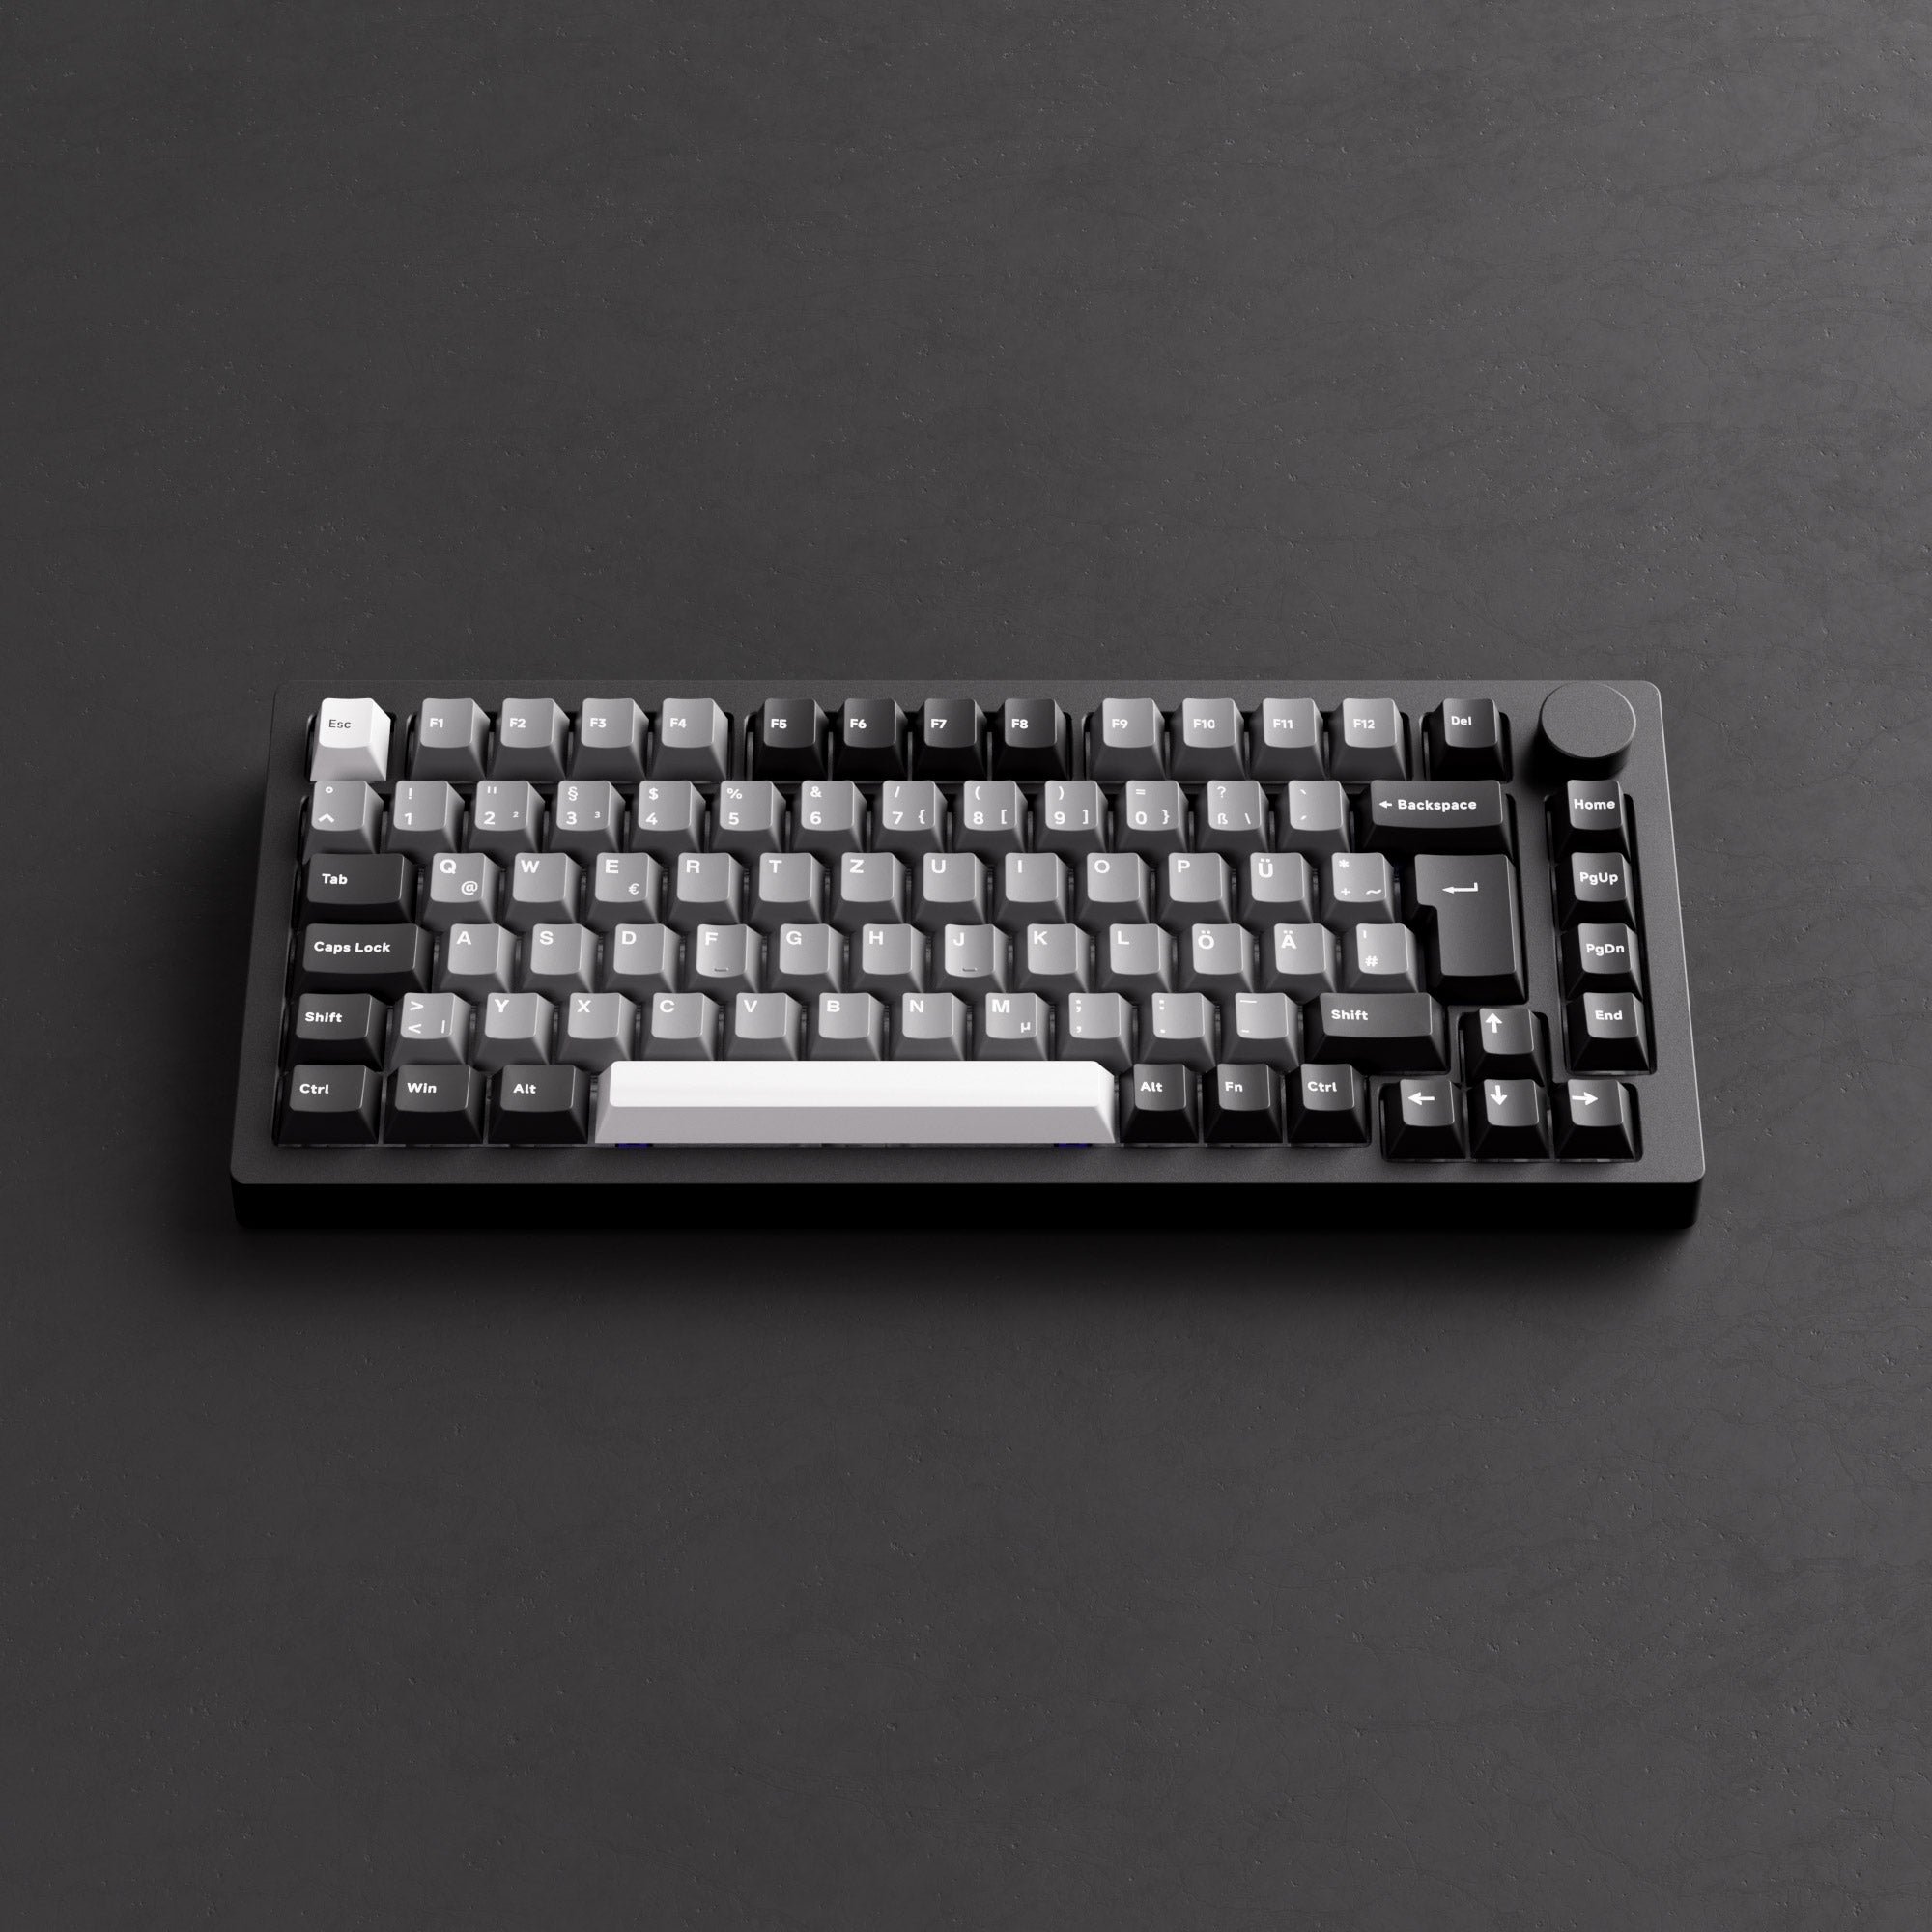
Le clavier mécanique personnalisé M1 V5 est un excellent point de départ pour les novices qui souhaitent personnaliser si c'est la première fois que vous utilisez un clavier mécanique.
Tout d'abord, vous n'aurez plus à vous soucier des vis. Le clavier mécanique personnalisé M1 V5 est facile à démonter. Vous pouvez facilement démonter et assembler le clavier sans utiliser d'outils en seulement 10 secondes.
Le M1 V5 prend en charge Logiciel VIA. Personnalisez facilement les configurations de touches et les macros. Adaptez les configurations à vos flux de travail, optimisez votre productivité et améliorez votre expérience de frappe.
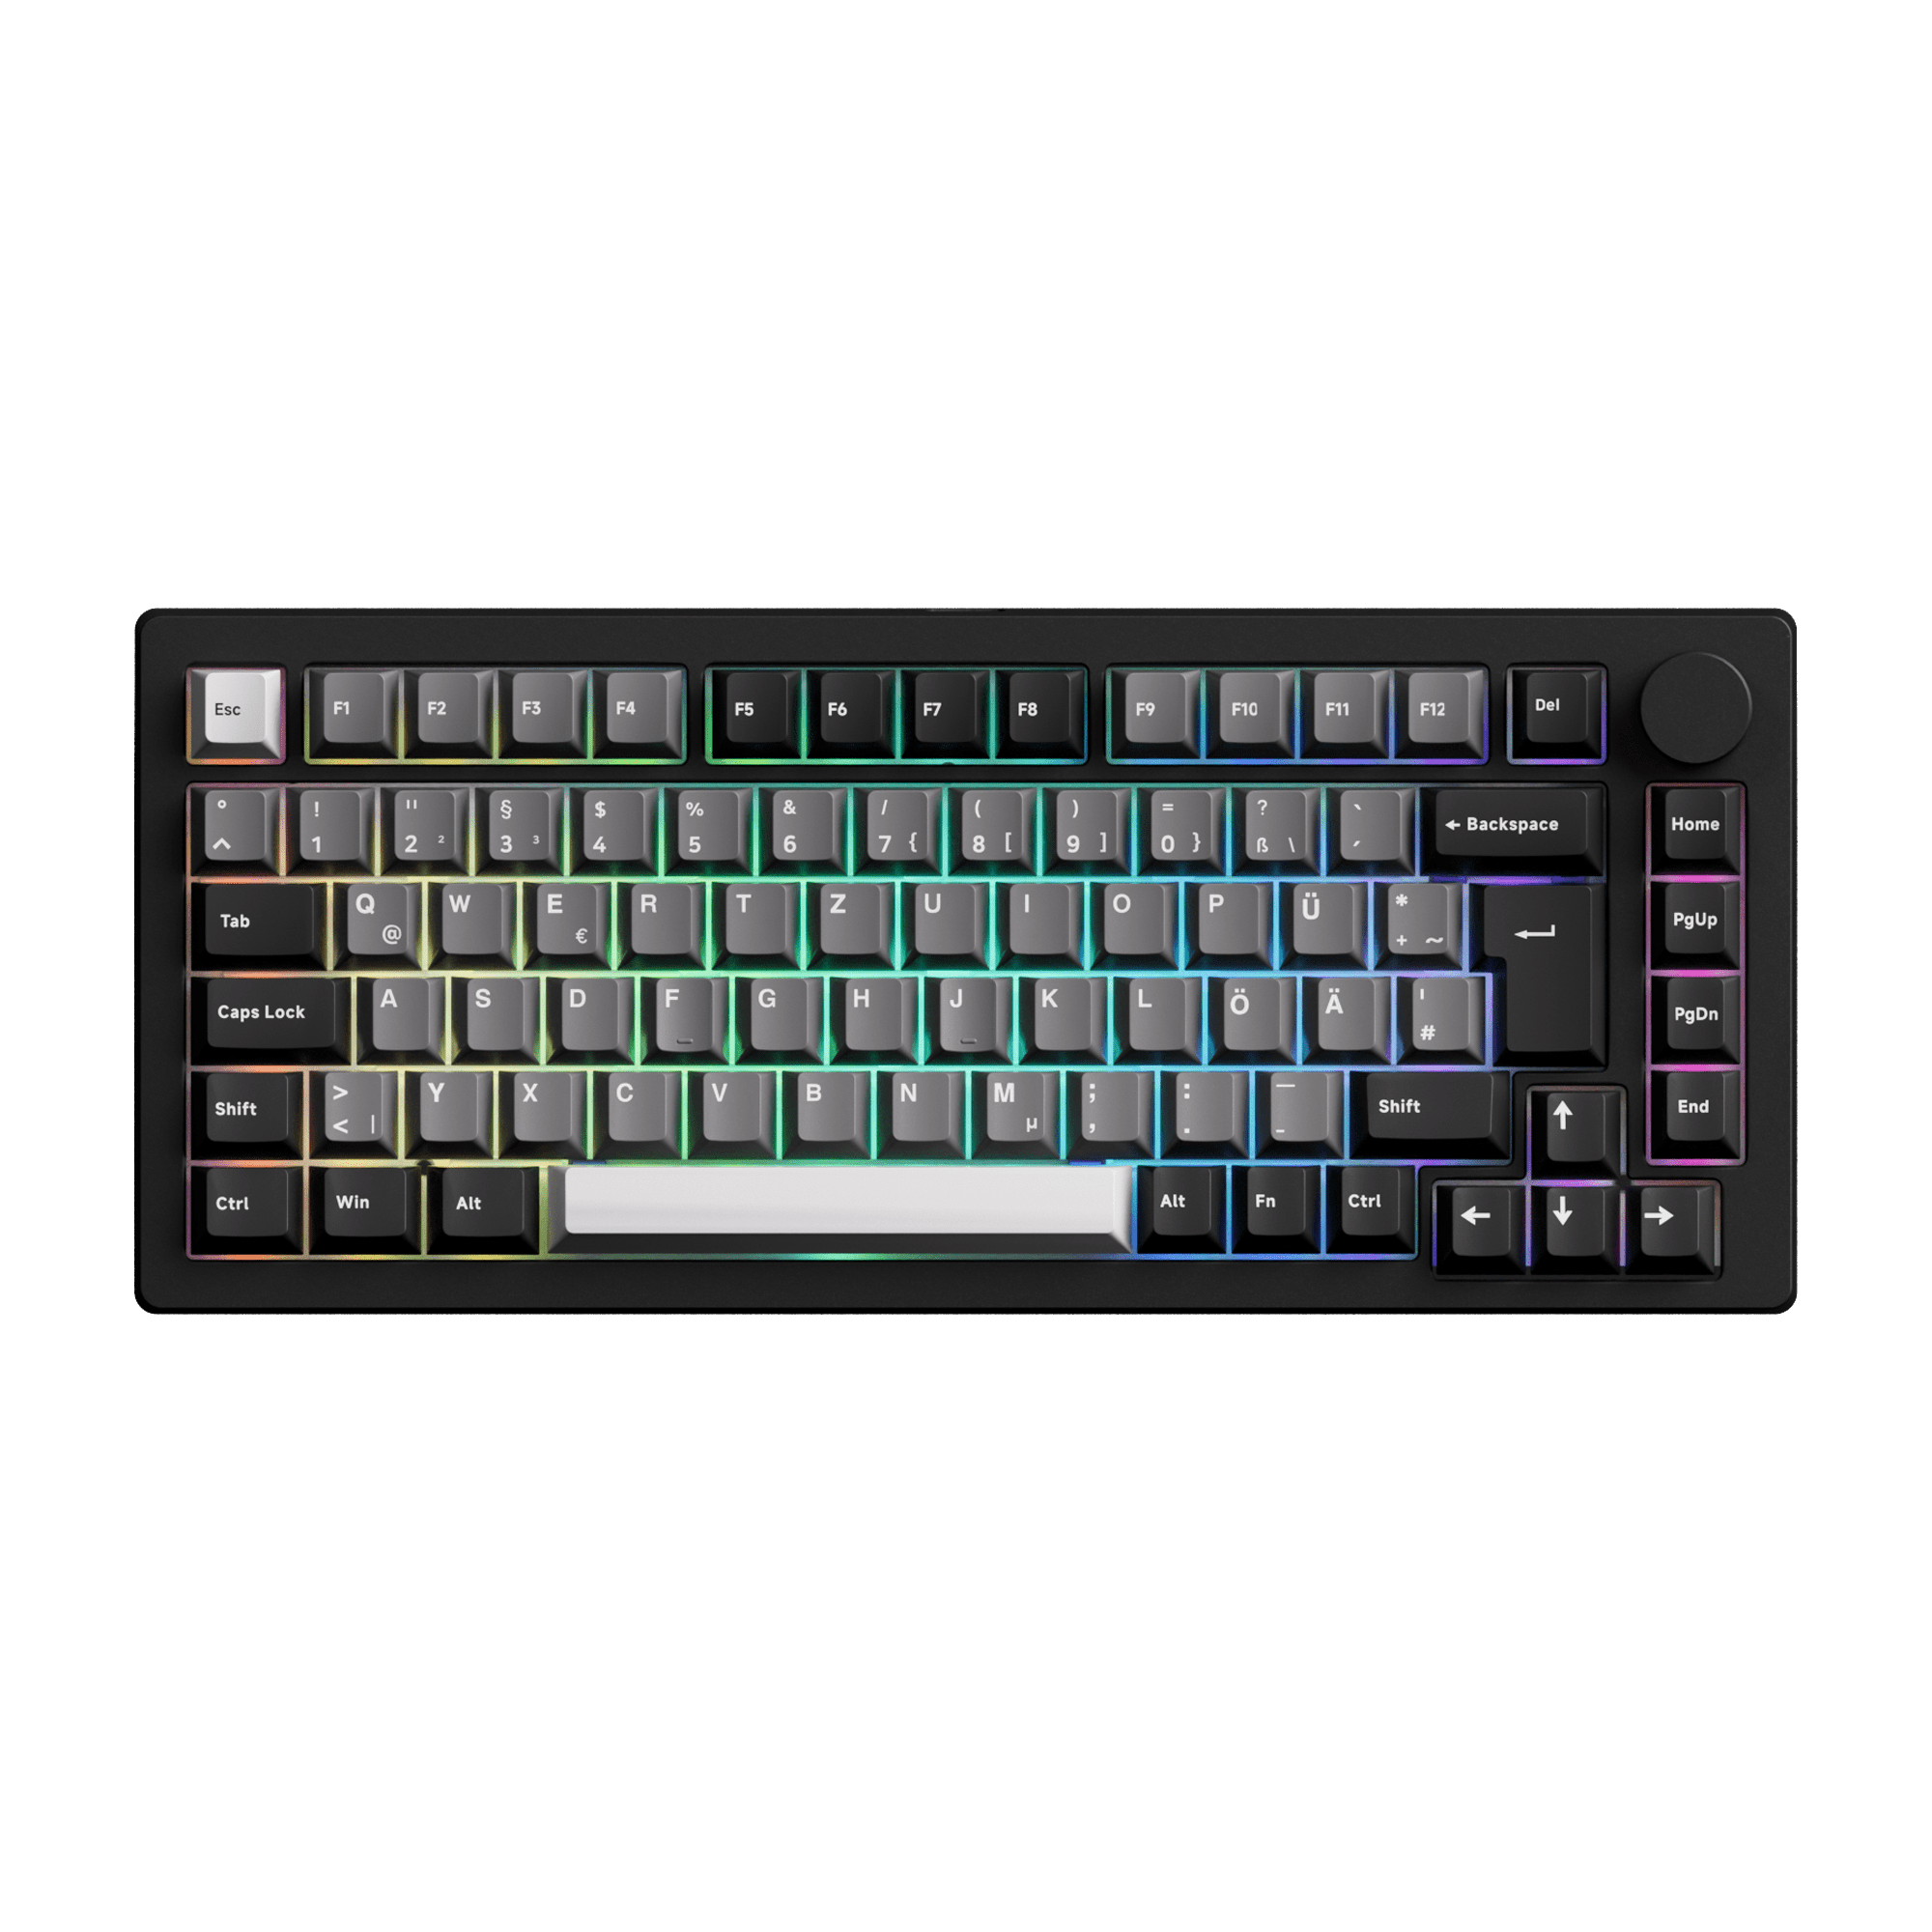
De plus, le M1 V5 offre des options de configuration ANSI et ISO . Que vous préfériez une configuration ANSI ou ISO, vous trouverez la vôtre.
De plus, le M1 V5 est équipé d' une batterie de 8 000 mAh, de commutateurs à guide lumineux et d'un système de montage à double joint. Toutes ces fonctionnalités conviviales constituent une plateforme idéale pour les débutants souhaitant se lancer dans la personnalisation de clavier.
Outils dont vous aurez besoin
Maintenant que nous avons exploré les fonctionnalités du clavier mécanique personnalisé M1 V5, plongeons-nous dans le processus de personnalisation en utilisant le M1 V5 comme point de départ. Avant de commencer, il est important de préparer les outils nécessaires. Certains outils essentiels sont souvent inclus dans le pack M1 V5, ce qui vous permet de commencer la personnalisation dès sa sortie de la boîte.
- Extracteur de touches : Cet outil permet de retirer les touches en toute sécurité, sans les endommager ni les switchs. Il est inclus dans le pack M1 V5.
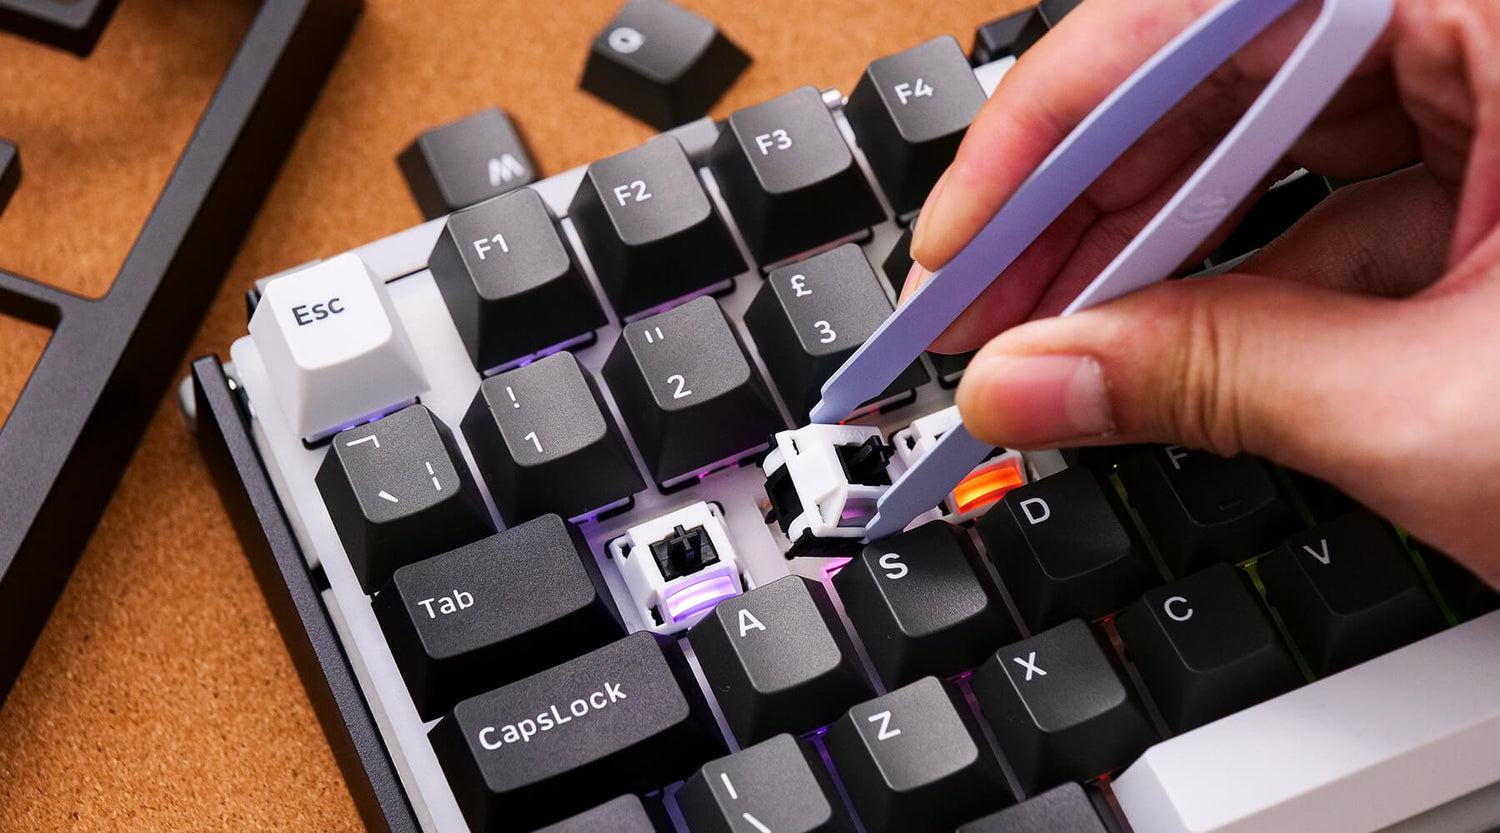
- Extracteur d'interrupteur : Spécialement conçu pour les interrupteurs mécaniques, cet extracteur facilite le retrait des interrupteurs du circuit imprimé. Il est également inclus dans le pack M1 V5.
- Pince à épiler : utile pour placer ou ajuster de petits composants, en particulier lorsque vous travaillez avec des stabilisateurs ou que vous réglez avec précision le placement des commutateurs.
- Fournitures de nettoyage : un chiffon en microfibre et de l'air comprimé peuvent aider à garder votre clavier exempt de poussière et de débris, garantissant ainsi des performances optimales.
Avoir ces outils à portée de main rendra le processus de personnalisation plus fluide et plus agréable, vous permettant d'explorer pleinement le potentiel de votre clavier mécanique personnalisé M1 V5.
Processus de personnalisation étape par étape
Personnaliser son clavier peut être un projet passionnant, et grâce à la conception intuitive du M1 V5, le processus est simple. Voici un guide étape par étape pour vous aider à démarrer.
Si vous souhaitez modifier les commutateurs ou les touches pour rechercher une expérience de frappe différente.
1. Retirez les touches
Vous pouvez retirer les touches à l'aide de l'extracteur. Cette étape permet d'accéder facilement aux interrupteurs situés en dessous.
2. Retrait des interrupteurs
Utilisez l'extracteur d'interrupteur pour retirer délicatement les interrupteurs existants.
3. Choix et installation de nouveaux commutateurs
Sélectionnez les commutateurs qui correspondent à la sensation de frappe souhaitée et insérez les nouveaux commutateurs en vous assurant qu'ils sont correctement alignés.
4. Remplacement des touches
Une fois les interrupteurs bien en place, vous pouvez remettre les touches en place. Si vous souhaitez changer de touches, vous pouvez choisir celles que vous préférez et les enfoncer sur les interrupteurs.
5. Tests et ajustements finaux
Testez le clavier pour vous assurer que tous les commutateurs fonctionnent correctement.
Si vous souhaitez créer des keymaps, des macros ou des effets d'éclairage RVB personnalisés.
Connectez simplement votre M1 V5 à VIA. Vous pourrez ainsi personnaliser les assignations de touches, créer des macros et définir des effets d'éclairage RVB selon vos préférences. Consultez le guide étape par étape d'utilisation de VIA pour votre M1 V5 afin de découvrir le guide complet sur la personnalisation des assignations de touches, des macros et des effets d'éclairage RVB.

En suivant ces étapes, vous transformerez le M1 V5 en un clavier personnalisé qui améliorera votre expérience de frappe et reflétera votre style. Profitez-en et n'hésitez pas à tester différentes configurations !
Conseils d'entretien
Un entretien régulier est nécessaire pour garantir la durabilité et les performances optimales de votre clavier mécanique sur mesure. Voici quelques conseils importants :
1. Nettoyage régulier : La poussière et les débris peuvent être retirés de la surface du clavier et des touches à l'aide d'un chiffon en microfibre et d'air comprimé. Cela évite toute accumulation susceptible de nuire au fonctionnement. De plus, le M1 V5 est doté d'un mécanisme de verrouillage à bille qui facilite le démontage du clavier et le dépoussiérage. Consultez la méthode détaillée pour nettoyer votre clavier mécanique .
2. Entretien des touches : Avec le temps, certaines touches fréquemment utilisées peuvent devenir sales et ne plus fonctionner correctement. Nettoyez chaque touche séparément pour éviter l'accumulation de saleté et préserver leur aspect.
3. Entretien des interrupteurs : Si vous constatez que des interrupteurs sont bloqués ou ne répondent plus, il est possible qu'ils nécessitent un nettoyage ou un remplacement. Les interrupteurs du M1 V5 sont faciles à retirer et à remplacer sans équipement spécialisé.
4. Lubrification : Vous pouvez bien sûr lubrifier les interrupteurs pour une frappe plus fluide. Cela peut améliorer la sensation et le son de votre clavier.
5. Vérifiez les connexions : Le M1 V5 prend en charge trois modes de connexion : filaire, 2,4 GHz et Bluetooth. Quel que soit le mode de connexion choisi, il est recommandé de vérifier l'interface. Assurez-vous que le câble USB et les connexions sont propres et sécurisées. Des connexions mal connectées peuvent entraîner des performances irrégulières.
En suivant ces conseils d'entretien, vous pouvez garder votre clavier mécanique personnalisé M1 V5 en excellent état, garantissant une expérience de frappe agréable pour les années à venir.
Conclusion
Votre expérience de frappe peut être grandement améliorée en personnalisant votre clavier mécanique et en le configurant selon vos goûts. Le M1 V5 est idéal pour les débutants grâce à ses fonctionnalités intuitives, comme son démontage rapide et sa compatibilité VIA.
N'importe qui peut créer un clavier personnalisé, esthétique et agréable à utiliser, en connaissant les composants, en utilisant les outils appropriés et en suivant une procédure de personnalisation simple. Adoptez la personnalisation de votre clavier et savourez le processus de création d'une expérience de frappe unique !







Laisser un commentaire
Tous les commentaires sont modérés avant d'être publiés.
Ce site est protégé par hCaptcha, et la Politique de confidentialité et les Conditions de service de hCaptcha s’appliquent.